
As the vibrant colors of Pride Month begin to adorn our streets, I can’t help but feel inspired to bring a little joy into my kitchen. This Rainbow Swirl Cake became a delightful project that encapsulates not just the spirit of celebration, but also the joy of homemade baking. Picture this: layers of moist vanilla cake, bursting with colors just as bright as the rainbow flags waving proudly around town.
After a long week of monotony and fast food runs, I yearned for something to lift my spirits—so I turned to this recipe, one I had stumbled upon during a closet cleanout. The process of creating each colorful layer is like a mini adventure, and the end result? A stunning centerpiece that’s sure to wow your guests. Whether you’re hosting a Pride celebration or simply looking to impress at your next gathering, this cake promises not only stunning aesthetics but delicious flavors that melt in your mouth. Let’s dive in and make some magic together!
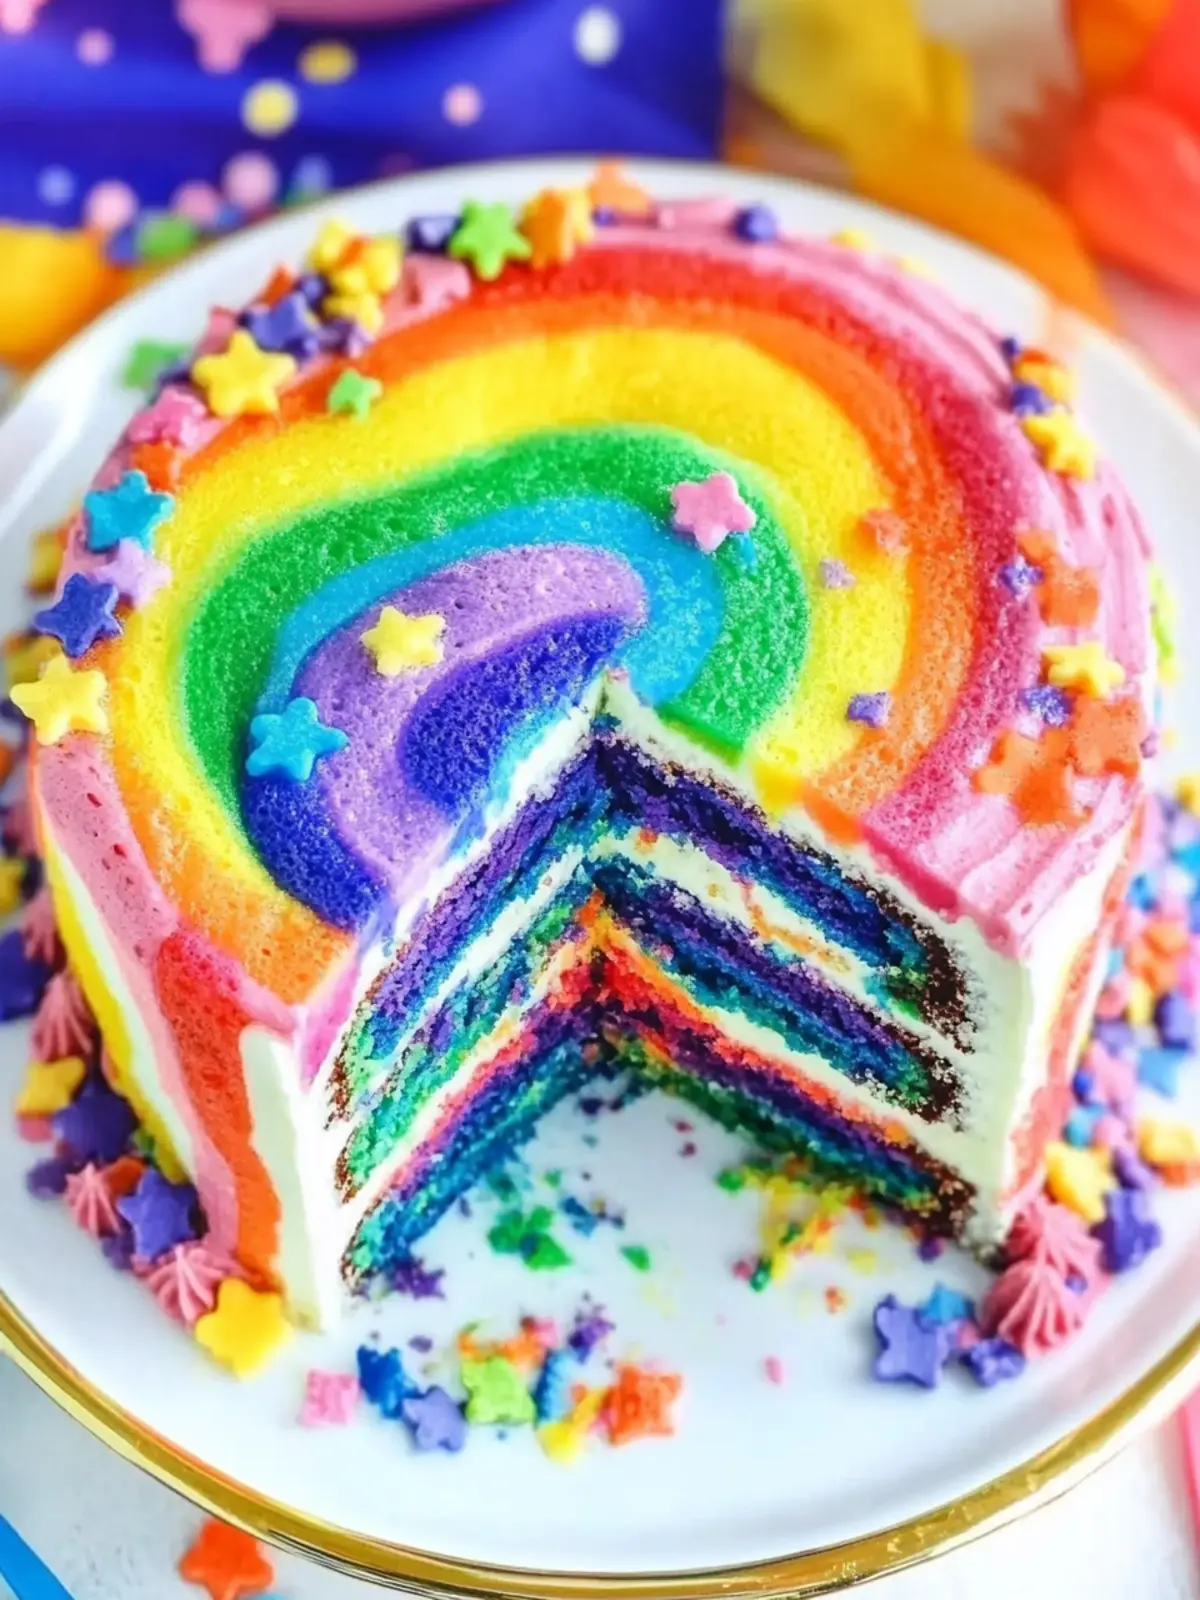
Why is Pride Month Rainbow Swirl Cake special?
Celebratory Colors: This cake is a visual feast, showcasing beautiful rainbow layers that bring joy to any occasion.
Delicious Flavor: The vanilla cake is moist and rich, perfectly balanced by the sweet, creamy frosting.
Crowd-Pleasing Appeal: Perfect for gatherings, it serves as a stunning centerpiece that will impress your family and friends.
Fun Baking Project: Dividing the batter and creating each colorful layer is a delightful experience, making the baking process as enjoyable as the end result.
Versatile Occasion: Not just for Pride Month, this cake is perfect for birthdays, anniversaries, or any festive celebration. Dive into this vibrant recipe and discover the joy of making something beautiful and delicious!
Pride Month Rainbow Swirl Cake Ingredients
For the Cake
- All purpose flour – 3 cups (390g) for a sturdy, fluffy texture.
- Baking powder – 3 tsp to ensure a delightful rise.
- Salt – 1 tsp enhances the sweetness in your cake.
- Unsalted butter – 3/4 cup (168g), at room temperature for creaminess.
- Vegetable oil – 1/4 cup (60ml) keeps the cake moist and tender.
- Sugar – 2 cups (414g), the heart of the sweetness.
- Eggs – 4 large, adds richness and structure.
- Vanilla extract – 1 tbsp for a comforting flavor boost.
- Buttermilk – 1 1/3 cups (400ml) gives the cake its impressive moistness.
- Gel icing colors (Violet, Royal Blue, Leaf Green, Lemon Yellow, Orange, Red) – For creating that beautiful rainbow effect in each layer.
For the Frosting
- Salted butter – 2 cups (448g), at room temperature for a velvety texture.
- Shortening – 1 cup (189g) helps stabilize your frosting for better piping.
- Powdered sugar – 11–12 cups (1265g-1380g) for that sweet fluffiness.
- Vanilla extract – 1 tbsp to complement the sweetness of the frosting.
- Water or milk – 4–5 tbsp (60-75ml) to achieve your desired frosting consistency.
- Gel icing colors – (same vibrant colors mentioned above) for the whimsical swirl effect on the cake.
Get ready to transform your kitchen into a colorful wonderland with this Pride Month Rainbow Swirl Cake that will surely brighten your celebrations!
How to Make Pride Month Rainbow Swirl Cake
-
Prepare the pans: Grease three 8-inch cake pans and line the bottoms with parchment paper circles. Preheat your oven to 350°F (176°C) for a perfect baking environment.
-
Mix dry ingredients: In a medium bowl, whisk together the all-purpose flour, baking powder, and salt. Set this aside, admiring the promise of fluffy cake layers ahead!
-
Cream the butter and sugar: In a large mixing bowl, combine the unsalted butter, vegetable oil, and sugar. Beat this mixture together until it’s light and fluffy—about 3-4 minutes. It should look inviting!
-
Incorporate the eggs: Add the eggs two at a time into the creamed mixture, mixing well after each addition. Add the vanilla extract with the second batch, scraping the bowl to ensure every bit is combined.
-
Combine dry and wet ingredients: Gradually mix in half of your dry ingredient mixture, then the buttermilk, and finally, the remaining dry mixture. Ensure everything is combined smoothly, creating a batter that’s both creamy and vibrant.
-
Color the batter: Divide the batter into six bowls. Carefully add a drop of each gel icing color and fold gently until the colors are fully mixed. Watch as each bowl transforms into a piece of colorful magic!
-
Layer the batter: Starting with purple, spoon each color around the bottom of the prepared cake pans in the order of purple, blue, green, yellow, orange, and red. Each layer should sit comfortably next to its neighbor—a lovely rainbow in progress.
-
Bake the cakes: Place your filled pans into the oven and bake for 28-33 minutes, checking doneness with a toothpick. It should come out clean, and the tops should be lightly golden!
-
Cool the layers: Let the cakes cool in the pans for 2-3 minutes before transferring to wire racks. Allow them to cool completely so they’re ready for frosting.
-
Prepare the frosting: In a large bowl, beat together the salted butter and shortening until smooth. Gradually add in half of the powdered sugar and mix. Follow with the vanilla extract and two tablespoons of water or milk for a perfect consistency.
-
Finalize the frosting: Add the remaining powdered sugar and mix until silky smooth. Adjust the consistency with more water or milk as needed—your frosting should be fluffy and spreadable.
-
Level the cakes: Use a serrated knife to remove any dome shapes from the tops of your cooled cake layers. This will ensure they stack nicely and stay even.
-
Assemble the cake: Start with the first layer on your cake plate. Spread about 1 cup of frosting evenly over the top. Repeat with the second layer, and add the final layer on top.
-
Frost the outside: Once stacked, frost the outside of the entire cake, creating a smooth surface for the rainbow swirl decoration.
-
Color the remaining frosting: Divide the remaining frosting into six bowls, tinting each with the gel icing colors just like you did with the batter.
-
Create the frosting log: To form the rainbow swirl, take a ziplock bag and add each color side by side onto a piece of clear wrap. Fold it over, twist one end, and trim the other end.
-
Pipe the decoration: Insert the log into a piping bag. Pipe beautiful shells of frosting around the top edge of the cake, followed by the bottom edge for a charming finish.
-
Storage: Keep your stunning rainbow cake in an airtight container until it’s time to slice and share your work of art!
Optional: Add colorful sprinkles on top for extra flair!
Exact quantities are listed in the recipe card below.
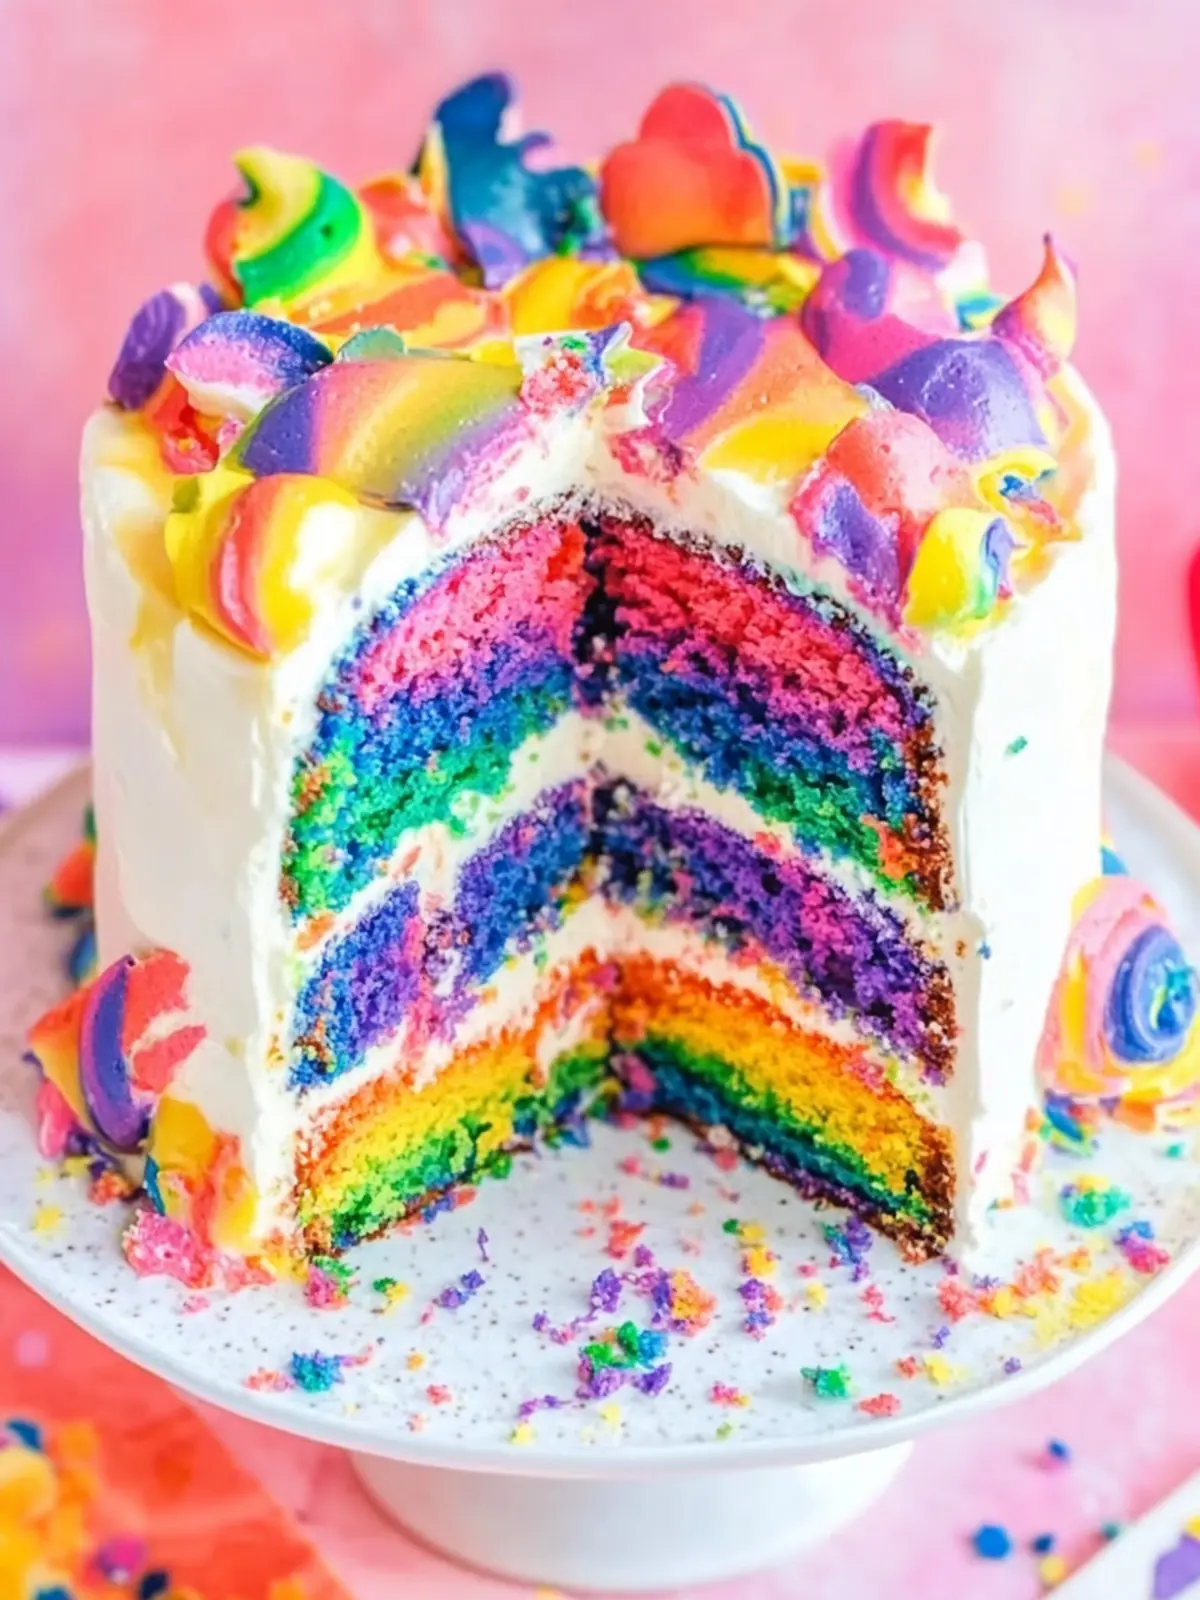
What to Serve with Pride Month Rainbow Swirl Cake?
Get ready to enhance your celebrations with delightful pairings that balance the sweetness of your colorful masterpiece!
-
Light Whipped Cream: Light and airy, this whipped cream will provide a soft contrast to the dense layers of your cake.
-
Fresh Berries: A medley of strawberries, blueberries, and raspberries adds a burst of tartness, elevating each slice with vibrant flavors.
-
Sparkling Water: A refreshing beverage with a hint of lemon creates a lovely palate cleanser after each sweet bite of cake.
-
Vanilla Ice Cream: Creamy and indulgent, a scoop alongside a slice of cake will take your dessert experience to the next level.
-
Citrus Salad: A mix of oranges, grapefruits, and mint offers a refreshing and zesty complement to the cake’s rich sweetness.
-
Chocolate Ganache: Drizzle warm ganache over each slice for a luxurious twist that balances beautifully with the vanilla flavor.
-
Coffee or Tea: A warm cup of coffee or aromatic herbal tea serves as a comforting contrast, enhancing the cake’s flavors while keeping the mood cozy.
How to Store and Freeze Pride Month Rainbow Swirl Cake
Room Temperature: If you’re enjoying the cake within 1-2 days, simply cover it with a cake dome or plastic wrap and store it at room temperature.
Fridge: For longer freshness, refrigerate the cake in an airtight container for up to 5 days. This helps maintain its moistness and vibrant layers.
Freezer: To freeze, wrap individual slices tightly in plastic wrap and then in aluminum foil. Store for up to 3 months. Thaw overnight in the fridge before enjoying!
Reheating: If desired, you can gently microwave a slice for a few seconds to warm it up, enhancing the delightful flavors of your beautiful Pride Month Rainbow Swirl Cake!
Expert Tips for Pride Month Rainbow Swirl Cake
-
Prep Pans Properly: Always line your cake pans with parchment paper and grease the sides. This ensures a smooth release and perfect shape for your layers.
-
Room Temperature Ingredients: Make sure your butter, eggs, and buttermilk are all at room temperature. This helps the batter emulsify properly, yielding a moist cake.
-
Color Intensity Matters: When adding gel icing colors, start with a small amount. You can always add more to achieve your desired vibrancy for the Pride Month Rainbow Swirl Cake!
-
Level the Layers: Don’t skip leveling your cake layers with a serrated knife after they cool. This will keep your cake stable and visually appealing!
-
Pipe with Confidence: For beautiful frosting swirls, practice piping with a few extra colors on a piece of parchment. It’s a great way to get comfortable before decorating your cake.
-
Store for Freshness: After assembling, store the cake in an airtight container in a cool place. This keeps it fresh and delicious, ready for your celebratory event!
Pride Month Rainbow Swirl Cake Variations
Feel free to sprinkle your own flair into this celebratory cake with these delightful twists!
-
Gluten-Free: Substitute the all-purpose flour with a 1:1 gluten-free baking blend for an inclusive twist.
-
Dairy-Free: Utilize non-dairy milk and vegan butter to create a cake that everyone can enjoy, without sacrificing flavor.
-
Less Sugar: Reduce the sugar by half a cup in the cake batter for a slightly less sweet treat; trust me, it will still shine!
-
Fruit-Filled Layers: Incorporate a layer of fresh fruit preserves or whipped cream between the cake layers for an added burst of flavor and texture.
-
Chocolate Twist: Add 1/2 cup of cocoa powder to the dry ingredients for a delicious chocolate version of this festive cake.
-
Zesty Lemon: Mix in the zest of one lemon to the batter for a refreshing citrus note that complements the sweetness of the cake.
-
Nutty Surprise: Fold in 1/2 cup of chopped nuts, such as almonds or walnuts, for a delightful crunch within the tender cake layers.
-
Frosting Alternatives: Swap the traditional frosting with a whipped cream topping, perfect for a lighter finish and a hint of freshness.
These variations will not only keep the spirit of the rainbow intact, but they’ll also allow your creativity to shine, making each cake uniquely yours!
Make Ahead Options
These Pride Month Rainbow Swirl Cake layers are perfect for meal prep enthusiasts! You can mix and color the cake batter up to 24 hours in advance; simply refrigerate the colored batter in airtight containers to keep it fresh. Additionally, bake your cake layers a day ahead, allowing them to cool completely before wrapping them tightly in plastic wrap to maintain their moisture and prevent any drying out. When you’re ready to assemble the cake, simply bring the layers back to room temperature, level them, frost as directed, and pipe your colorful decorations. This method not only saves time but guarantees just as delicious results on the day of your celebration!
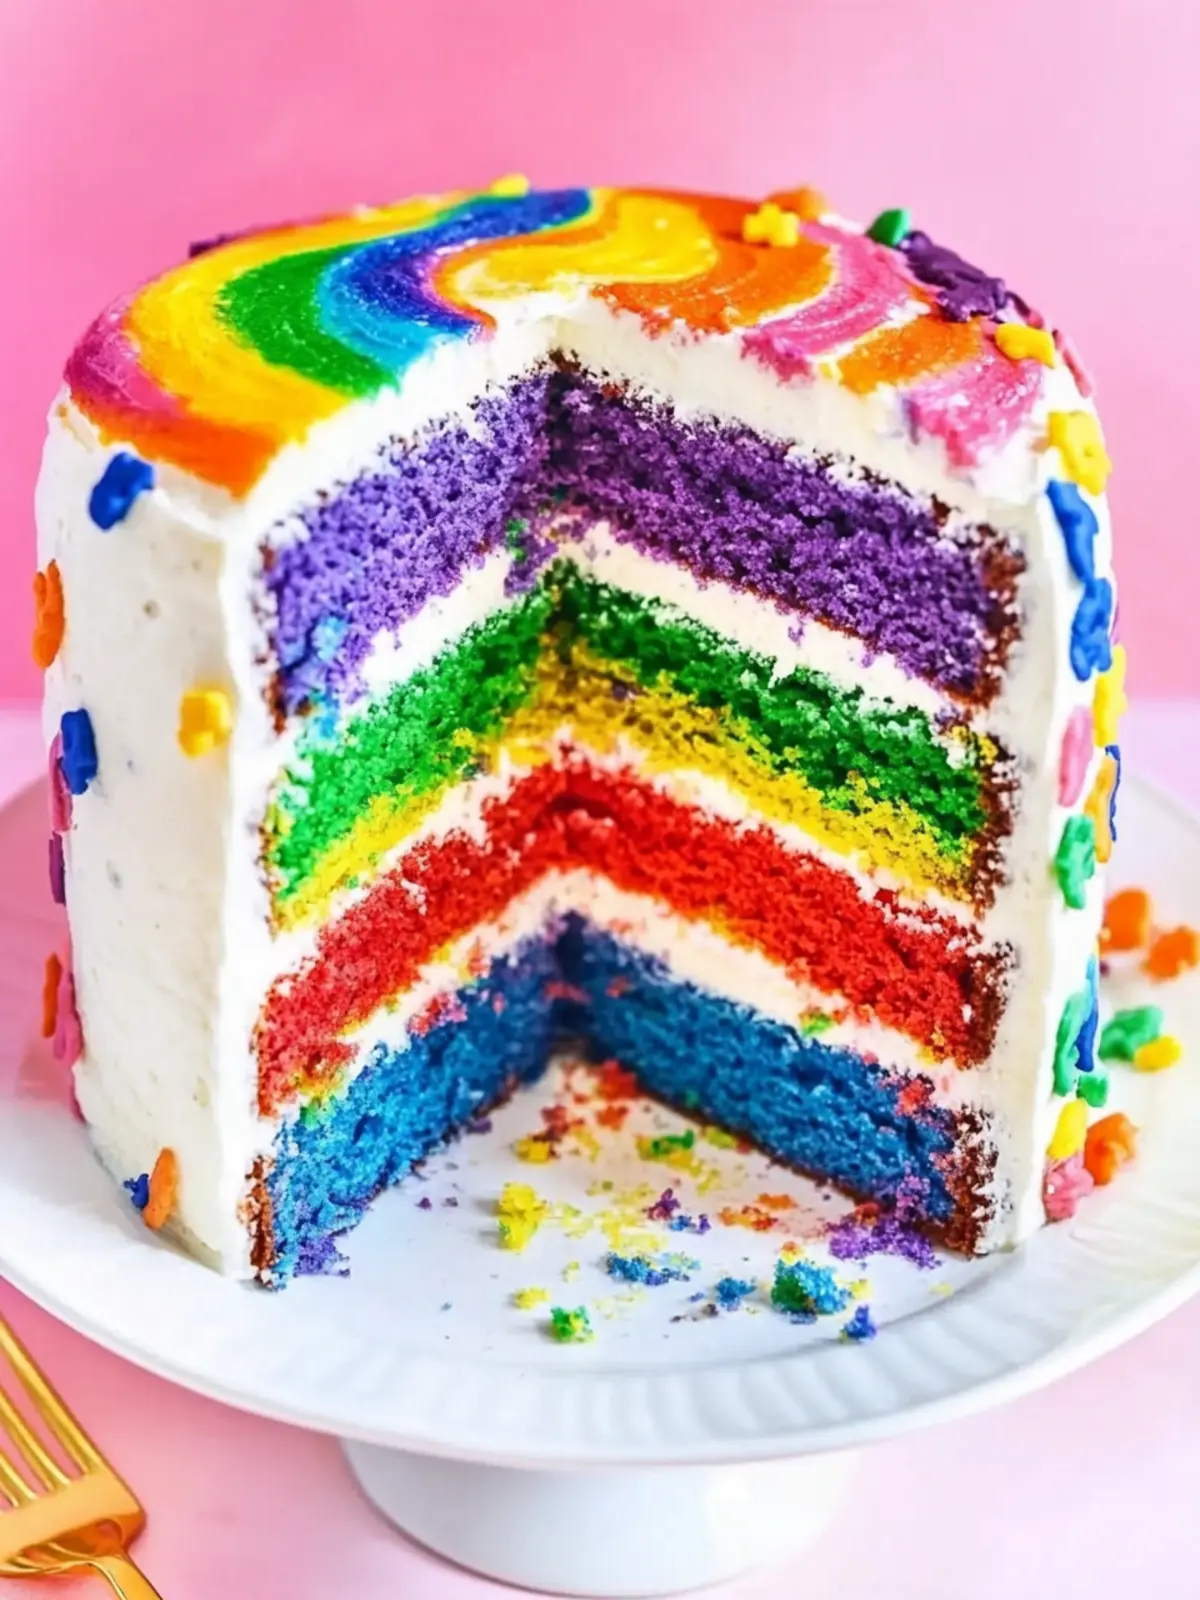
Pride Month Rainbow Swirl Cake Recipe FAQs
How do I choose ripe ingredients for this cake?
Absolutely! For the best results, ensure your eggs are fresh and your buttermilk is within its expiration date. The butter should be at room temperature for optimal creaming, while the baking powder should still be active (check the expiration date), as this affects the cake’s rise.
How should I store the cake after baking?
For short-term enjoyment, you can cover the cake with a cake dome or plastic wrap and keep it at room temperature for about 1-2 days. If you plan to enjoy it later, store it in an airtight container in the fridge for up to 5 days. This prevents the cake from drying out and keeps those vibrant layers looking fresh!
Can I freeze slices of the cake?
Very! To freeze your Pride Month Rainbow Swirl Cake, wrap individual slices tightly in plastic wrap, then place them in aluminum foil or a freezer-safe bag. This helps prevent freezer burn. You can keep them frozen for up to 3 months. When you’re ready to indulge, simply thaw the slices overnight in the fridge before serving.
What should I do if my cake layers dome up while baking?
Don’t worry, it happens! If your cake layers rise unevenly, wait until they’ve completely cooled, then use a serrated knife to carefully level the domed tops. This ensures that they stack evenly, giving a polished look to your finished cake.
Are there any dietary considerations I should be aware of?
Definitely! This cake contains gluten from the all-purpose flour and dairy from the butter and buttermilk, so it’s not suitable for those with gluten intolerance or lactose allergies. For a gluten-free version, you can substitute with a gluten-free all-purpose flour blend, and for dairy-free, try using plant-based butter and a non-dairy milk alternative.
How can I enhance the color of the cake layers?
The more the merrier! When coloring your batter with gel icing colors, start with just a drop and mix. This allows you to adjust the intensity without going overboard. If you want even brighter colors, adding small amounts gradually can help you achieve that rainbow-like vibrancy!
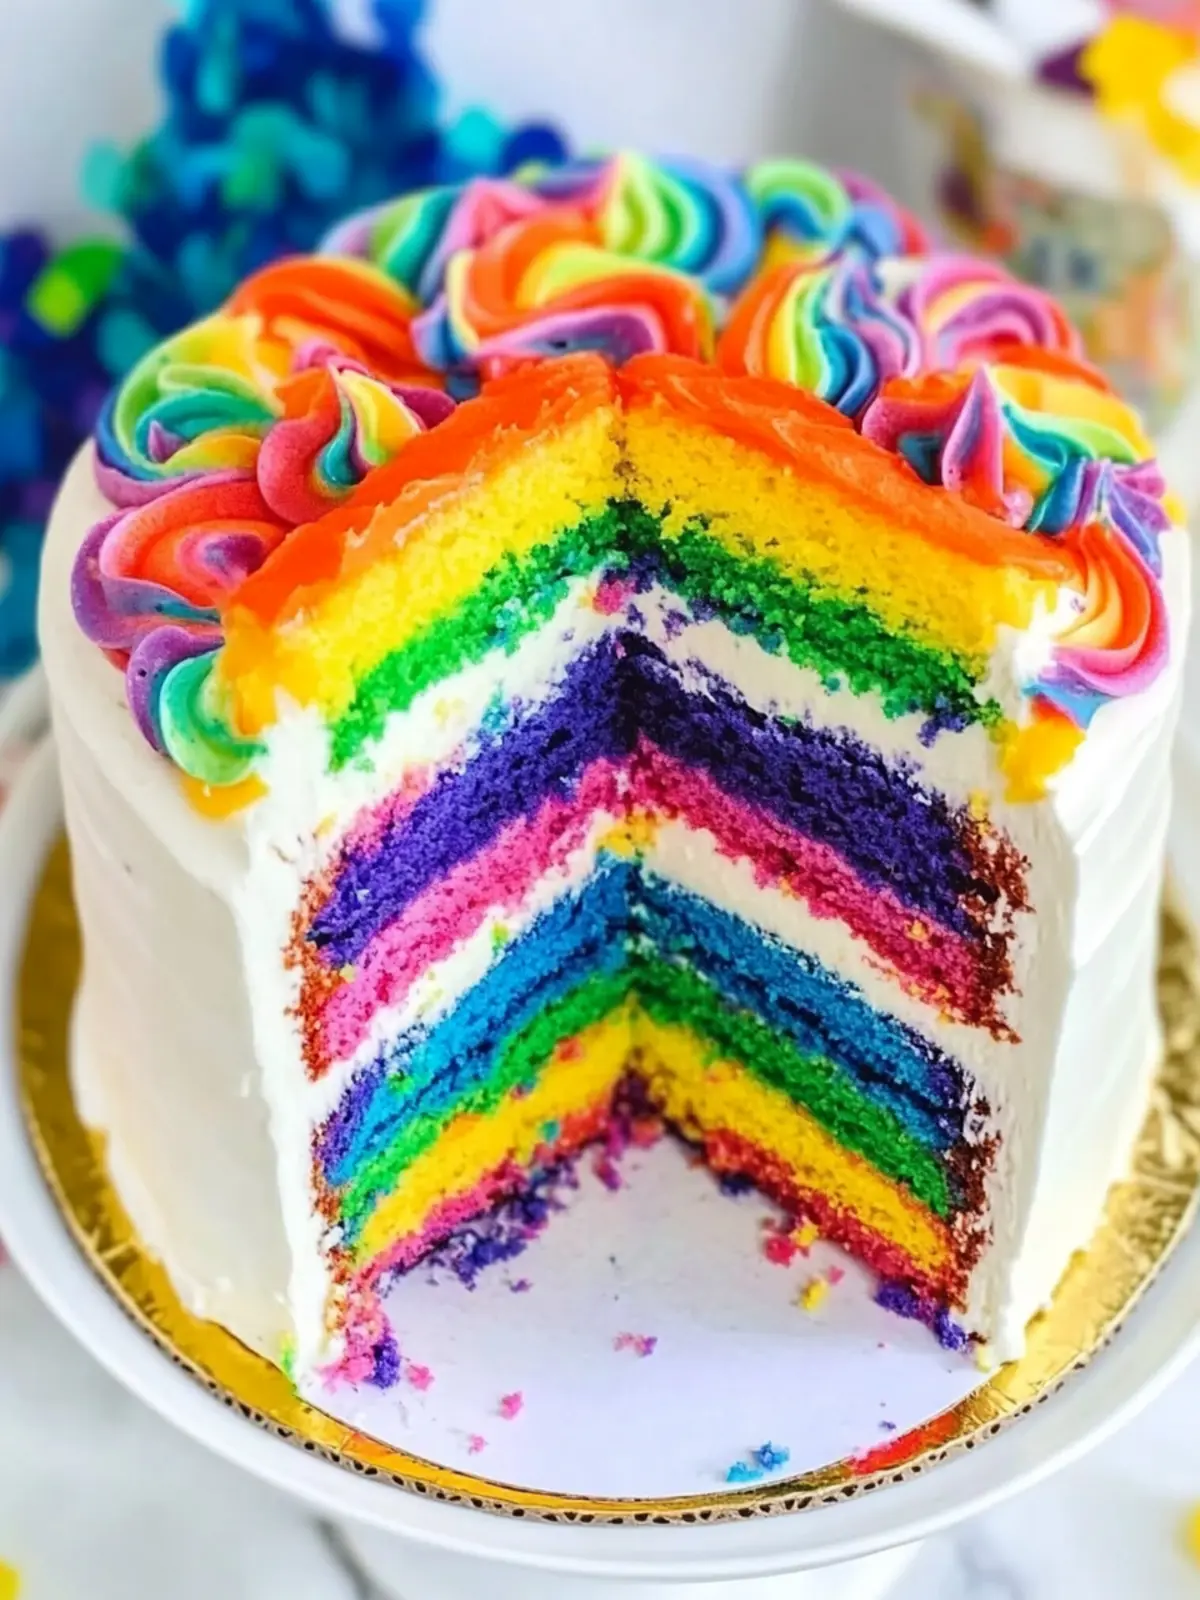
Pride Month Rainbow Swirl Cake to Brighten Your Celebrations
Ingredients
Equipment
Method
- Grease three 8-inch cake pans and line the bottoms with parchment paper circles. Preheat your oven to 350°F (176°C).
- In a medium bowl, whisk together the all-purpose flour, baking powder, and salt. Set aside.
- In a large mixing bowl, combine the unsalted butter, vegetable oil, and sugar. Beat until light and fluffy—about 3-4 minutes.
- Add the eggs two at a time, mixing well after each addition, and add the vanilla extract with the second batch.
- Gradually mix in half of your dry ingredient mixture, then buttermilk, and finally the remaining dry mixture until smooth.
- Divide the batter into six bowls. Add a drop of each gel icing color and fold gently until fully mixed.
- Spoon each color around the bottom of the prepared cake pans in the order of purple, blue, green, yellow, orange, and red.
- Bake for 28-33 minutes, checking with a toothpick until clean.
- Let the cakes cool in the pans for 2-3 minutes before transferring to wire racks. Cool completely.
- Beat together the salted butter and shortening until smooth. Gradually add half of the powdered sugar, mixing well.
- Add remaining powdered sugar and mix until silky smooth. Adjust consistency with water or milk as needed.
- Level the tops of cooled cake layers with a serrated knife for even stacking.
- Assemble with the first layer on a cake plate and spread about 1 cup of frosting over the top. Repeat with the remaining layers.
- Frost the outside of the entire cake, creating a smooth surface for decoration.
- Divide remaining frosting into six bowls, tint each with gel icing colors as before.
- Create a frosting log using a ziplock bag and pipe decorations around the cake edges.
- Store in an airtight container until serving.