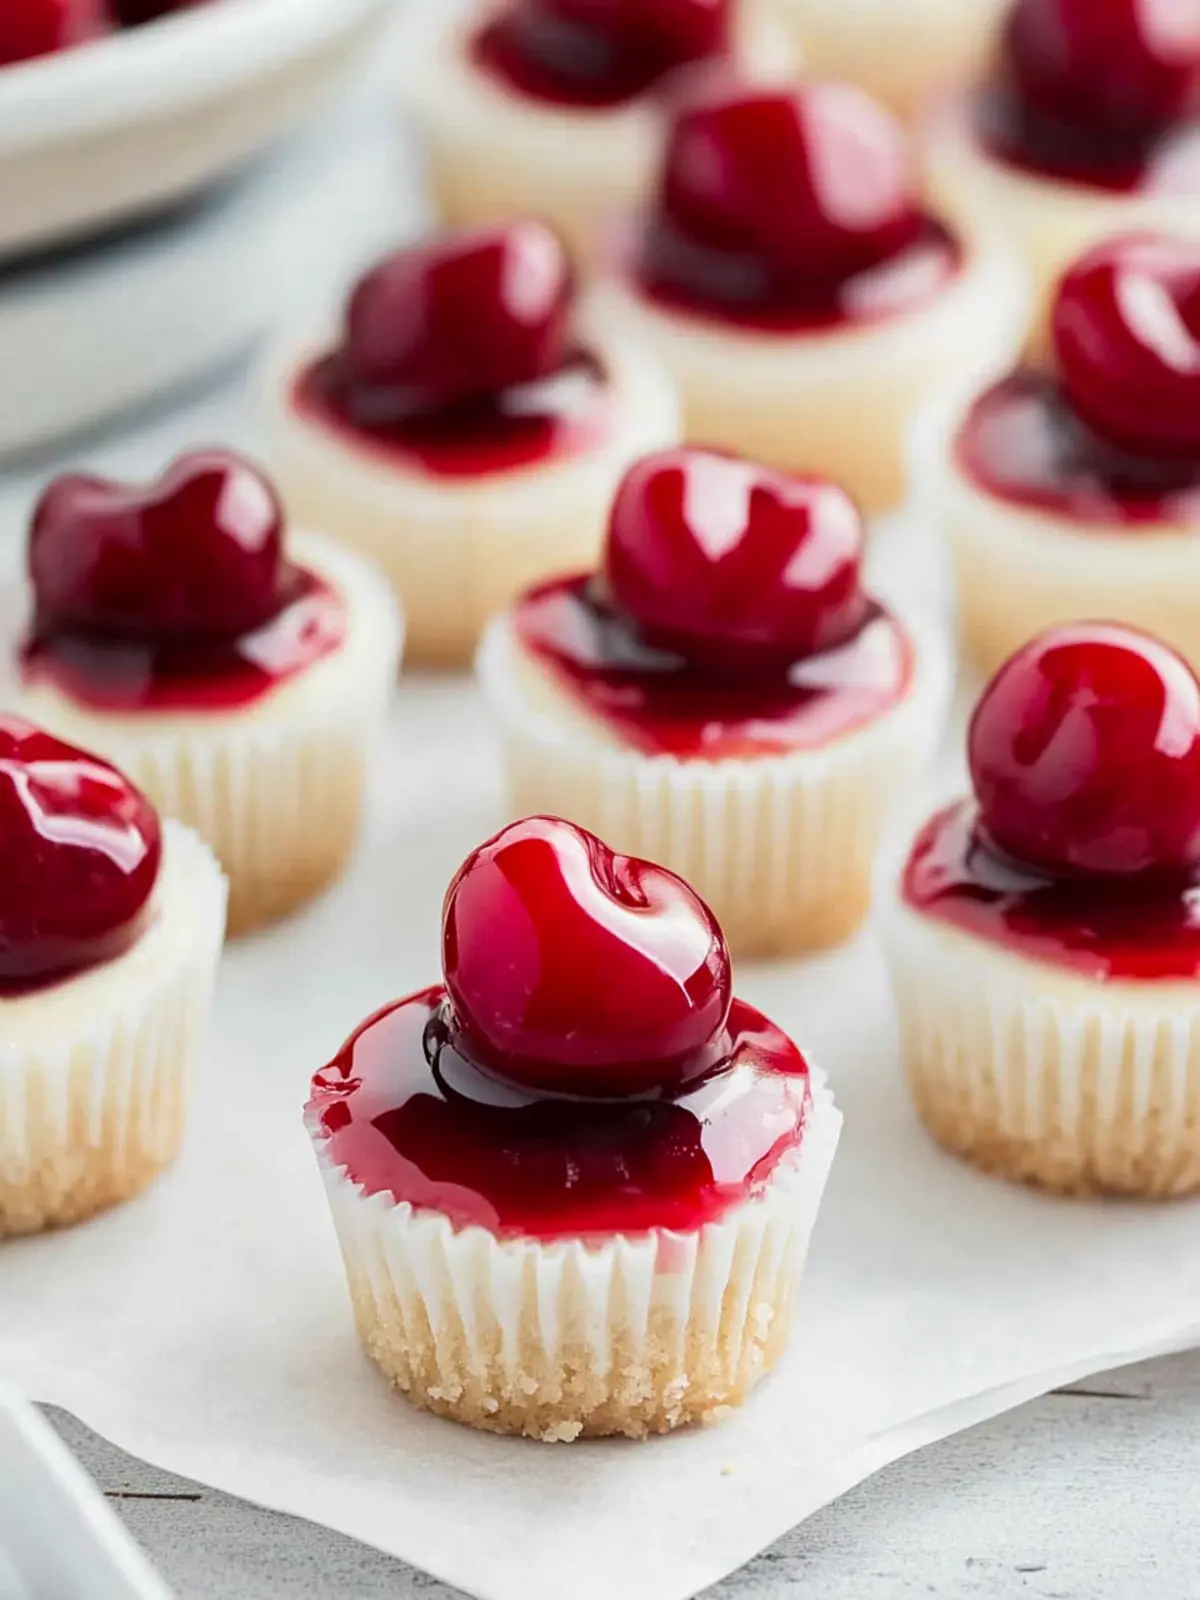
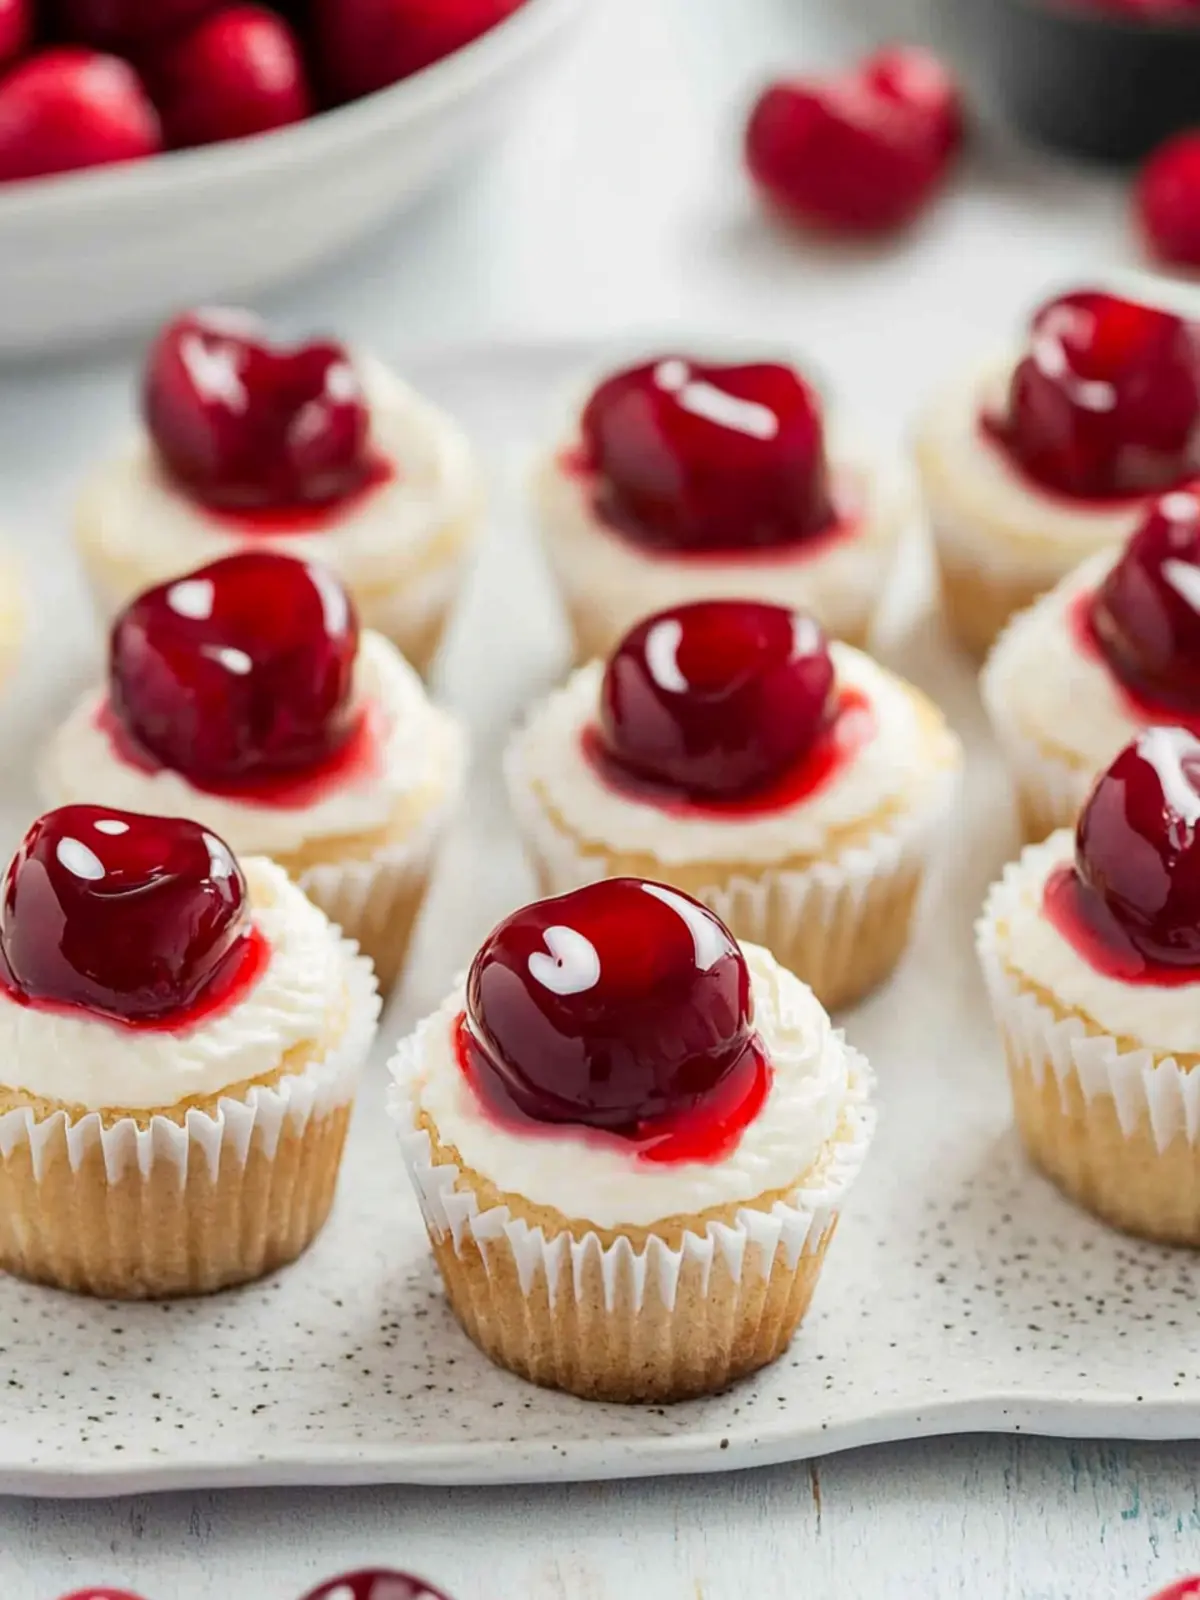
There’s a certain joy that comes with creating a dessert that brings a smile to everyone’s face, and these Mini Cherry Cheesecakes are just that delight! Imagine the creamy goodness of rich cream cheese perfectly balanced with the sweetness of cherry pie filling, all nestled in a buttery, crumbly crust. I still find it hard to believe how simple these are to make they transform an ordinary weekend into something special with barely any effort.
I stumbled upon this recipe during a quest to find something different for family gatherings. Once I made them, my loved ones couldn’t get enough of these bite-sized treats! Each cheesecake is a miniature explosion of flavor that’s perfect for sharing ideal for potlucks or just when you need a pick-me-up after a long day. So, if you’re ready to ditch the fast food mentality and dive into a world of homemade sweetness, let’s get started on these irresistible Mini Cherry Cheesecakes!
Why are Mini Cherry Cheesecakes a Must-Try?
Irresistible Bite-Sized Treats: Each mini cheesecake is a perfect blend of creamy and fruity flavors, making them a delightful indulgence.
Quick and Easy: With just 35 minutes total time, you can whip up a batch that will impress your family and friends.
Crowd-Pleasing Goodness: These cheesecakes are always a hit at gatherings, ensuring you’ll be the star of the event!
Versatile Topping Options: While cherry filling is a classic, feel free to experiment with your favorite toppings, like blueberries or chocolate drizzle.
Homemade Happiness: There’s a unique satisfaction in creating something from scratch that far surpasses any fast food dessert.
These Mini Cherry Cheesecakes truly elevate any occasion and will leave you and your guests wanting more!
Mini Cherry Cheesecake Ingredients
Get ready to create these delightful bites!
For the Crust
• Unsalted butter – ½ cup, melted for a rich, buttery flavor.
• Graham cracker crumbs – 1 ¼ cups, providing that classic cheesecake base.
• Granulated sugar – ¼ cup, sweetness to enhance the crust’s flavor.
For the Filling
• Large eggs – 2, crucial for achieving the perfect creamy texture.
• Cream cheese – 2 packages, softened to blend smoothly into the filling.
• Granulated sugar – 1 cup, ensuring just the right amount of sweetness.
• Vanilla extract – 1 teaspoon, adding a warm, aromatic note.
For the Topping
• Cherry pie filling – 21 ounces, for a fruity burst that crowns your Mini Cherry Cheesecakes with perfection.
Now that you have all the ingredients, let’s turn your kitchen into a baking haven!
How to Make Mini Cherry Cheesecakes
- Prepare the crust: Melt the ½ cup of unsalted butter in a saucepan or microwave, then mix it with the 1 ¼ cups of graham cracker crumbs and ¼ cup of sugar until well combined. Set this sweet mixture aside to cool slightly.
- Mix the filling: In a large mixing bowl, beat together the 1 cup of granulated sugar, 2 large eggs, 2 packages of softened cream cheese, and 1 teaspoon of vanilla extract until the mixture is smooth and creamy, about 2-3 minutes.
- Assemble in muffin pan: Line a mini muffin pan with paper liners. Press 1-2 teaspoons of the graham cracker crust mixture into the bottom of each liner. Then, fill each cup about ⅔ full with the cream cheese filling, creating a gorgeous layer of cheesecake.
- Bake: Preheat your oven to 350°F (175°C). Bake the cheesecakes for about 17-20 minutes until the centers are just set and a little giggly. Let them cool completely before removing from the pan.
- Top with cherries: When ready to serve, generously spoon about 1 tablespoon of cherry pie filling onto each mini cheesecake, adding a burst of fruity flavor and color.
Optional: Garnish with a sprinkle of crushed graham crackers for extra texture!
Exact quantities are listed in the recipe card below.
What to Serve with Mini Cherry Cheesecakes?
Creating the perfect dessert is only half the fun; let’s explore delicious pairings that will take your gathering to a whole new level.
- Light Fruit Salad: A refreshing mix of seasonal fruits balances the richness of the cheesecakes, making for a bright, palate-cleansing option.
- Whipped Cream: Add a dollop of freshly whipped cream on top of each cheesecake for an airy texture that complements the dense filling beautifully.
- Chocolate Drizzle: A simple drizzle of melted chocolate adds a luxurious touch and an extra layer of flavor to each mini cheesecake.
- Coffee or Tea: Serve with a warm cup of coffee or tea to enhance the dessert experience, as the flavors meld in delightful harmony.
- Ice Cream: Pair with a scoop of vanilla or cherry ice cream for a delightful contrast between temperatures and textures, creating a comforting treat.
- Mini Cookie Platter: A mix of chocolate chip and oatmeal cookies creates a varied dessert table, elevating everyone’s sweet tooth excitement on occasion.
- Sparkling Wine: A chilled glass of sparkling wine or Prosecco pairs beautifully with the cheesecakes, adding a celebratory flair to your gathering.
These pairings will elevate your Mini Cherry Cheesecakes and make your gathering unforgettable!
Make Ahead Options
These Mini Cherry Cheesecakes are perfect for meal prep, making entertaining a breeze! You can prepare the graham cracker crust up to 24 hours in advance by mixing the butter, graham cracker crumbs, and sugar, then storing it in an airtight container in the refrigerator. Additionally, the cheesecake filling can be made up to 3 days ahead. Just combine the sugar, eggs, cream cheese, and vanilla, and refrigerate it in a sealed bowl until you’re ready to bake. When you’re ready to serve, simply press the crust into the muffin pan, fill with the chilled batter, bake, and top with the cherry pie filling for just-as-delicious results. This way, you can enjoy delightful homemade treats without the last-minute rush!
Expert Tips for Mini Cherry Cheesecakes
• Perfect Crust Ratio: Aim for just the right amount of crust in each muffin cup. Too much can overpower the cheesecake; too little may crumble.
• Room Temperature Cream Cheese: Ensure your cream cheese is softened to room temperature before mixing. This prevents lumps and guarantees a smooth filling for your Mini Cherry Cheesecakes.
• Don’t Overbake: Remove the cheesecakes when the centers are a bit wobbly; they’ll firm up as they cool. Overbaking can lead to a dry texture.
• Cooling Time: Allow the cheesecakes to cool completely in the pan before moving them to a wire rack. This helps set their structure for easy removal.
• Topping Variations: While cherry pie filling is delightful, consider adding fresh fruit, chocolate ganache, or a dollop of whipped cream for exciting flavor variations!
How to Store and Freeze Mini Cherry Cheesecakes
Fridge: Keep your Mini Cherry Cheesecakes in an airtight container for up to 5 days. This will keep them fresh and creamy for your satisfaction!
Freezer: For longer storage, freeze individual cheesecakes in a single layer on a baking sheet until solid, then transfer to a freezer-safe container for up to 2 months.
Thawing: To enjoy, simply transfer the desired number of frozen Mini Cherry Cheesecakes to the fridge overnight or leave them at room temperature for about 30 minutes before serving.
Reheating: If serving warm, gently microwave for about 10-15 seconds to take the chill off, ensuring not to overheat and lose that delicious creaminess!
Flavorful Mini Cherry Cheesecake Variations
Feel free to get creative and customize these delicious treats with a few delightful twists!
- Chocolate Drizzle: Top each cheesecake with a rich chocolate ganache for an indulgent layer of flavor. The perfect combination of sweet and decadent!
- Fruit Swirl: Blend in some pureed strawberries or blueberries into the cream cheese filling for a fruit-forward twist. Your cheesecakes will take on a lovely color and added freshness.
- Nutty Addition: Incorporate finely chopped nuts, like almonds or pecans, into the crust for a delightful crunch. This adds a satisfying texture that complements the creaminess of the filling.
- Spiced Delight: Add a pinch of cinnamon or a dash of pumpkin spice to the filling for a warm undertone. Perfect for autumn vibes while still keeping it light and fun!
- Dairy-Free Option: Swap out the cream cheese for a non-dairy cream cheese alternative and use coconut oil in the crust for a dairy-free version that keeps all the flavors intact.
- Miniature Lemon Zest: Grate some lemon peel into the filling for a tangy brightness that pairs beautifully with the cherry topping. It adds a lovely zing without overpowering the dish.
- Baked Coconut: Replace a portion of the graham cracker crumbs with shredded coconut for a tropical twist. The toasty coconut flavor will transport you straight to the beach!
- Fiery Kick: Add a hint of cayenne pepper or crushed red pepper flakes to the crust for a surprising touch of heat. The blending of sweet and spicy will have folks coming back for more!
Embrace these variations to make each batch of Mini Cherry Cheesecakes uniquely yours!
Mini Cherry Cheesecakes Recipe FAQs
What type of cherries are best for Mini Cherry Cheesecakes?
Absolutely! For the topping, you can use canned cherry pie filling, which is already delicious and convenient. If you’re feeling adventurous, fresh cherries or a homemade cherry sauce made from ripe cherries can add a lovely touch. Just make sure they are ripe and sweet for the best flavor!
How should I store Mini Cherry Cheesecakes?
Storing is easy! Keep your Mini Cherry Cheesecakes in an airtight container in the fridge, and they will stay fresh for up to 5 days. Just make sure they are completely cooled before sealing the container to avoid any condensation.
Can I freeze Mini Cherry Cheesecakes?
Very! You can freeze these delightful treats for up to 2 months. To freeze, place them on a baking sheet in a single layer, and freeze until solid. Then, transfer them to a freezer-safe container. When you’re ready to enjoy, just thaw them in the fridge overnight—trust me, they taste just as incredible!
What should I do if my Mini Cherry Cheesecakes sink in the middle?
If you notice that your cheesecakes have sunk in the middle, this could be due to overmixing or overbaking. Make sure to mix the filling just until smooth, and check for doneness around the 17-minute mark. The centers should be slightly jiggly before cooling, as they will firm up afterward.
What if I have allergies to gluten or dairy?
I understand the importance of dietary restrictions! For gluten-free options, use gluten-free graham crackers to make your crust. If you’re dealing with dairy allergies, you can substitute cream cheese with vegan cream cheese alternatives available in stores. Just ensure that the rest of your ingredients align with your dietary needs!
How are leftover cheesecakes best reheated?
If you’ve got some leftovers, you can gently reheat them to take off the chill. Just pop them in the microwave for about 10-15 seconds. Be careful not to overheat them, as you want to retain their creamy goodness without turning them into a melted mess!

Delicious Mini Cherry Cheesecakes for Your Next Gathering
Ingredients
Equipment
Method
- Melt the 1/2 cup of unsalted butter, then mix with 1 1/4 cups of graham cracker crumbs and 1/4 cup of sugar until well combined.
- In a large bowl, beat together 1 cup of granulated sugar, 2 large eggs, 2 packages of softened cream cheese, and 1 teaspoon of vanilla extract until smooth.
- Line a mini muffin pan with paper liners and press 1-2 teaspoons of the graham cracker mixture into each liner. Fill each about 2/3 full with the cream cheese filling.
- Preheat oven to 350°F (175°C) and bake for 17-20 minutes until centers are just set. Let cool completely before removing.
- Top each mini cheesecake with about 1 tablespoon of cherry pie filling before serving.


