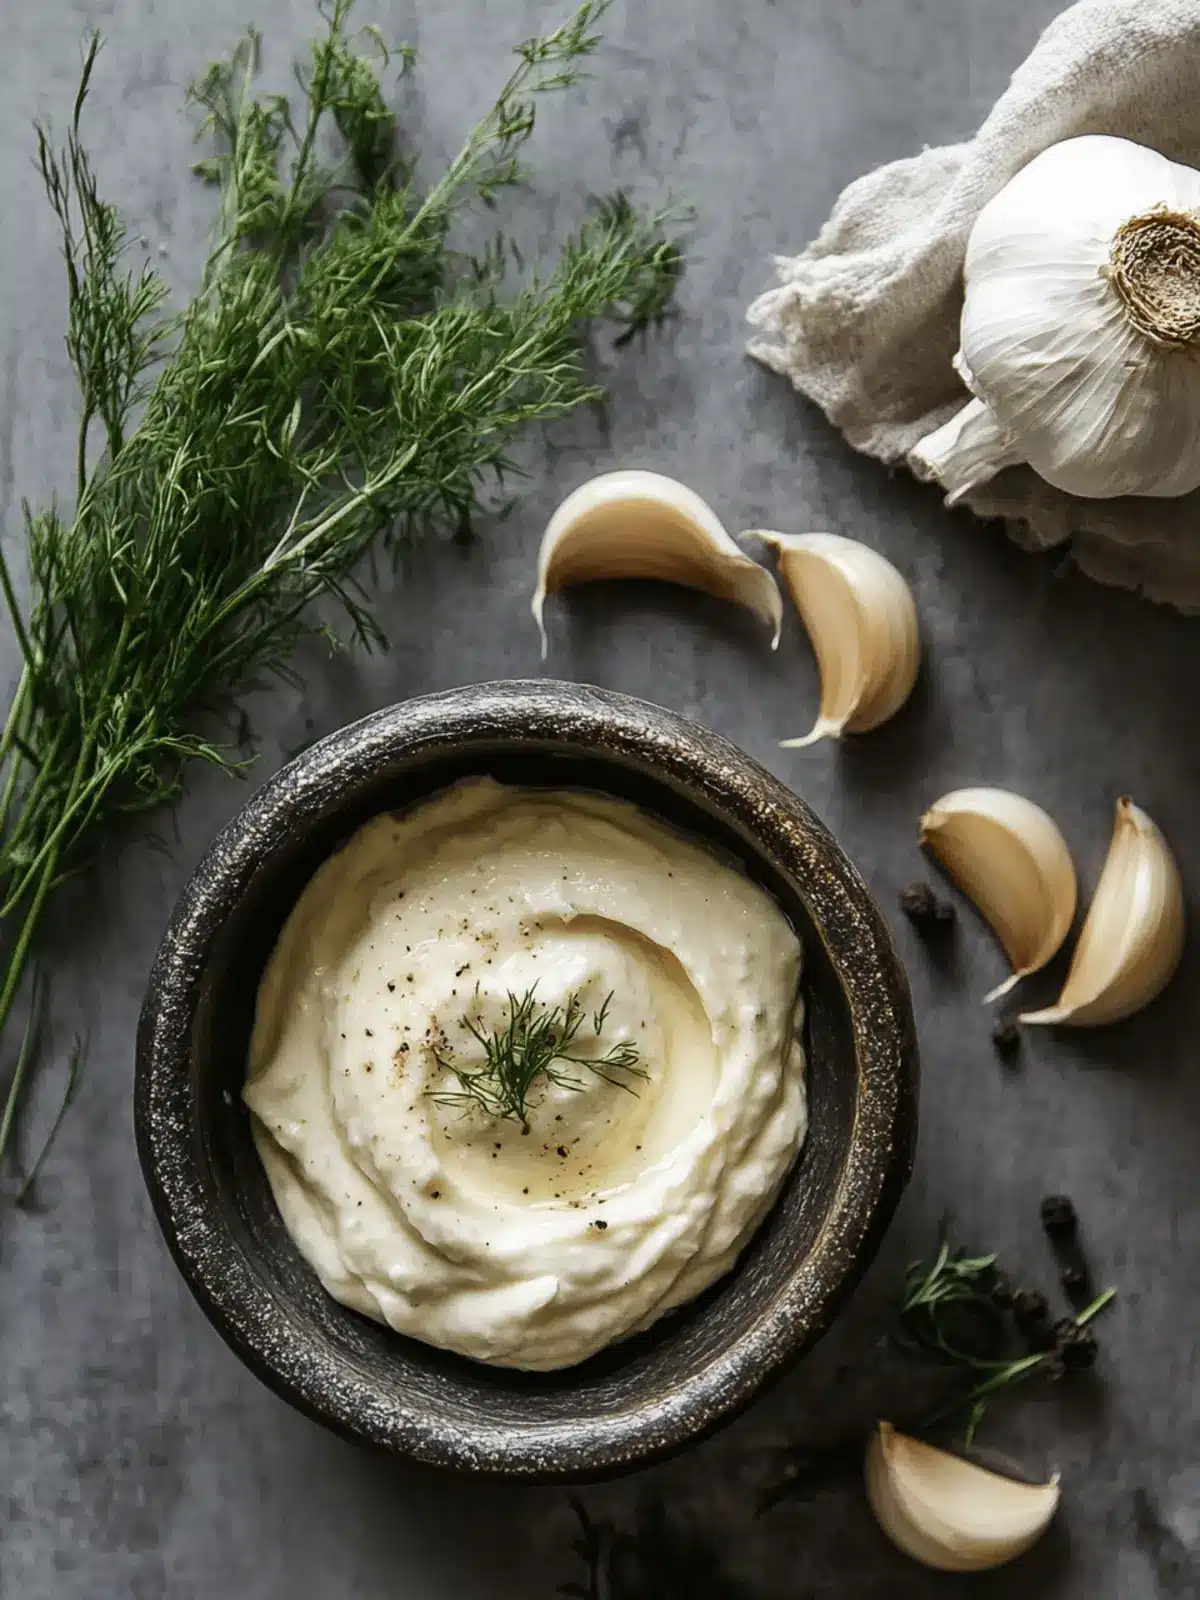
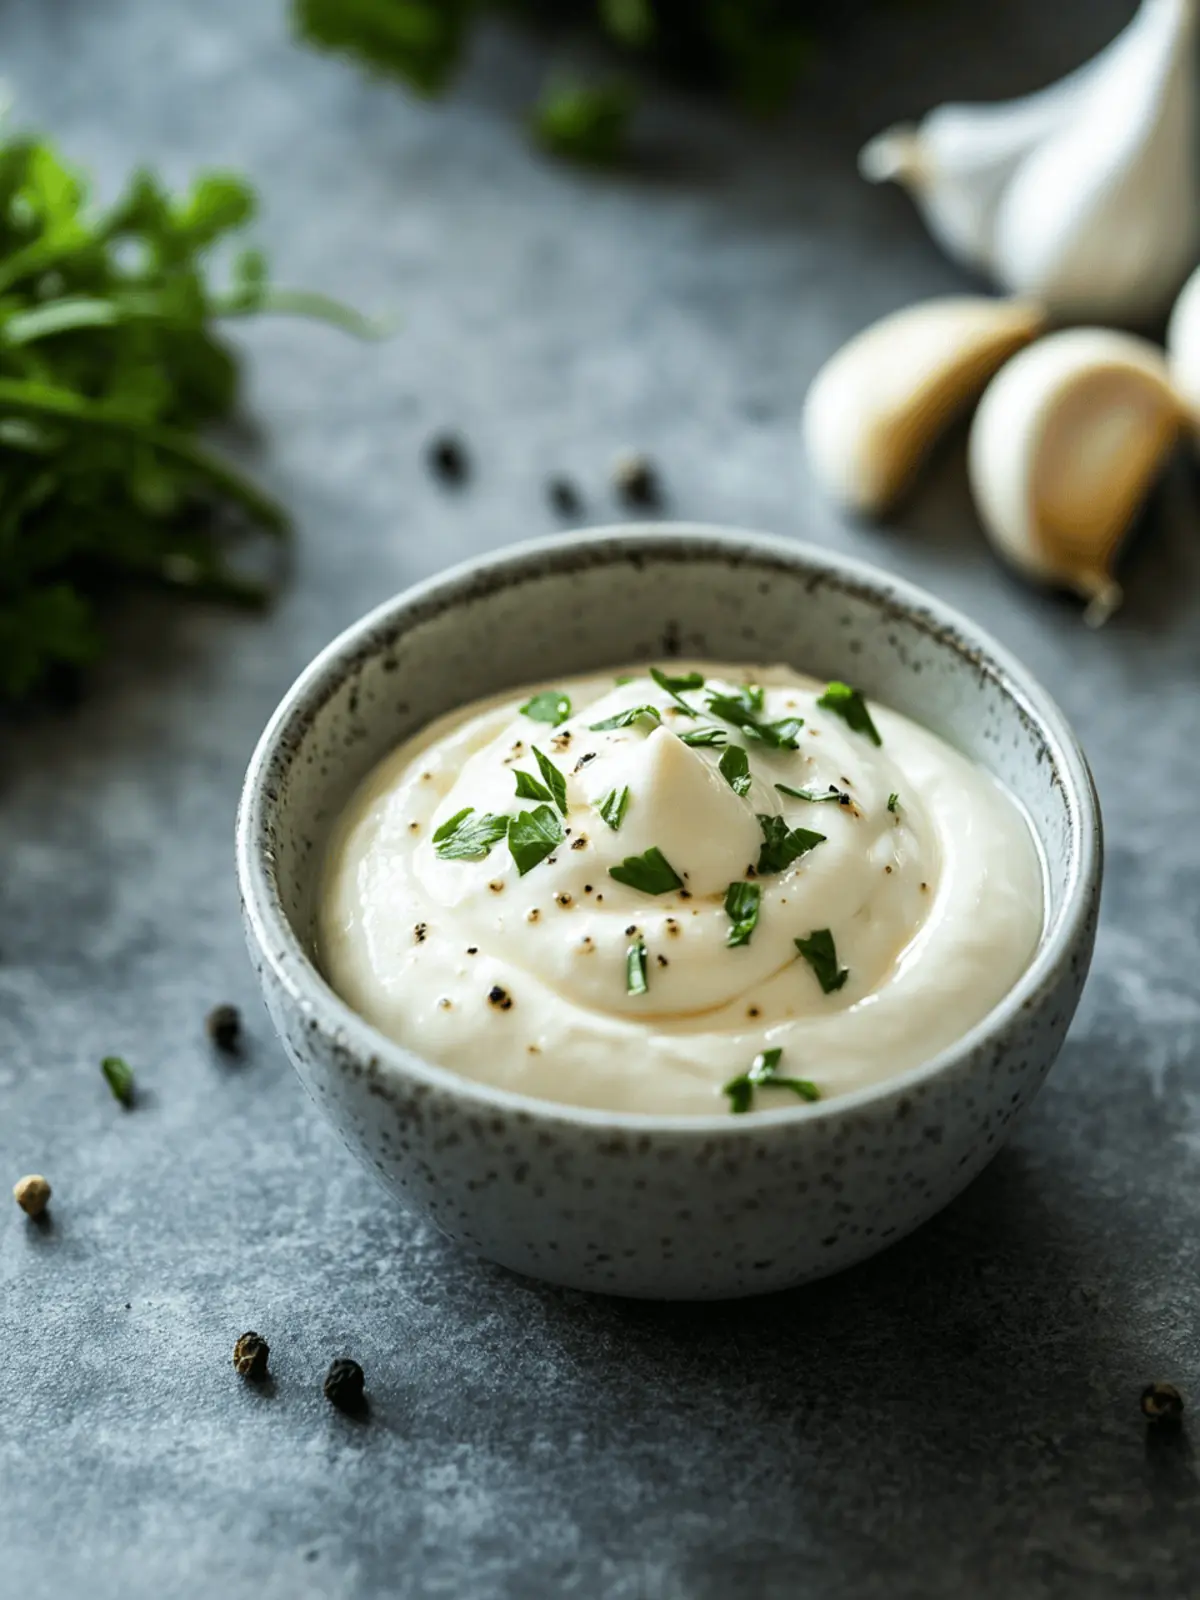
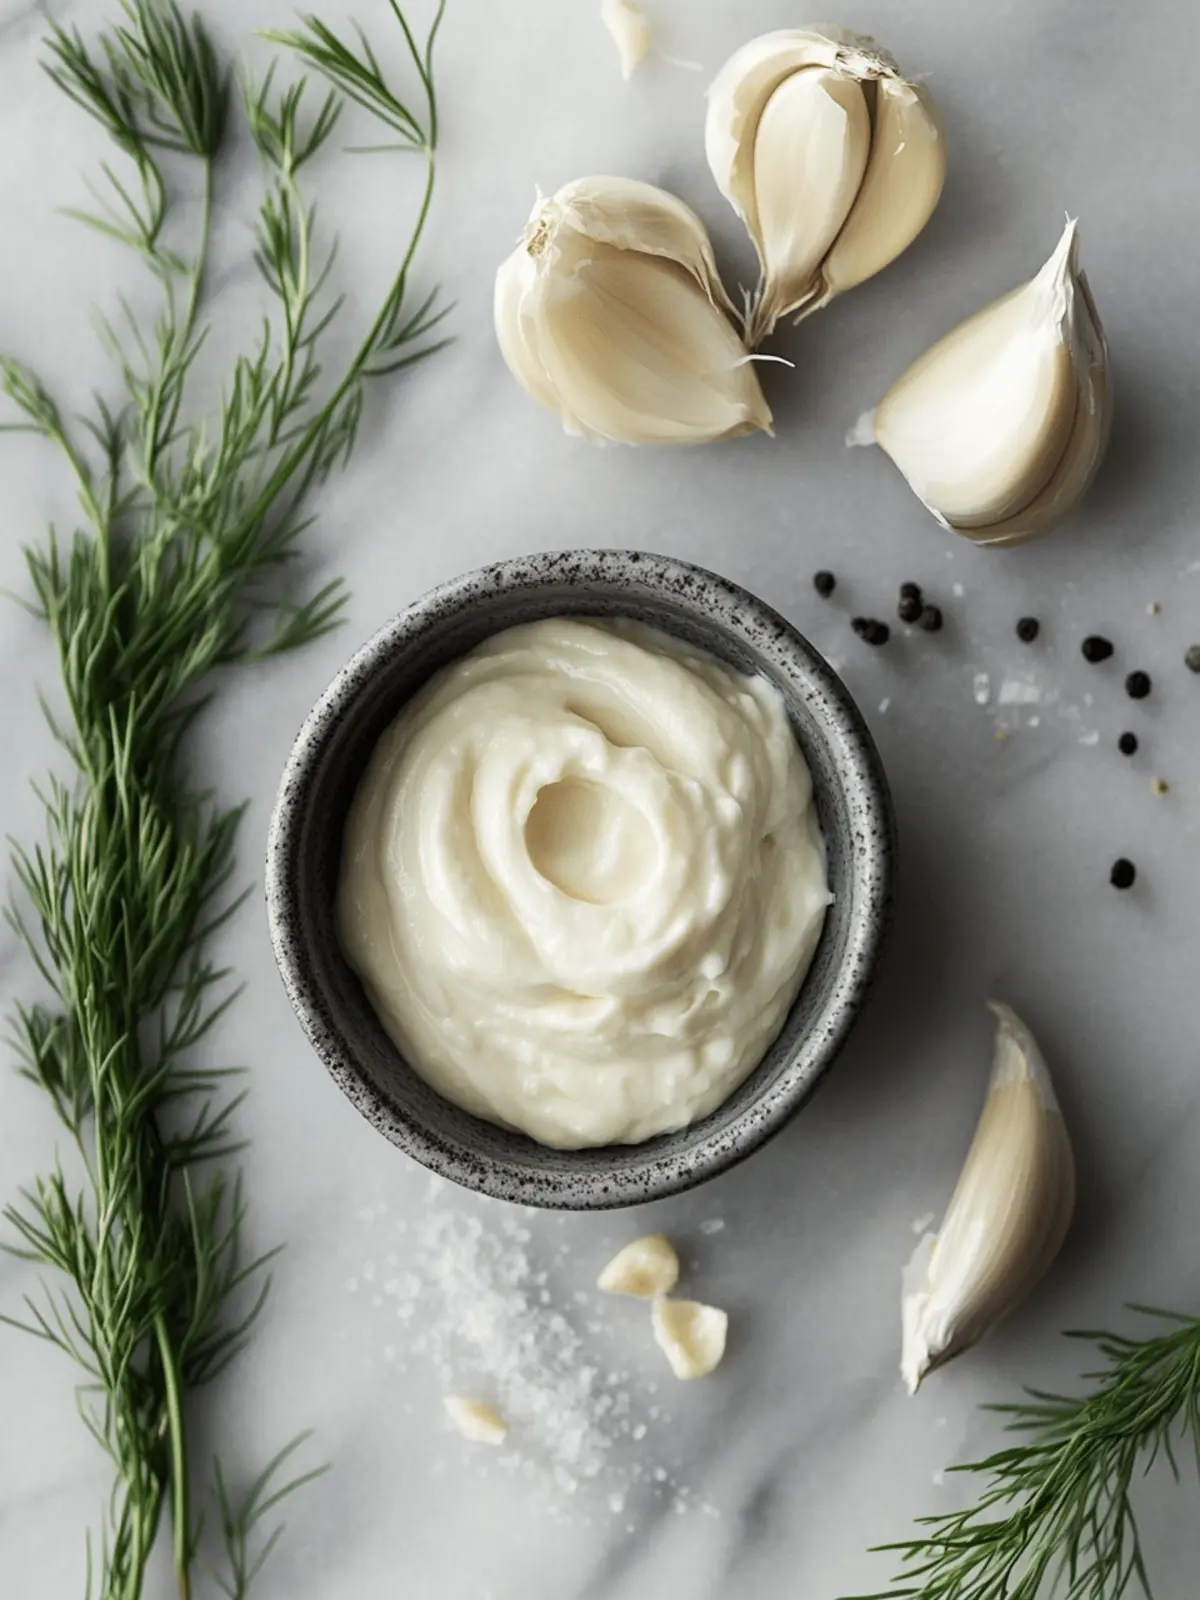
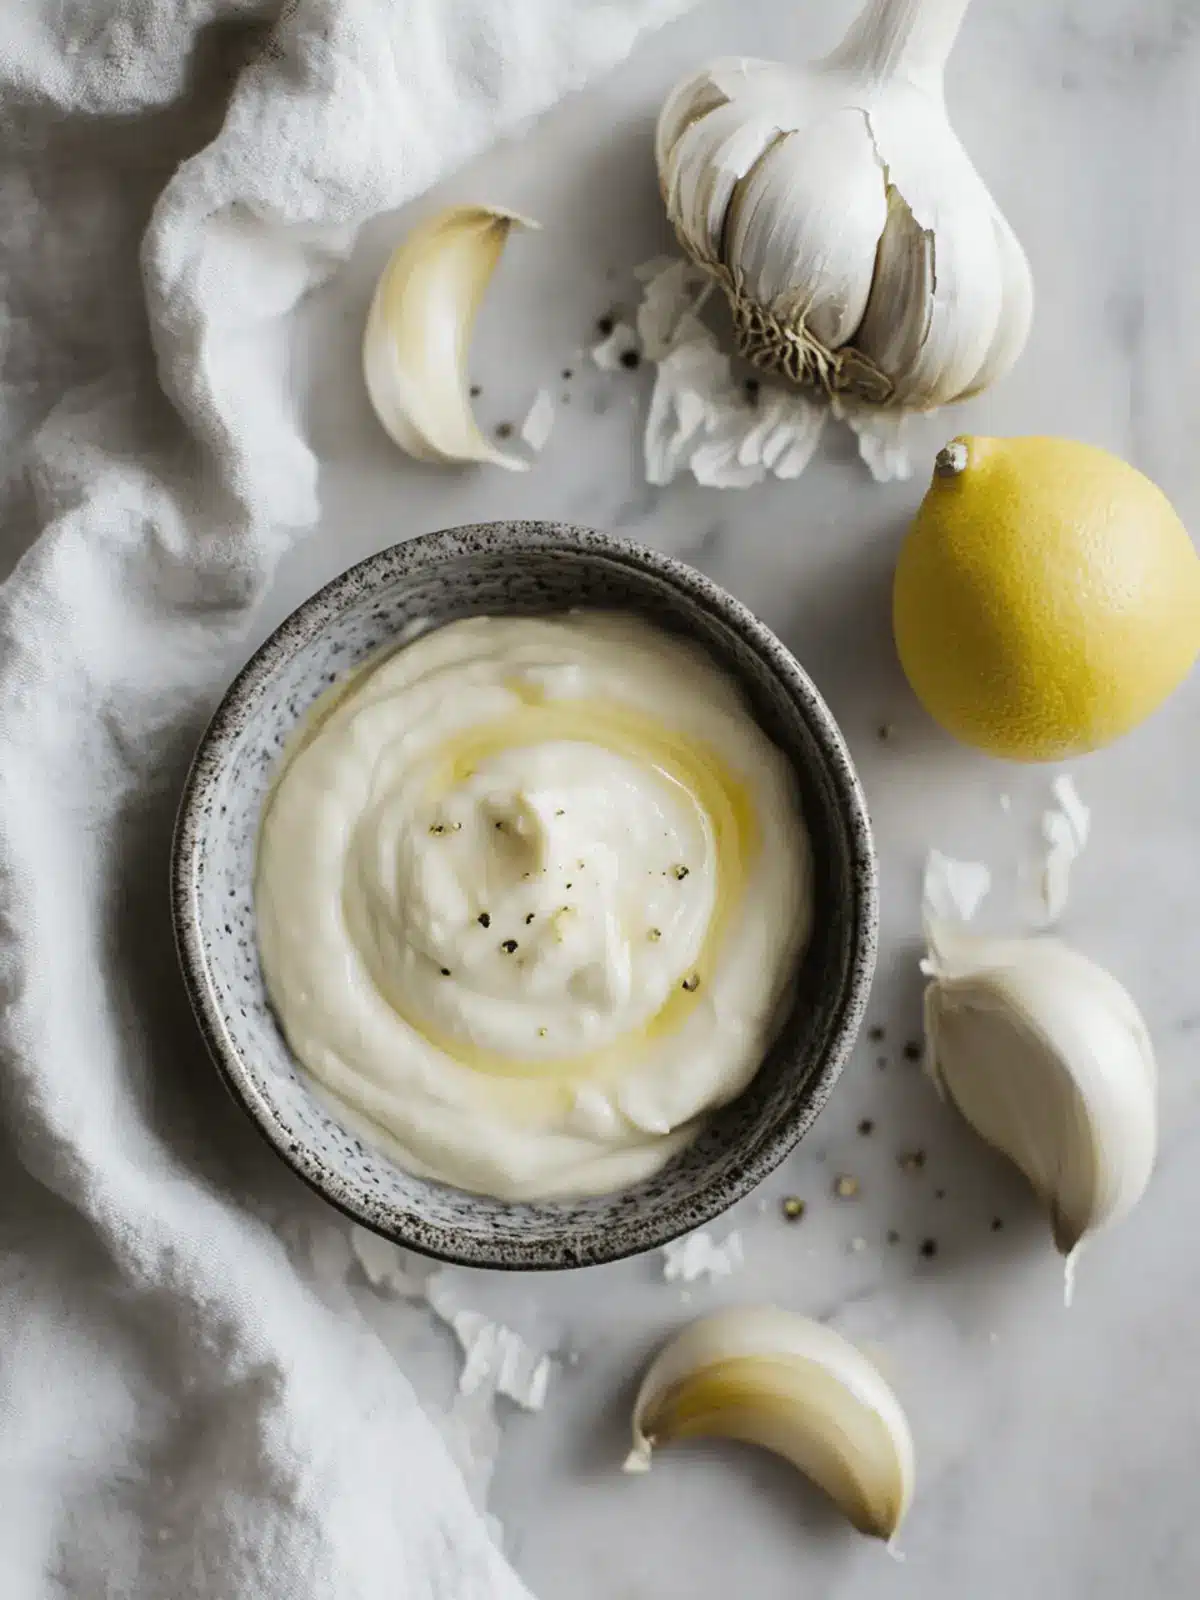
As the sun begins to set and the aroma of freshly roasted garlic dances through the air, I can’t help but smile knowing that a simple tub of store-bought aioli could never rival the richness of homemade Garlic Aioli. This quick and creamy concoction is a game changer in my kitchen, transforming ordinary meals into something extraordinary. With just six ingredients and five minutes of your time, you’ll create a bold, garlicky dip that pairs perfectly with crispy French fries, satisfies as a spread for sandwiches, and even brings a zing to your favorite wraps.
Living in a fast-paced world often leads us to settle for bland, store-bought condiments. However, I once found myself yearning for that fresh, homemade touch something that would rekindle the joy of good food. This Garlic Aioli is my answer, and I can confidently say it will quickly become a staple in your cooking repertoire, delighting friends and family alike! Let’s dive into this simple recipe that promises a flavor explosion with every bite.
Why is Garlic Aioli a Must-Try?
Unmatched Freshness: Creating your own Garlic Aioli allows you to experience flavors that store-bought versions simply can’t match.
Speedy Preparation: With just 5 minutes of your time, you’ll have a delectable condiment ready to elevate any dish!
Versatile Uses: Whether as a dip for crispy fries, a spread for sandwiches, or a zingy addition to wraps, this aioli fits all occasions.
Simple Ingredients: With only six everyday ingredients, you probably already have them in your kitchen, making this recipe incredibly accessible.
Crowd-Pleasing Flavor: Your friends and family will be begging for the recipe once they try this creamy, garlicky delight!
Garlic Aioli Ingredients
• A quick note: This Garlic Aioli is not only easy to make but uses everyday ingredients you likely have on hand!
For the Base
- Mayonnaise – A high-quality mayonnaise like Hellmann’s offers the best flavor for this creamy dip.
- Garlic – Freshly grated garlic lends robust and vibrant flavor—avoid pre-minced for a fresher taste.
For Flavor Enhancement
- Lemon Juice – Fresh lemon juice adds a delightful acidity that brightens the overall taste.
- Salt – Enhances the flavors and balances the richness of the mayonnaise.
- Sugar – Just a pinch helps to balance the tanginess and brings harmony to the flavors.
- Ground Black Pepper – Adds subtle heat and depth, enhancing the overall profile of the aioli.
- Garlic Powder – Provides an extra layer of garlic flavor, adding a nutty note to the mix.
How to Make Garlic Aioli
- Combine Ingredients: In a small bowl, add the mayonnaise, freshly grated garlic, lemon juice, salt, sugar, ground black pepper, and garlic powder.
- Whisk Together: Use a whisk to blend all the ingredients until smooth and creamy, ensuring there are no lumps. This should take about a minute.
- Chill: Place the bowl in the refrigerator for at least 15 minutes. This allows the flavors to meld beautifully and enhances the overall taste.
- Serve: Once chilled, serve your delicious Garlic Aioli with crispy French fries, onion rings, or as a flavorful spread on sandwiches and wraps.
- Store Leftovers: If you have any leftover aioli, store it in an airtight container in the refrigerator, where it will stay fresh for up to 5 days.
Optional: Drizzle with olive oil and sprinkle chopped herbs for an elegant presentation.
Exact quantities are listed in the recipe card below.
How to Store and Freeze Garlic Aioli
Fridge: Store leftover garlic aioli in an airtight container in the refrigerator for up to 5 days, ensuring it stays fresh and flavorful.
Freezer: Garlic aioli is not recommended for freezing due to its mayonnaise base, which may separate and change texture once thawed.
Reheating: If you want to use the aioli after storing, it’s best served cold; simply give it a good stir before serving to mix any separated ingredients.
Make-Ahead Tip: This garlic aioli can be made up to 5 days in advance, perfect for prepping ahead of gatherings or busy weeknights.
Make Ahead Options
Preparing your Garlic Aioli ahead of time is a fantastic way to save precious minutes on busy weeknights! You can make the aioli up to 5 days in advance; simply follow the recipe and refrigerate the finished aioli in an airtight container. This not only allows the flavors to deepen but also ensures it’s just as delicious when served. To maintain its creamy texture, store it properly, and give it a good stir before using. When you’re ready to enjoy, serve it chilled alongside your favorite snacks like fries or onion rings. With this make-ahead strategy, you’ll always have a homemade condiment ready to elevate your meals!
Garlic Aioli Variations
Dive into the delightful world of flavors by customizing your Garlic Aioli to suit your taste.
- Greek Yogurt: Swap out some mayonnaise for Greek yogurt to create a tangy, lighter version that’s still creamy.
- Herb-Infused: Add chopped fresh herbs like basil, parsley, or chives to infuse your aioli with vibrant, garden-fresh flavors.
- Spicy Kick: Mix in a dash of hot sauce or a pinch of cayenne pepper for a fiery twist that will invigorate your taste buds.
- Smoky Flavor: Incorporate smoked paprika for a savory, smoky aioli that adds depth to sandwiches and wraps alike.
- Lemon Zest: Grate some fresh lemon zest into the mixture to amplify its brightness and add an aromatic flair.
- Roasted Garlic: Instead of raw garlic, use roasted garlic for a sweeter, milder flavor that’s perfect for garlic lovers.
- Nutty Addition: Stir in some tahini for a creamy, nutty note that brings a unique flair to your aioli.
- Vegetable Boost: Blend in pureed roasted red peppers or sun-dried tomatoes for a colorful, flavorful shot of veggies in your aioli.
What to Serve with Garlic Aioli?
Elevate your meal with delightful pairings that complement the creamy, garlicky goodness of homemade aioli.
- Crispy French Fries: The classic pairing, golden fries and rich aioli create a textural harmony that’s simply irresistible.
- Onion Rings: Their crunch and sweetness contrast beautifully with the savory, creamy aioli, making each bite a complete treat.
- Roasted Vegetables: Tossed in olive oil and herbs, the warm, caramelized flavors of roasted veggies provide a hearty balance to the aioli’s brightness.
- Grilled Cheese Sandwiches: Spread this garlicky dip on your favorite sandwich for an added punch that makes comfort food even more comforting.
- Artichokes: This unique pairing highlights the garlic’s potency, as you dip the tender leaves into the creamy aioli, creating a gourmet experience.
- Charcuterie Board: Add aioli as a dip alongside cured meats, cheeses, and crackers to round out flavors for a crowd-pleasing platter.
- Salads: Use aioli as a creamy dressing on a fresh salad; it coats greens in flavor while keeping things exciting and unique.
- Seafood: Pair with crispy shrimp or fish sticks; the aioli enhances the seafood flavors, giving it a rich, delicious twist.
- Beer or Wine: Complement your meal with a light beer or a chilled white wine for a refreshing finish that balances the richness of the aioli.
Expert Tips for Garlic Aioli
- Chill for Flavor: Let the garlic aioli sit in the fridge for at least 15 minutes to enhance the flavors; skipping this step can result in a bland dip.
- Fresh Garlic Only: Use freshly grated garlic rather than pre-minced to avoid a harsh taste and elevate your aioli’s flavor.
- Adjust Garlic Level: For a milder flavor, simply reduce the amount of grated garlic while still maintaining that beloved garlicky punch.
- Quality Mayonnaise Matters: Opt for a high-quality mayonnaise like Hellmann’s; it makes a noticeable difference in the creaminess and overall taste of your garlic aioli.
- Experiment with Add-ins: Get creative! Adding herbs or spices is a fun way to customize your garlic aioli while keeping the foundation consistent.
Garlic Aioli Recipe FAQs
What type of mayonnaise is best for Garlic Aioli?
I absolutely recommend using a high-quality mayonnaise like Hellmann’s for the best flavor. It really serves as the creamy base of the aioli, enhancing its overall richness and ensuring a delicious condiment that stands out.
How should I store leftover Garlic Aioli?
To keep your garlic aioli fresh, transfer any leftovers into an airtight container and store it in the refrigerator. It should stay good for about 5 days—just give it a good stir before serving again!
Can I freeze Garlic Aioli?
Freezing garlic aioli isn’t recommended because the mayonnaise base can separate and change texture upon thawing. If you’re looking to prepare it in advance, make it up to 5 days ahead and refrigerate instead for the best results.
What if I don’t have fresh garlic? Can I use pre-minced garlic?
Yes, you can use pre-minced garlic in a pinch, but I often suggest using freshly grated garlic for a more vibrant flavor. If you choose to use the pre-minced variety, just remember that it may impart a slightly harsher taste.
How can I adjust the garlic flavor in my aioli?
If you prefer a milder garlic flavor, simply reduce the amount of grated garlic. Start with a teaspoon and adjust according to your taste. You can always add more if you desire that bold punch!
How long should I let my Garlic Aioli chill before serving?
Allow your aioli to chill in the refrigerator for at least 15 minutes. This step is crucial, as it lets the flavors meld beautifully, resulting in a creamy and deliciously garlicky condiment that will elevate your meals!

Simple Garlic Aioli: Creamy Flavor Boost in 5 Minutes
Ingredients
Equipment
Method
- In a small bowl, add the mayonnaise, freshly grated garlic, lemon juice, salt, sugar, ground black pepper, and garlic powder.
- Use a whisk to blend all the ingredients until smooth and creamy, ensuring there are no lumps. This should take about a minute.
- Place the bowl in the refrigerator for at least 15 minutes to let the flavors meld.
- Once chilled, serve the Garlic Aioli with crispy French fries, onion rings, or as a spread on sandwiches.
- If you have any leftover aioli, store it in an airtight container in the refrigerator for up to 5 days.


