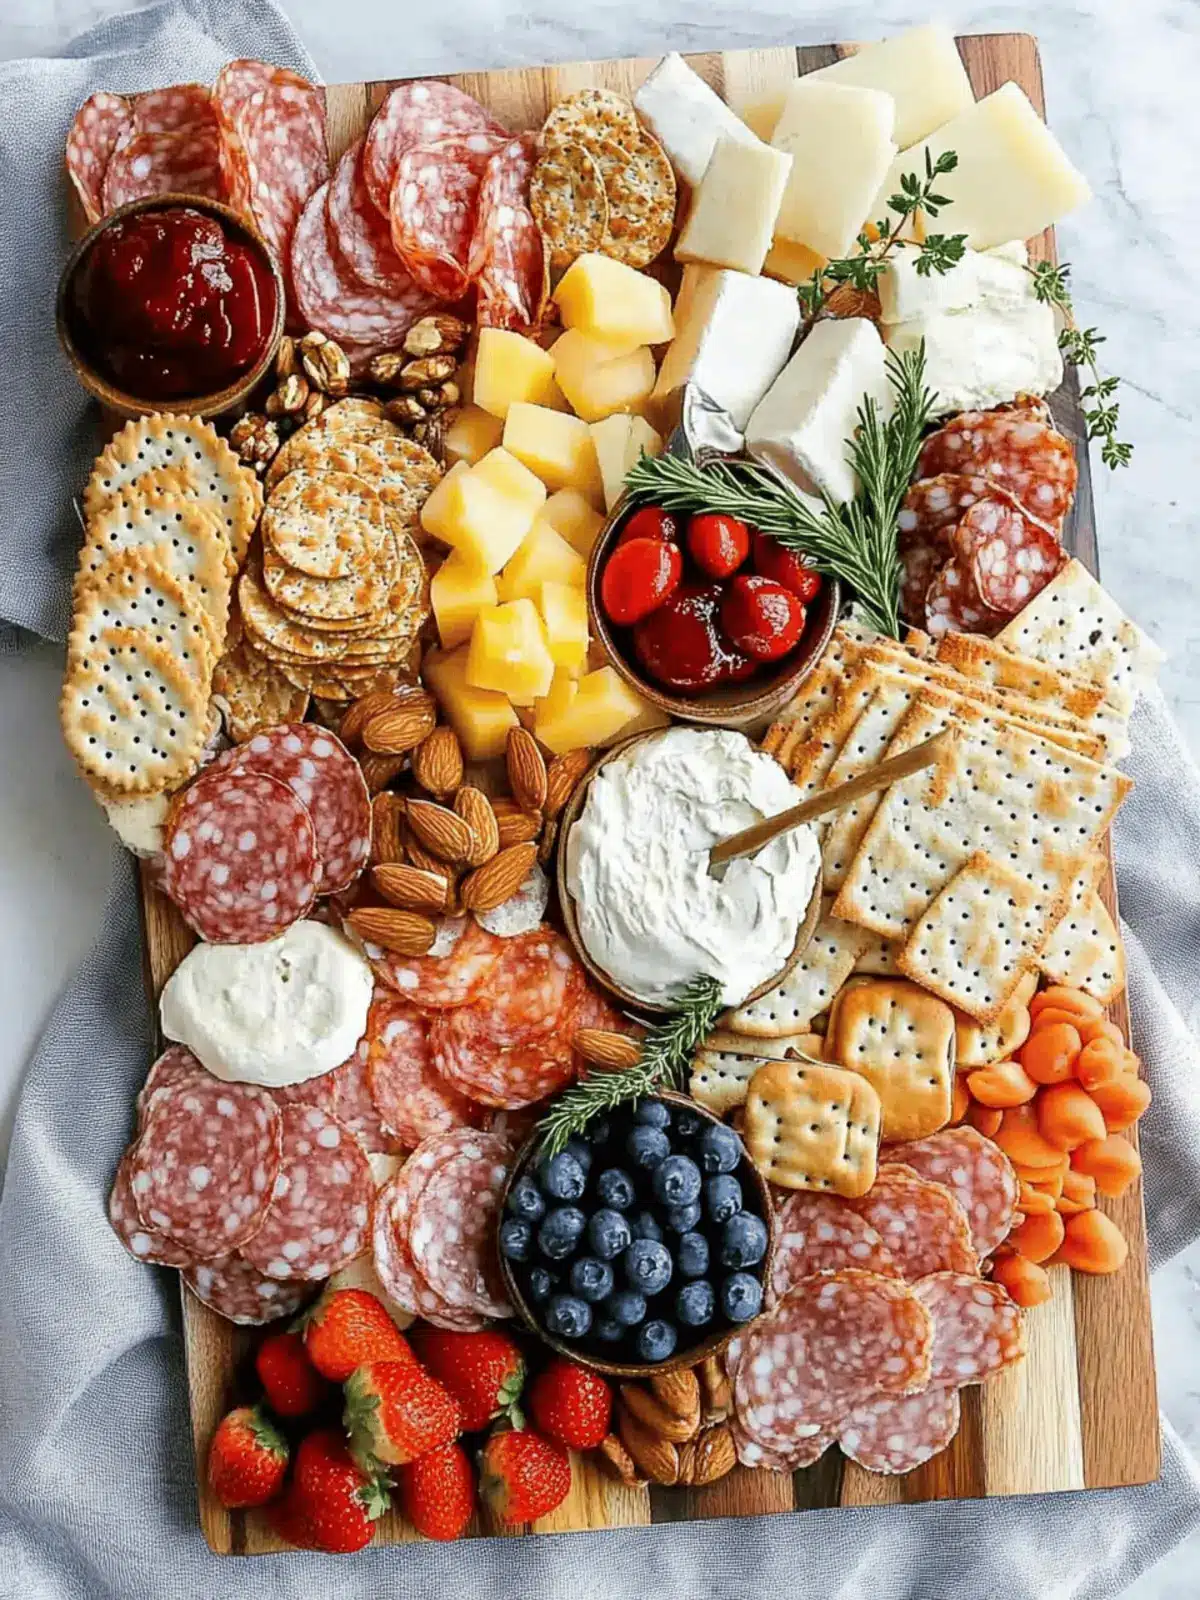
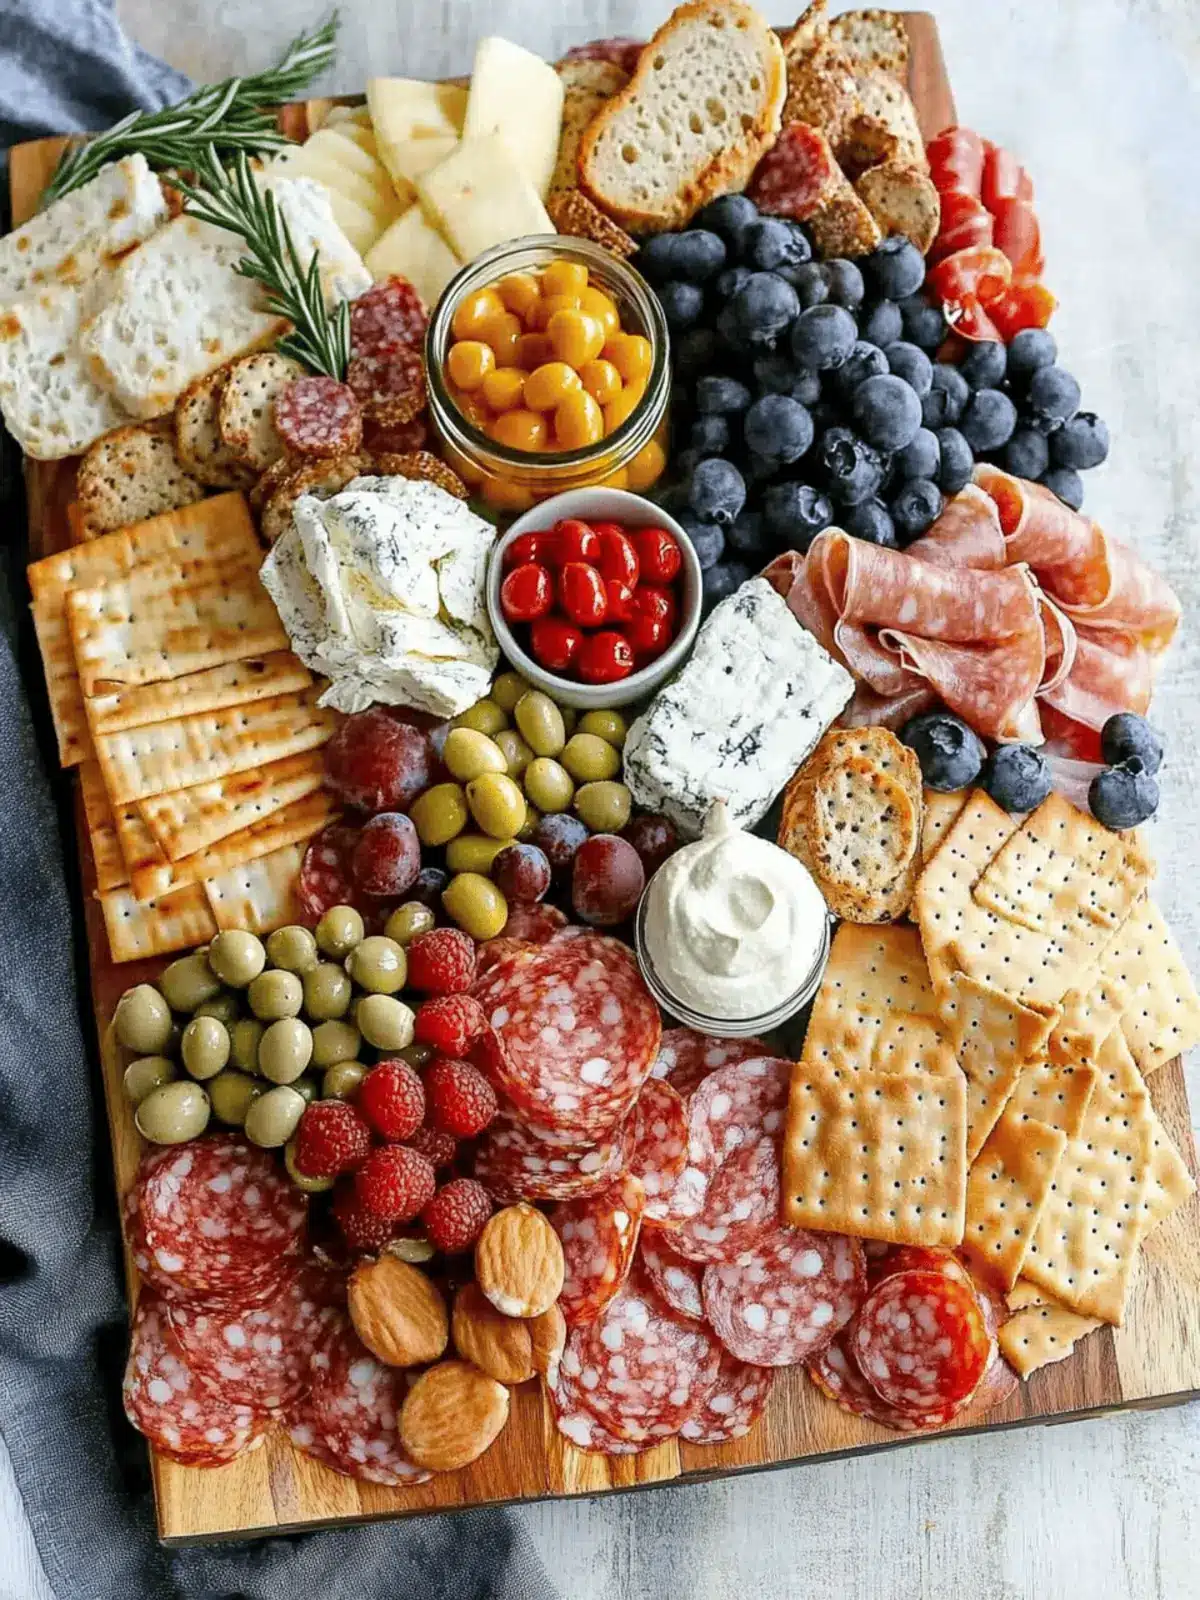
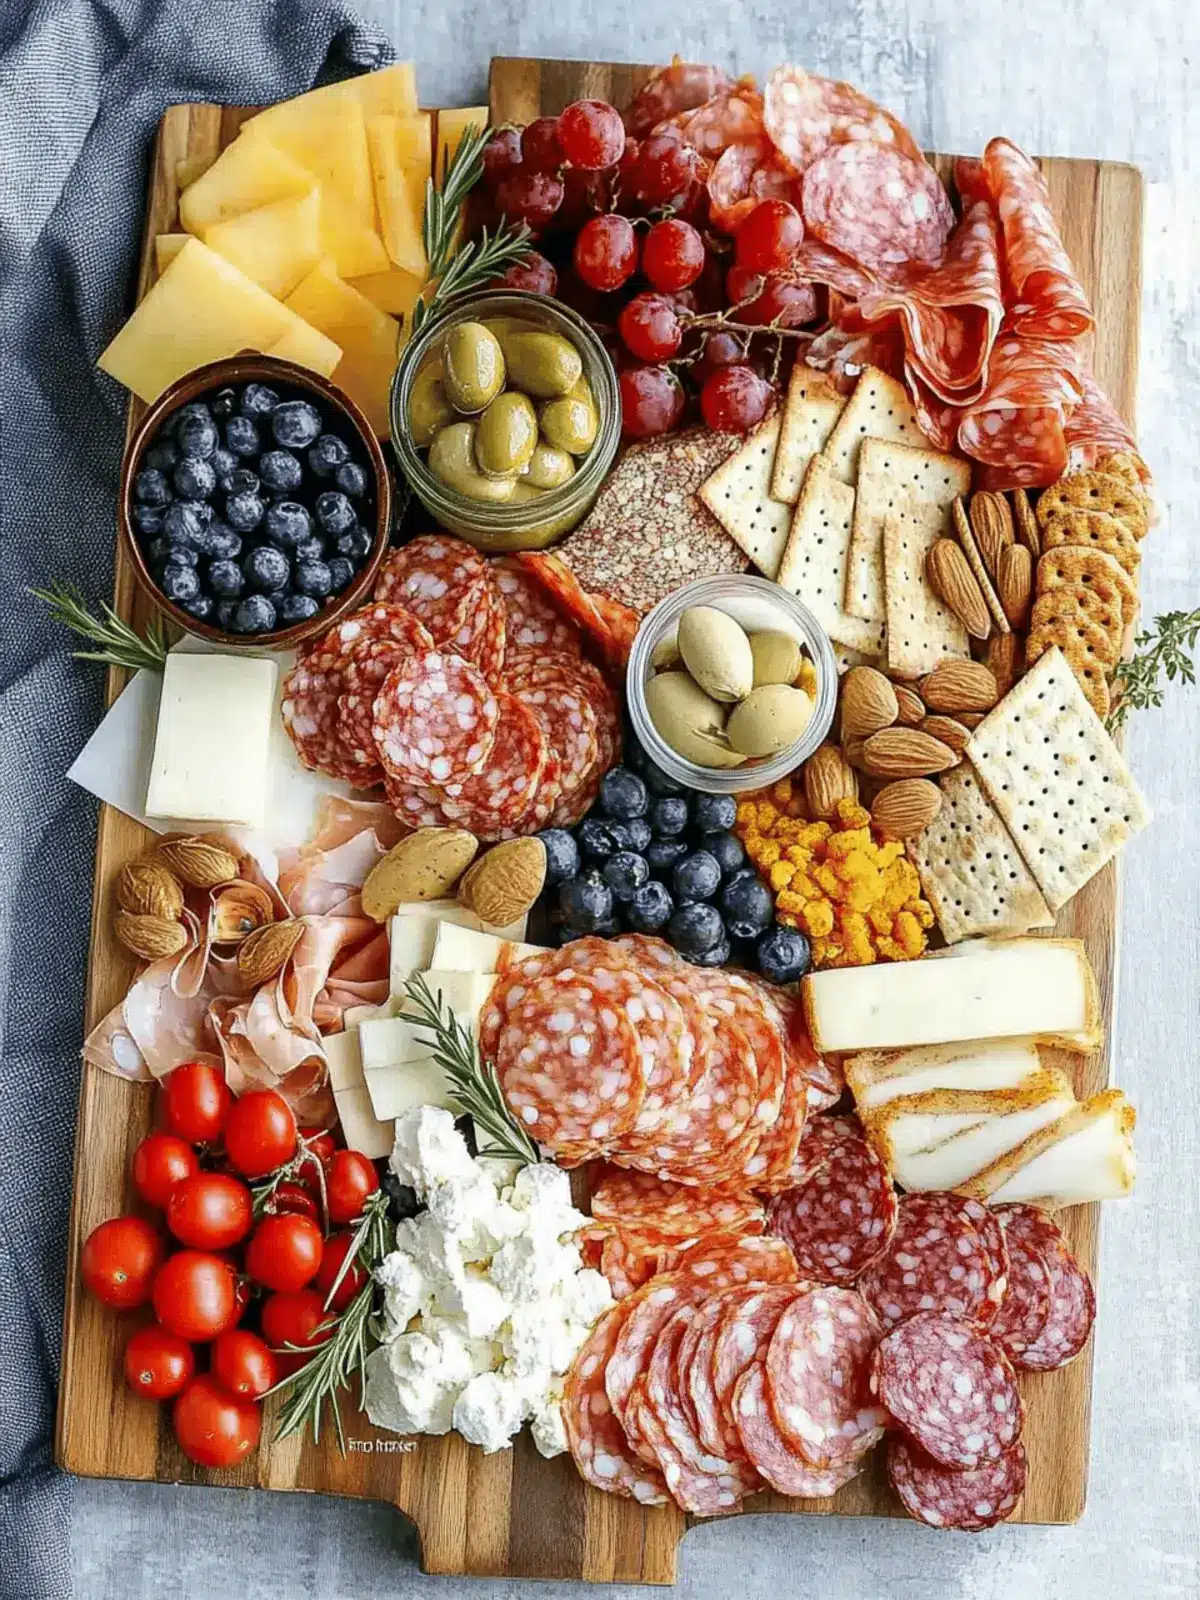
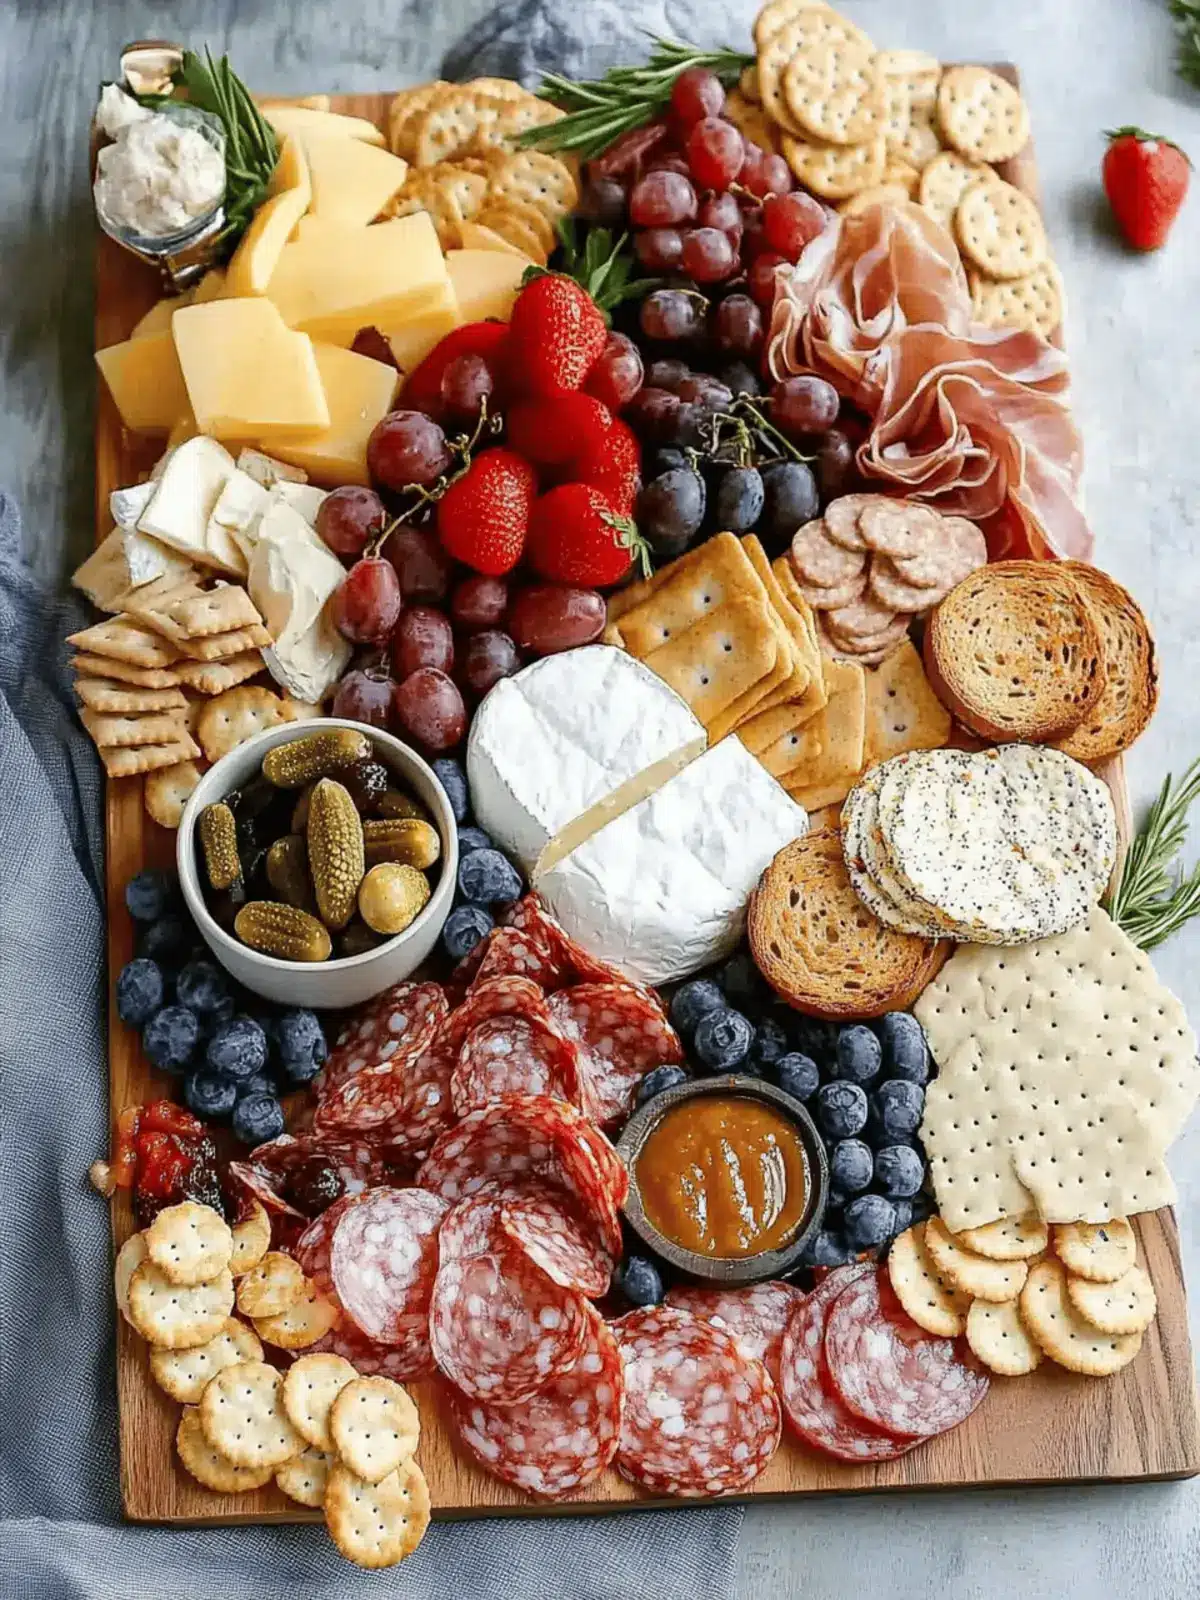
There’s nothing quite like the joy of gathering friends and family around a beautifully crafted charcuterie board. Picture this: a stunning spread filled with rich, savory meats, velvety cheeses, and an array of colorful accompaniments that beckon to be savored. Whether it’s a cozy night in or a festive celebration, I stumbled upon this delightful assembly of flavors while experimenting with leftovers, and it quickly became my go-to appetizer.
What I love most about making a charcuterie board is its versatility. You can mix and match ingredients to showcase seasonal favorites or tailor it to your guests’ tastes, all while presenting a feast that looks as good as it tastes. Join me as I guide you through how to make a charcuterie board that’s sure to dazzle and impress, with minimal effort and maximum flavor perfect for any occasion!
How to Make a Charcuterie Board?
Simplicity: Assembling a charcuterie board requires no advanced culinary skills, making it accessible for everyone.
Visual Appeal: The vibrant colors and variety of textures create an eye-catching centerpiece that will delight your guests.
Endless Customization: Tailor your board with seasonal ingredients or personal favorites, allowing for creativity to shine.
Crowd-Pleasing: With diverse flavors, there’s something for everyone, ensuring your board is always a hit at gatherings.
Effortless Prep: Many components can be prepared in advance, saving you time and stress before the event.
Dive into this delightful experience and impress your friends with a beautiful charcuterie spread!
How to Make a Charcuterie Board Ingredients
For the Cheeses
• Marinated Mozzarella Cheese – Offers a creamy base; substitute bocconcini for a similar taste.
• Pepper Jack Cheese – Adds a spicy kick; feel free to swap for any flavored cheese you enjoy.
• Sharp Cheddar Cheese – Brings a robust flavor; consider using a milder cheese if preferred.
• Manchego or Gruyere Cheese – Contributes a delightful nutty essence; aged gouda makes a great alternative.
• Parmesan or Gouda Cheese – Provides a salty complement to the board.
For the Meats
• Peppered Salame – Delivers a distinct flavor; you can substitute with other cured meats to suit your taste.
• Salami & Prosciutto – Offers contrasting textures; mix in any cured meat your guests favor.
• Ham – Presents a milder option; turkey or chicken can be lighter alternatives.
For the Accompaniments
• French Baguette – Serves as a base for toppings; can be replaced with crackers or gluten-free options.
• Dried Fruits (optional) – Adds a touch of sweetness; think cranberries or dried apricots for a delightful twist.
• Roasted Assorted Nuts – Provides a crunchy texture; choose a nut mix for variety.
• Fruits like Grapes and Apples – Introduce freshness and garnish; seasonal selections enhance the flavor.
• Olives & Pickles – Offer a briny contrast; consider pickled vegetables for added zing.
• Dips (like fig jam or mustard) – Elevate flavors; feel free to experiment with different spreads to complement your charcuterie board.
By curating these ingredients with purpose, you’re well on your way to mastering how to make a charcuterie board that dazzles every guest!
How to Make a Charcuterie Board
- Marinate the mozzarella by combining it with olive oil and Italian seasoning. Allow it to sit for at least 30 minutes while the flavors meld together beautifully.
- Slice the French baguette into bite-sized pieces. Brush each piece with olive oil, then bake at 400°F for 6-8 minutes until they are golden and crisp. For an extra flavor boost, rub them with a fresh garlic clove after baking.
- Prepare the cheeses by slicing them into appealing shapes—think triangles and cubes. Don’t forget to wash your fruits, like grapes and apples, ensuring they’re ready to add a punch of freshness to your board.
- Arrange small bowls on your serving board for dips and olives. This not only organizes your layout but ensures easy access for guests to enjoy those delightful flavors.
- Artfully compose the board by placing the meats, cheeses, and crackers strategically around the layout. Finish off with fruits and herbs, adding vibrant colors for that Instagram-worthy presentation!
Optional: Drizzle a little honey over the cheese for a touch of sweetness.
Exact quantities are listed in the recipe card below.
What to Serve with Charcuterie Board?
Imagine a delightful evening filled with laughter and clinking glasses, all centered around your beautiful charcuterie board, ready to be complemented by delicious pairings.
- Crusty Baguette: Soft on the inside and crispy on the outside, it’s perfect for topping with meats and cheeses.
- Fresh Fruit Platter: Offers a sweet, refreshing contrast to the savory elements of the board; think seasonal berries or melons.
- Artisan Crackers: Their crunchiness enhances the board’s texture, allowing for varied bites with every combination.
- Honey or Fig Jam: A drizzle of sweetness elevates the flavors and adds a sophisticated touch; perfect for balancing cheeses.
- Roasted Veggies: For a warm addition, roasted bell peppers or zucchini provide a satisfying, savory contrast. Their vibrant colors make the board pop!
- Herbed Cream Cheese Dip: This creamy dip adds richness, enticing guests to indulge even further while providing a delightful tang.
- Wine Pairing: A crisp Chardonnay or a light Rosé complements the variety of flavors beautifully, making the experience even more memorable.
- Dark Chocolate Squares: A touch of bitterness from high-quality chocolate serves as a decadent palate cleanser after bites of rich cheeses and meats.
- Olives and Pickles: Their briny notes create a zesty contrast, enhancing the overall experience of savoring the assorted flavors on your board.
Storage Tips for Charcuterie Board
- Room Temperature: Keep your assembled charcuterie board at room temperature for up to 2 hours during serving. This allows the flavors to shine without compromising safety.
- Fridge: If there are leftovers, cover and store in the fridge. Consume within 24 hours for the best taste and freshness, especially for meats and cheeses.
- Freezer: For components like marinated mozzarella, you can freeze them separately in airtight containers, but note that the texture may change once thawed.
- Reheating: If you have leftover breads, reheat in the oven for a few minutes to restore crispness before serving again. It’s a delightful way to enjoy your charcuterie board ingredients!
Expert Tips for the Best Charcuterie Board
- Ingredient Selection: Choose a diverse mix of meats and cheeses with varying textures and flavors to create a balanced charcuterie board that everyone will love.
- Visual Appeal: Arrange ingredients in clusters, mixing colors and heights. This will enhance the overall visuals, making your board a feast for the eyes as well as the palate.
- Advance Preparation: Prepare components like marinated mozzarella, sliced cheeses, and even dipped fruit the day before. This allows flavors to meld and saves you time.
- Avoid Sogginess: Keep moisture-heavy items, such as olives and dips, separate until serving to ensure they don’t make the rest of your charcuterie board soggy.
- Seasonal Swaps: Don’t hesitate to substitute ingredients based on what’s in season. This not only enhances freshness but also sparks creativity in how to make a charcuterie board.
- Mix & Match: Encourage guests to create unique combinations on their plates, enhancing their tasting experience and making it a fun, interactive activity.
Charcuterie Board Variations
Get creative and elevate your charcuterie board with these delightful twists and substitutions!
- Vegetarian Delight: Swap all meats for roasted vegetables like bell peppers and zucchini or creamy hummus for a fresh, vibrant touch.
- Dairy-Free Option: Replace traditional cheeses with plant-based alternatives made from nuts to cater to lactose intolerant guests while keeping the flavor profile exciting.
- Spicy Kick: Use spicy chorizo or add jalapeño slices for a fiery element that pairs perfectly with creamy cheeses.
- Sweet & Savory: Incorporate honey drizzles over cheese or a handful of chocolate-covered almonds for unexpected sweet bites alongside savory flavors.
- Fruit Medley: Add exotic fruits like figs, passion fruit, or pomegranate seeds to introduce a splash of color and sweetness, enhancing the overall experience.
- Crunchy Cracker Options: Swap classic bread for nut-based crackers or seed crackers to elevate texture while catering to gluten-free guests.
- Themed Board: Create a Mediterranean-inspired board featuring feta, olives, artichokes, and sun-dried tomatoes for a unique flavor journey.
- Herb Infusion: Garnish your board with fresh herbs like rosemary or basil for an aromatic flair that uplifts the flavors of every ingredient.
Make Ahead Options
These charcuterie boards are perfect for busy home cooks looking to save time while still impressing guests! You can slice the cheeses and prepare the marinated mozzarella up to 24 hours in advance; simply keep them tightly covered in the refrigerator to maintain their freshness. Additionally, prepare your dried fruits, nuts, and sliced fruits (like grapes and apples) ahead of time as well—just store them in airtight containers. When it’s time to serve, assemble the board by arranging the meats, cheeses, and breads and drizzling any dips just before presenting. This way, your board will be just as delicious and visually stunning, allowing you to spend more quality time with your guests!
Charcuterie Board Recipe FAQs
How do I select the best ripe ingredients for my charcuterie board?
Absolutely! For cheeses, choose those with firm textures and vibrant colors without any dark spots. For meats, look for fresh, glossy surfaces and a pleasing aroma. When it comes to fruits, opt for seasonal varieties—grapes should be plump and firm, while apples should be crisp with shiny skin. These cues ensure you’re using the freshest ingredients for your delicious charcuterie board.
What’s the best way to store leftovers from my charcuterie board?
Very important! Keep any leftovers covered and refrigerated. Consume within 24 hours for optimal taste and safety, especially with cheeses and cured meats. If you have leftover fruits, store them in a separate container so they won’t affect the other ingredients. Enjoy them fresh, or incorporate them into a smoothie later!
Can I freeze any of the ingredients from my charcuterie board?
Of course! If you’ve made marinated mozzarella or have extra cheeses, you can freeze them. Just ensure you place them in airtight containers or freezer bags. When you’re ready to use them, let them thaw in the fridge overnight. Just keep in mind that the texture might change slightly, so they’re best enjoyed fresh or in cooked dishes rather than served cold.
How can I prevent my charcuterie board from getting soggy?
Great question! To avoid sogginess, be sure to keep moist ingredients like olives and dips separated until you’re ready to serve. When assembling your board, place these wet items in small bowls, allowing the other ingredients to maintain their crunch and flavor. This simple tip will keep everything looking and tasting fabulous!
Are there any dietary considerations I should keep in mind when making my charcuterie board?
Absolutely! If you’re catering for guests with dietary restrictions, be mindful of potential allergies. For example, consider gluten-free breads or crackers, and always ask about sensitivities to dairy or nuts. You can even create a dedicated section of the board with completely vegetarian or vegan options, such as roasted vegetables and hummus, ensuring everyone can indulge in your delightful spread.

How to Make a Charcuterie Board That Wows Every Guest
Ingredients
Equipment
Method
- Marinate the mozzarella by combining it with olive oil and Italian seasoning. Allow it to sit for at least 30 minutes while the flavors meld together beautifully.
- Slice the French baguette into bite-sized pieces. Brush each piece with olive oil, then bake at 400°F for 6-8 minutes until they are golden and crisp. For an extra flavor boost, rub them with a fresh garlic clove after baking.
- Prepare the cheeses by slicing them into appealing shapes—think triangles and cubes. Wash your fruits, like grapes and apples, ensuring they’re ready to add a punch of freshness to your board.
- Arrange small bowls on your serving board for dips and olives for easy access for guests.
- Artfully compose the board by placing the meats, cheeses, and crackers strategically. Finish off with fruits and herbs for that Instagram-worthy presentation!
- Optional: Drizzle a little honey over the cheese for a touch of sweetness.


