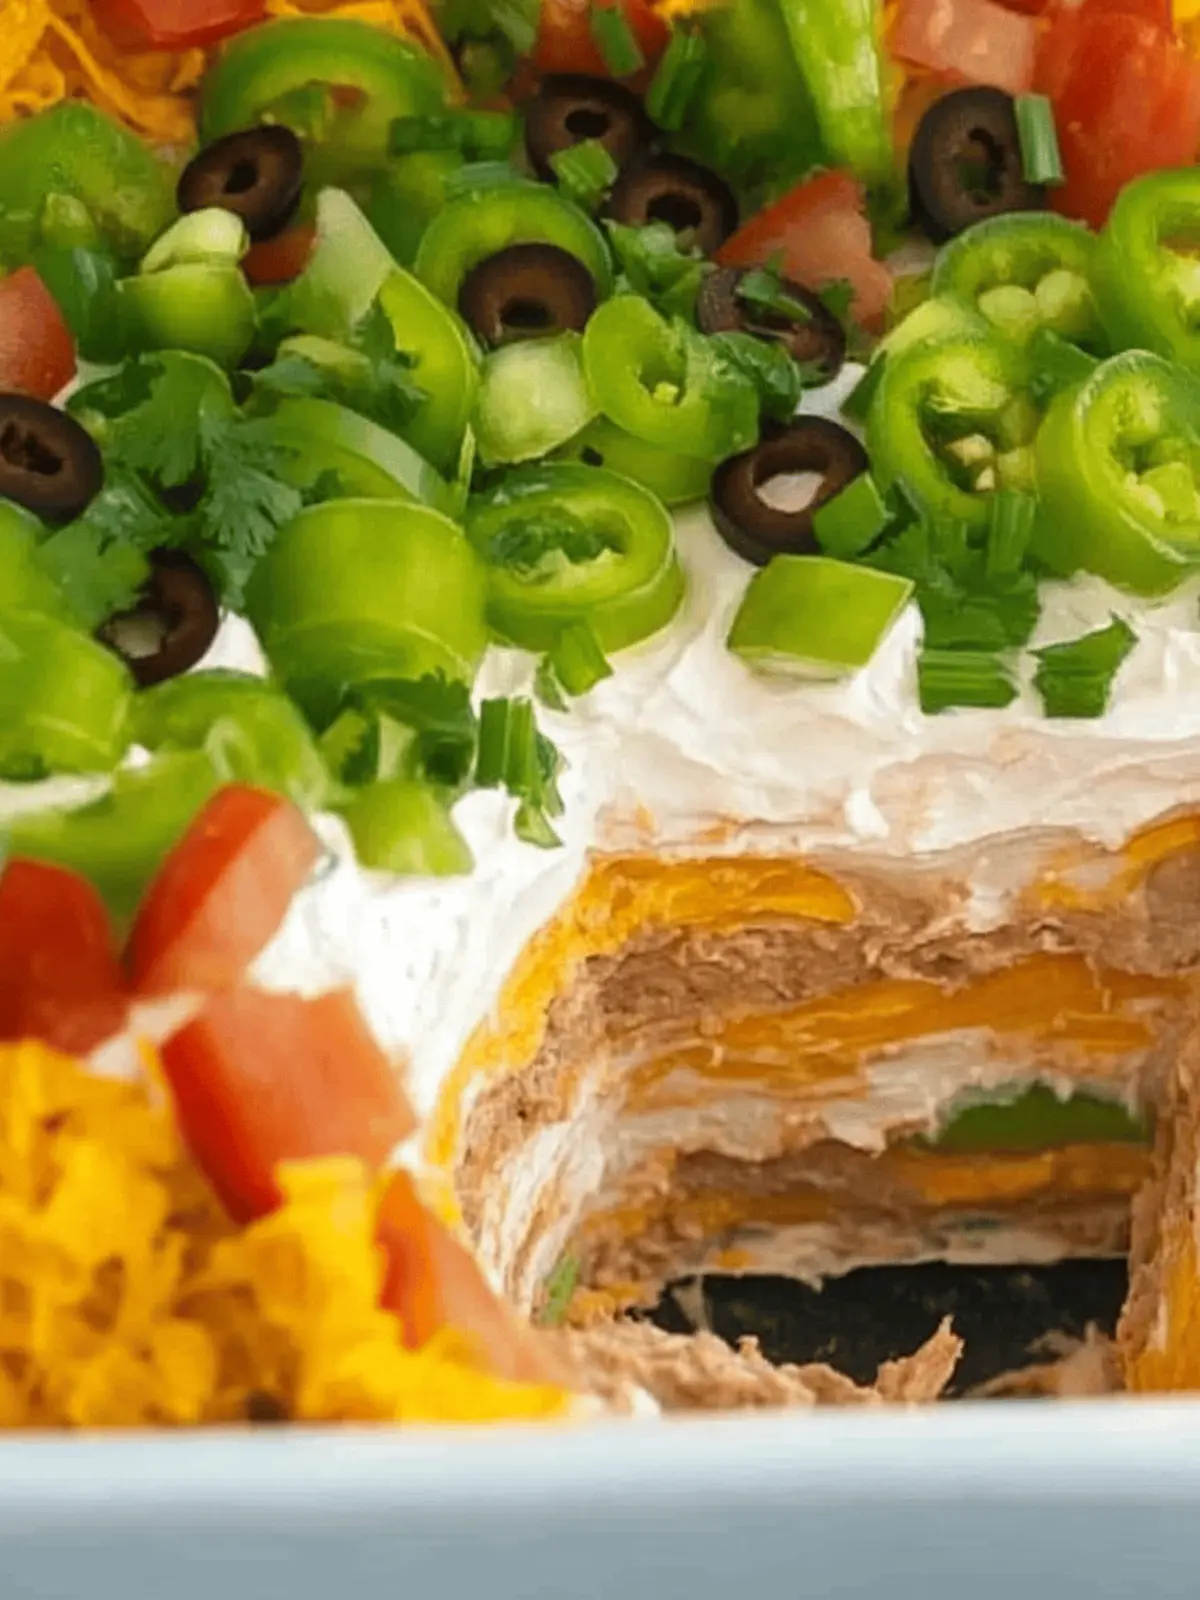
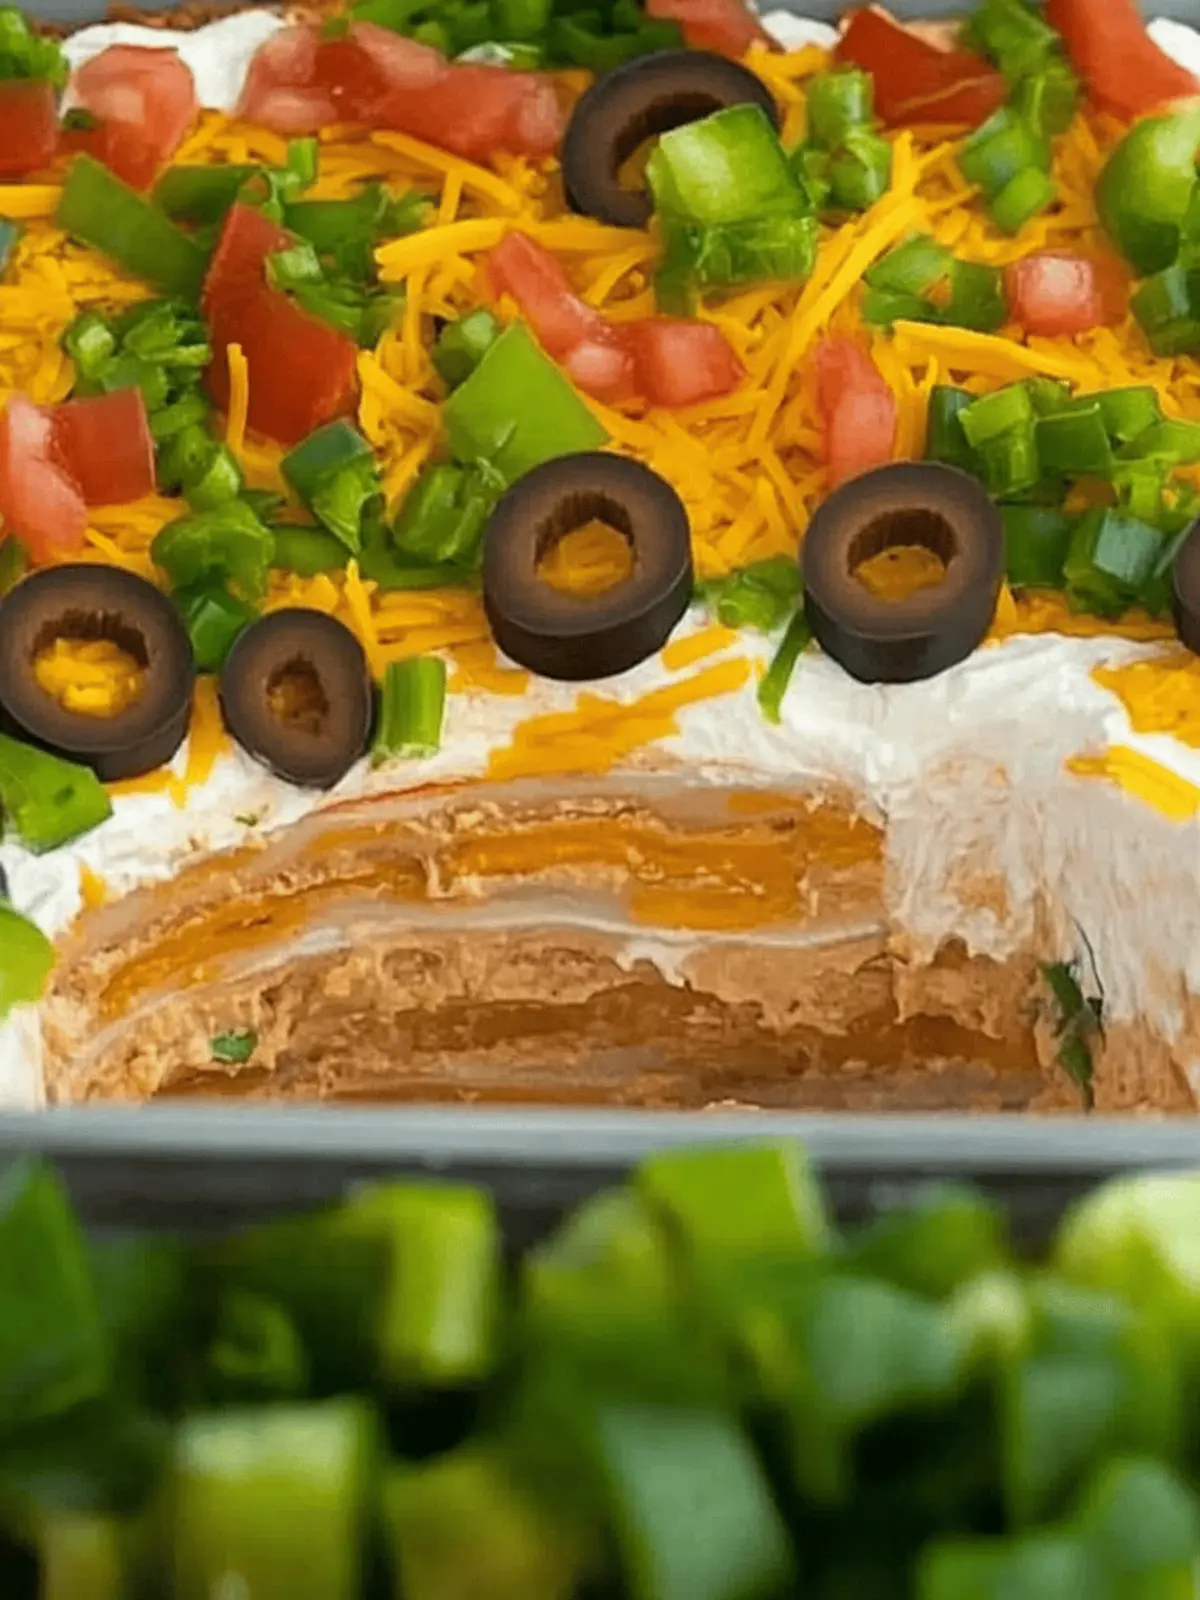
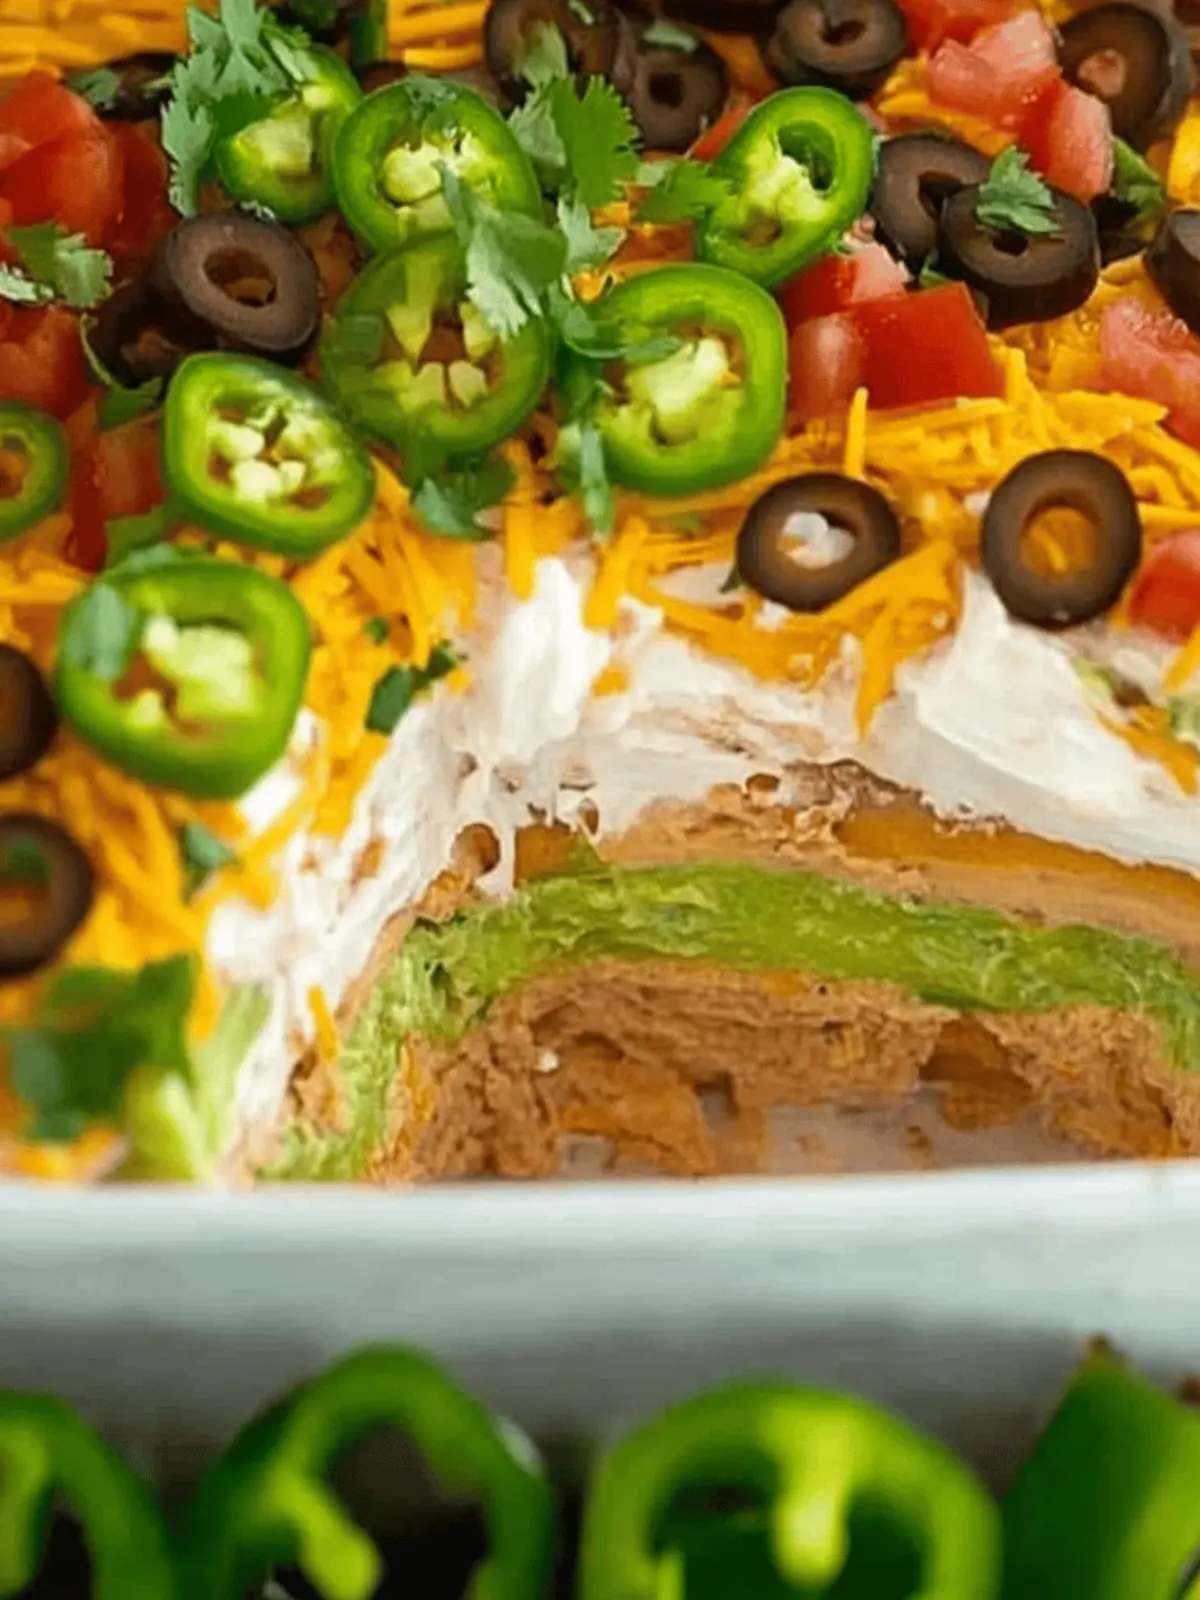
The moment I opened the fridge, I was hit by a wave of inspiration. A gathering was just around the corner, and I wanted to impress my friends with something delicious and visually stunning. That’s when I knew: a 7-Layer Taco Dip was the way to go! This vibrant dish is not just a feast for the eyes; it’s bursting with layers of creamy guacamole, zesty salsa, and savory sour cream that dances on your taste buds with every bite.
What I love most about this layered masterpiece is how effortlessly it comes together. It’s the ultimate party appetizer, perfect for any occasion from game day festivities to summer barbecues. Plus, you can prep it in advance, freeing you up to mingle with guests instead of being stuck in the kitchen. With its gluten-free goodness and plethora of flavor, this dip is sure to be a crowd-pleaser and an instant hit at your next shindig! Dive into this recipe and elevate your entertaining game with ease!
Why will you love this 7-Layer Taco Dip?
Flavorful Layers: Each layer brings a burst of flavor, from the creamy guacamole to the zesty salsa.
Visually Stunning: The vibrant colors make it an eye-catching centerpiece for any gathering.
Easy to Make: You’ll be amazed at how simple it is to whip this dip together, even for novice cooks.
Prep Ahead: Make it in advance and enjoy more time with friends instead of in the kitchen.
Crowd-Pleasing: Perfect for game nights or summer barbecues, this dip caters to all tastes and dietary needs, ensuring everyone leaves satisfied!
Customizable: Feel free to personalize with your favorite toppings or tempeh, making it uniquely yours.
7-Layer Taco Dip Ingredients
For the Bean Layer
- Refried Beans – This base layer provides creaminess and richness; use canned for convenience.
- Salsa – Adds moisture and vibrant flavor; choose your favorite variety, from mild to spicy.
For the Guacamole Layer
- Avocados – Use ripe avocados for the best creamy texture
- Fresh Lime Juice – Brightens up the guacamole; substitute with lemon juice if needed.
- Cilantro – Enhances the guacamole’s freshness; you can omit this if you’re not a fan of its flavor.
- Salt and Pepper – Essential for seasoning and enhancing flavors.
For the Sour Cream Layer
- Sour Cream – Provides a creamy base; Greek yogurt is a great lighter substitute.
- Chili Powder, Cumin, Dried Oregano, Garlic Powder – Adds depth to the sour cream; customize the spices to taste.
For the Topping
- Shredded Cheese (Mexican blend or Monterey Jack) – Adds richness to the top layer; consider using dairy-free cheese for a vegan option.
- Cherry Tomatoes – A pop of freshness and color; diced regular tomatoes work as a substitute.
- Black Olives – Adds a briny flavor and texture; feel free to omit if you’re not a fan.
- Green Onions or Chives – Provides a mild onion flavor; you can substitute with red onions for a different taste profile.
Enjoy crafting this delicious 7-Layer Taco Dip that’s sure to be the star of your next get-together!
How to Make 7-Layer Taco Dip
- Prepare Bean Layer: Begin by mixing the refried beans with your favorite salsa until smooth. Spread the mixture evenly in a 9×13-inch dish to create a rich base layer.
- Make Guacamole Layer: Mash ripe avocados in a bowl, adding fresh lime juice, chopped cilantro, salt, and pepper to taste. Once creamy, spread this vibrant mixture over the bean layer.
- Sour Cream Layer: In a separate bowl, combine sour cream with chili powder, cumin, dried oregano, and garlic powder. Mix well, then spread evenly over the guacamole, making sure to cover the edges completely to prevent browning.
- Add Other Layers: Next, evenly sprinkle shredded cheese, diced cherry tomatoes, black olives, and chopped green onions on top of the sour cream layer, creating a beautiful mosaic of colors and textures.
- Serve or Store: You can serve the dip immediately with sturdy tortilla chips, or cover it tightly and refrigerate for up to 8 hours. This allows the flavors to meld beautifully before serving.
Optional: Add a handful of jalapeños for an extra spicy kick!
Exact quantities are listed in the recipe card below.
Make Ahead Options
These 7-Layer Taco Dip layers are perfect for meal prep enthusiasts! You can prepare the bean layer and guacamole up to 24 hours in advance; just be sure to cover the guacamole completely with sour cream to prevent browning. Additionally, the sour cream layer and toppings can be prepped separately and refrigerated for up to 3 days. When it’s time to serve, simply assemble the dip by layering the prepped components into a dish and letting it rest for about 30 minutes to allow the flavors to meld. This way, you’ll have a stunning and delicious appetizer ready without the last-minute stress, giving you more time to enjoy the festivities!
How to Store and Freeze 7-Layer Taco Dip
- Room Temperature: For food safety, it’s best to serve the dip right away. If left out, consume within 2 hours.
- Fridge: Store leftovers in an airtight container for up to 2 days. For the best flavor, enjoy it within 24 hours to keep the guacamole fresh.
- Freezer: Freeze individual layers separately for up to 1 month. Thaw in the refrigerator overnight before reassembling the dip.
- Reheating: If combining the layers before serving, make sure to reheat only the bean layer gently in the microwave, covered, until warm.
7-Layer Taco Dip Variations
Customize your 7-layer taco dip with these delicious twists to make it truly your own!
- Spicy Kick: Add jalapeños or diced green chiles into any layer for an extra zing that will wake up your taste buds. Spicy isn’t for everyone, so feel free to leave it out if you’re after milder enjoyment.
- Hummus Layer: For a unique twist, substitute the beans with a layer of creamy hummus. This tasty swap introduces a nutty flavor that pairs wonderfully with the fresh veggies.
- Herbal Swap: If you’re not a fan of cilantro, replace it with parsley for a fresh, herby taste that still brightens the guacamole. This is a simple change that makes a delightful difference!
- Extra Crunch: Mix in some diced bell peppers or shredded lettuce for added texture. The crunch will balance perfectly with the creamy layers and add color to your dip.
- Vegan Delight: Use coconut yogurt instead of sour cream and vegan cheese for a dip that’s both plant-based and just as delicious. This option ensures everyone can enjoy it, regardless of dietary preferences.
- Cheesy Layers: Experiment with flavored cheeses such as pepper jack for a little extra heat. The rich flavor will elevate the dip and surprise your guests with its complexity.
- Fruit Fusion: Add a layer of diced mango or peach for a sweet contrast to the savory components. The fruity burst will tantalize your taste buds in an unexpected and delightful way!
- Zesty Lime Drizzle: Finally, finish off your dip with a drizzle of lime crema made from sour cream and lime zest for an extra tangy kick. This simple touch can brighten all those rich layers and leave everyone wanting more.
What to Serve with 7-Layer Taco Dip?
The perfect accompaniment can elevate your taco dip experience to new heights and create a memorable feast.
- Sturdy Tortilla Chips: These are a must! Their crispy texture holds up beautifully against the creamy layers, allowing for a delightful scoop with every bite.
- Fresh Veggie Sticks: Carrot, celery, and bell pepper sticks add a refreshing crunch and contrast nicely with the dip’s creaminess, making every bite balanced and satisfying.
- Homemade Quesadillas: Melted cheese and savory fillings in warm tortillas provide a comforting option that complements the bold flavors of the dip perfectly. Pair with a side of salsa for extra zest!
- Classic Mexican Rice: A fluffy bowl of cilantro-lime rice brings a light and aromatic note, allowing the dip’s rich flavors to shine while adding a wholesome element to your spread.
- Fruit Salsa: Sweet and zesty, a fresh fruit salsa made from mango or pineapple offers a vibrant burst of flavor that pairs beautifully with the savory dip, refreshing your palate with each bite.
- Crisp Margaritas: Raise your glass to this dynamic duo! A well-shaken margarita, with its citrusy notes, enhances the flavors of the taco dip and adds to the festive vibe of your gathering.
- Cheesy Nachos: Layered with melted cheese and jalapeños, these are a beloved snacking staple that can be dipped or topped with the 7-Layer Taco Dip for an explosion of flavors.
- Chocolate Brownies: For that sweet ending, rich chocolate brownies could beautifully contrast the savory dip—a delightful way to satisfy your sweet tooth after indulging in all those flavors!
Expert Tips for 7-Layer Taco Dip
- Guacamole Protection: Cover the guacamole layer completely with sour cream to prevent browning and maintain that fresh green color.
- Fresh Cheese: Use freshly shredded cheese for the best texture and flavor; pre-shredded cheese often contains additives that impact melting.
- Flavor Customization: Feel free to customize the dip by adding cooked ground beef, turkey, or veggies like bell peppers for added flavor and texture.
- Safety First: To prevent bacterial growth, make sure to consume the dip within 2 hours at room temperature.
- Ingredient Substitution: Don’t hesitate to swap ingredients; for a vegan version, replace sour cream with Greek yogurt or dairy-free alternatives.
7-Layer Taco Dip Recipe FAQs
What kind of avocados are best for guacamole?
Absolutely! Choose ripe avocados that yield slightly to pressure for the best creamy texture. If they’re too hard, let them ripen at room temperature for a few days. Look for avocados with smooth, dark skin without dark spots.
How long can I store my 7-Layer Taco Dip leftovers?
Leftovers can be stored in an airtight container in the fridge for up to 2 days. However, for optimal freshness and to avoid browning of the guacamole, it’s best to enjoy it within 24 hours.
Can I freeze 7-Layer Taco Dip?
Yes, you can! For the best results, freeze individual layers separately. Wrap them tightly in plastic wrap and store in an airtight container for up to 1 month. When you’re ready to enjoy, thaw the layers in the fridge overnight and then reassemble the dip before serving.
What should I do if my guacamole turns brown?
To prevent your guacamole from browning, ensure you cover it completely with a layer of sour cream, as air exposure causes oxidation. If it has already turned brown, simply scrape off the top layer, and the green underneath should still be good to use!
Is this recipe safe for pets or those with allergies?
If you’re serving this dip around pets, be cautious as certain ingredients, like onions (present in green onions) and avocados, can be harmful to them. Additionally, for those with food allergies, be sure to check all labels for potential allergens, especially in store-bought salsa and other ingredients.
Can I add extra toppings to personalize my Taco Dip?
Very much! Consider sprinkling jalapeños for heat, adding diced bell peppers for crunch, or even introducing a different protein like shredded chicken. The more the merrier! Just make sure to keep the layers balanced so that every ingredient shines through.
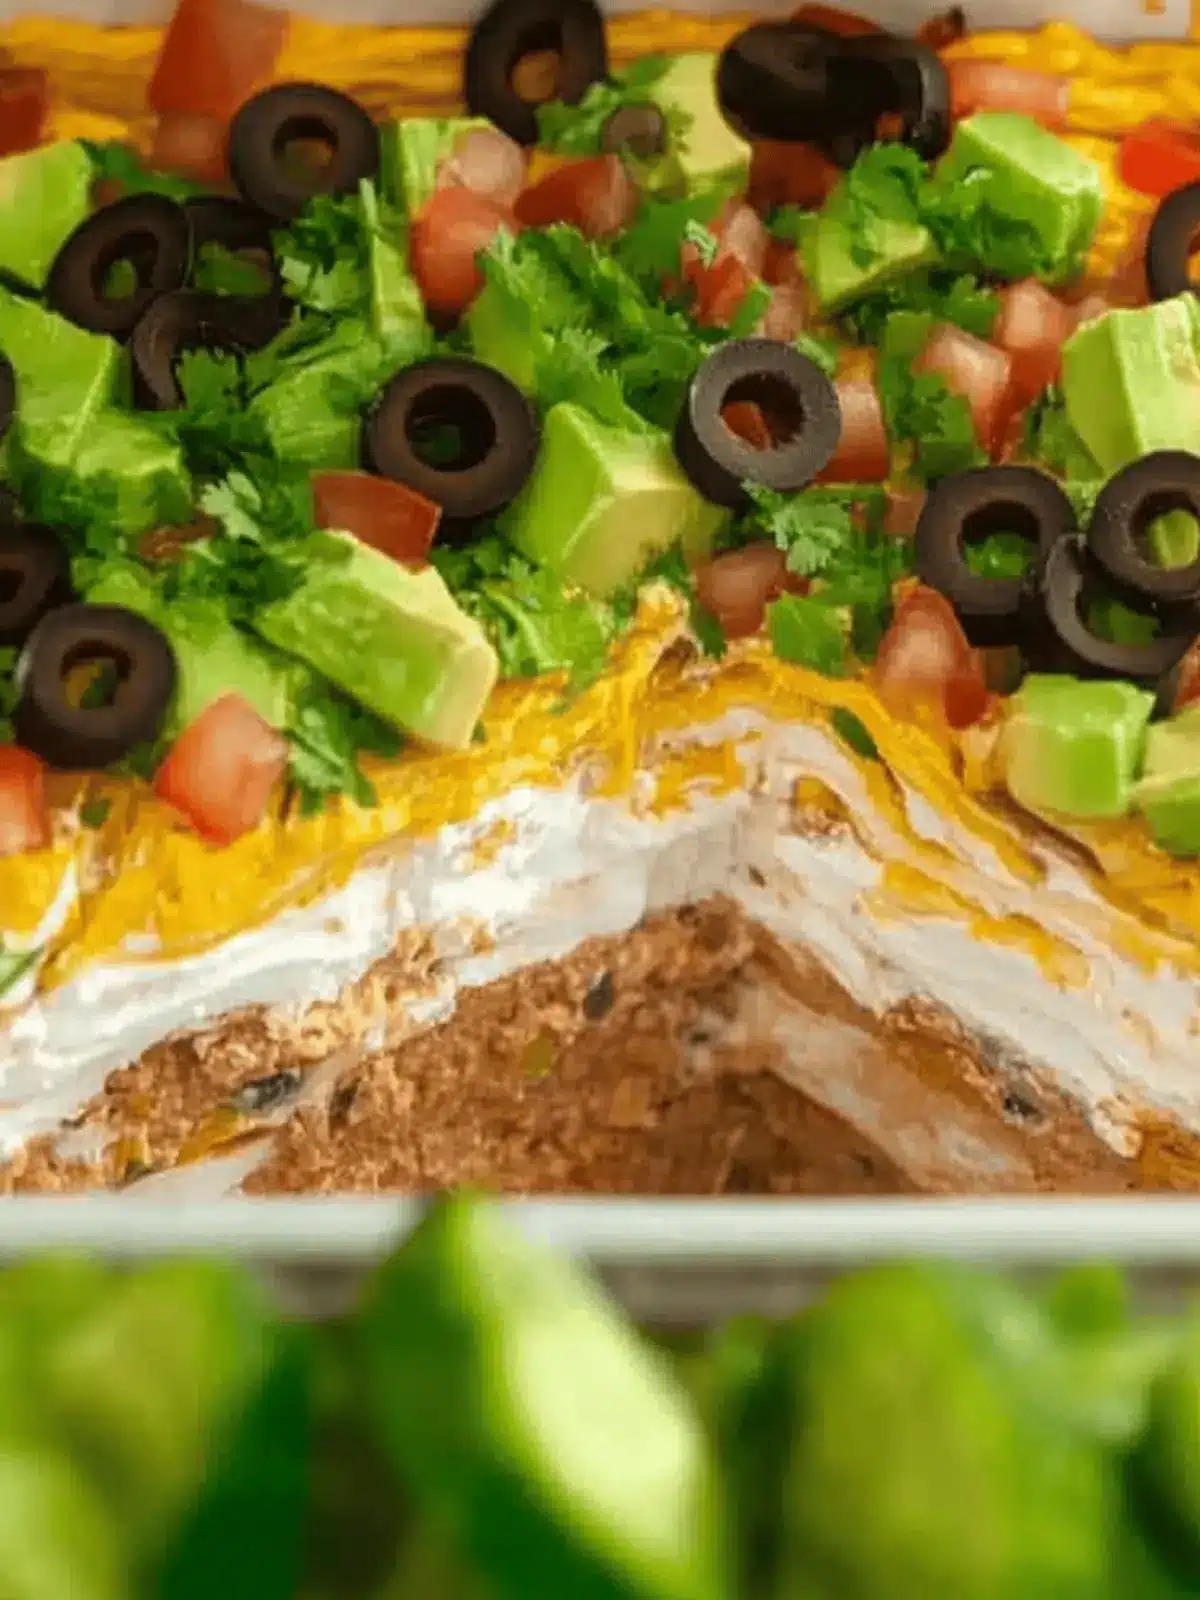
Flavor-Packed 7-Layer Taco Dip for Your Next Party
Ingredients
Equipment
Method
- Prepare Bean Layer: Mix the refried beans with your favorite salsa until smooth. Spread the mixture evenly in a 9x13-inch dish to create a rich base layer.
- Make Guacamole Layer: Mash ripe avocados in a bowl, adding fresh lime juice, chopped cilantro, salt, and pepper to taste. Spread this vibrant mixture over the bean layer.
- Sour Cream Layer: In a separate bowl, combine sour cream with chili powder, cumin, dried oregano, and garlic powder. Mix well, then spread evenly over the guacamole.
- Add Other Layers: Sprinkle shredded cheese, diced cherry tomatoes, black olives, and chopped green onions on top of the sour cream layer.
- Serve or Store: Serve immediately with sturdy tortilla chips, or cover and refrigerate for up to 8 hours.

