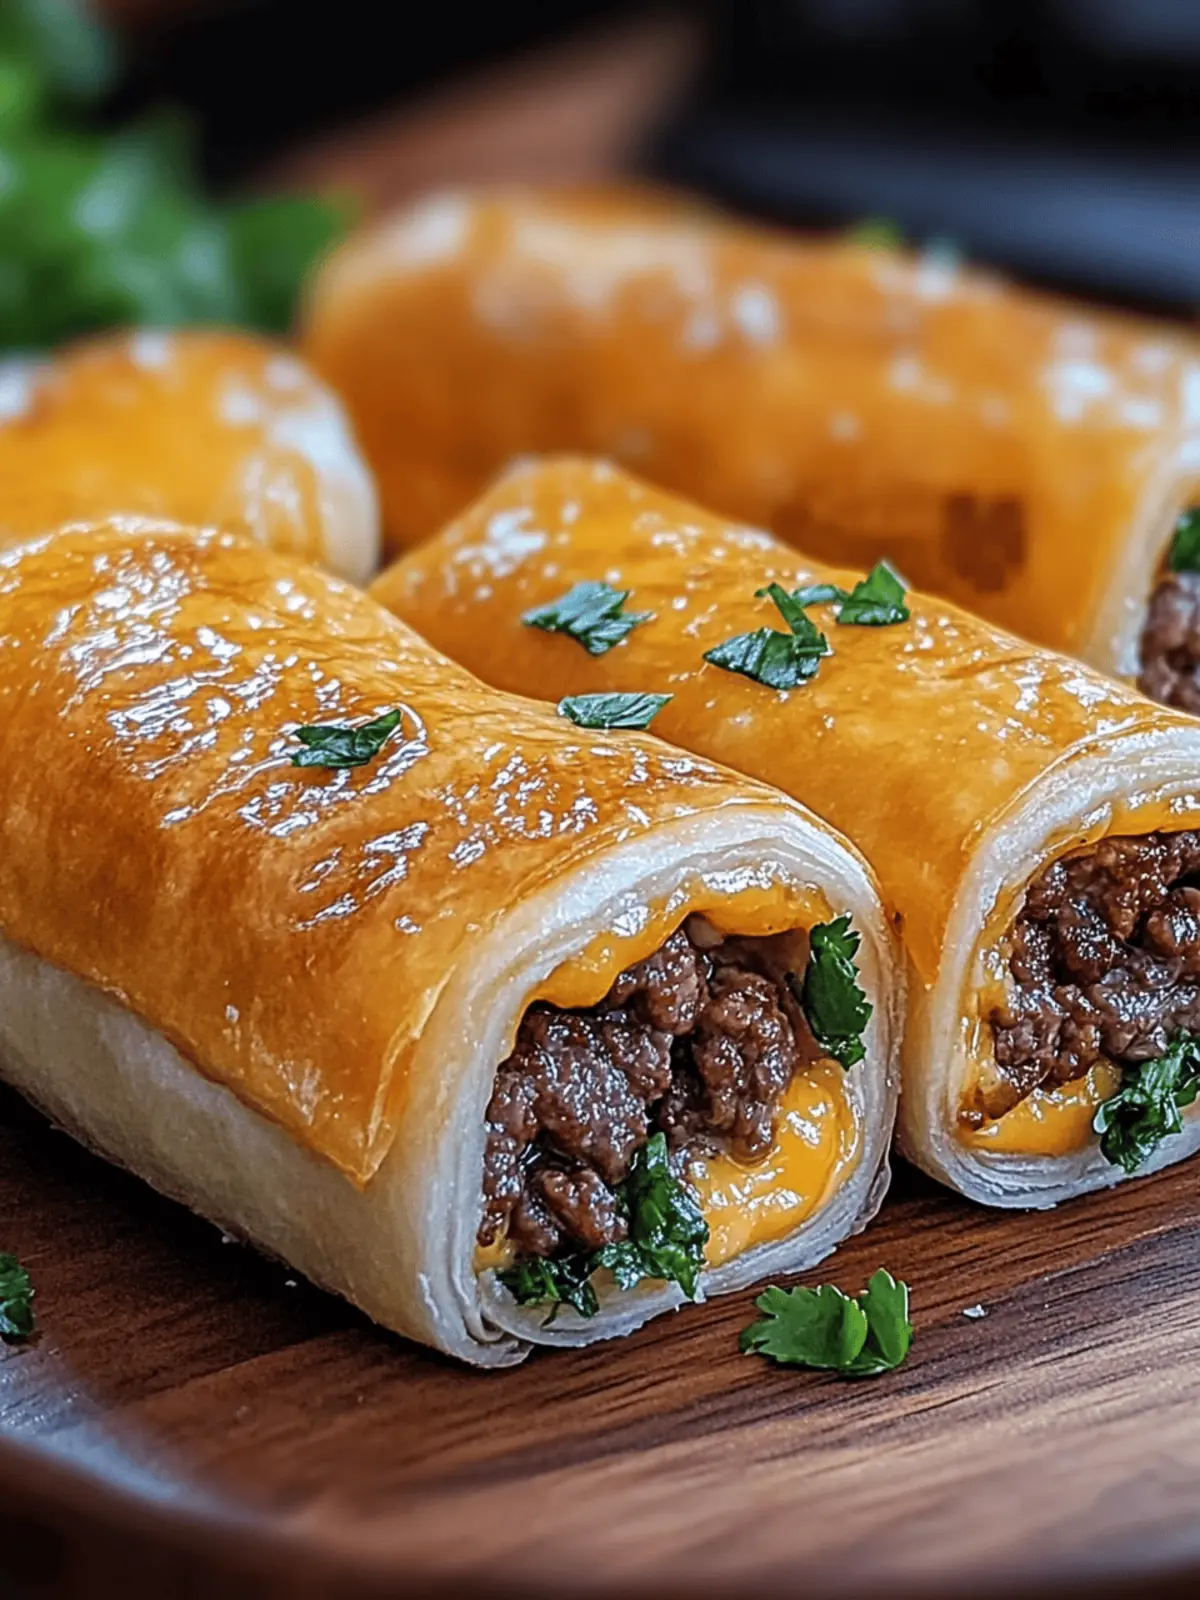
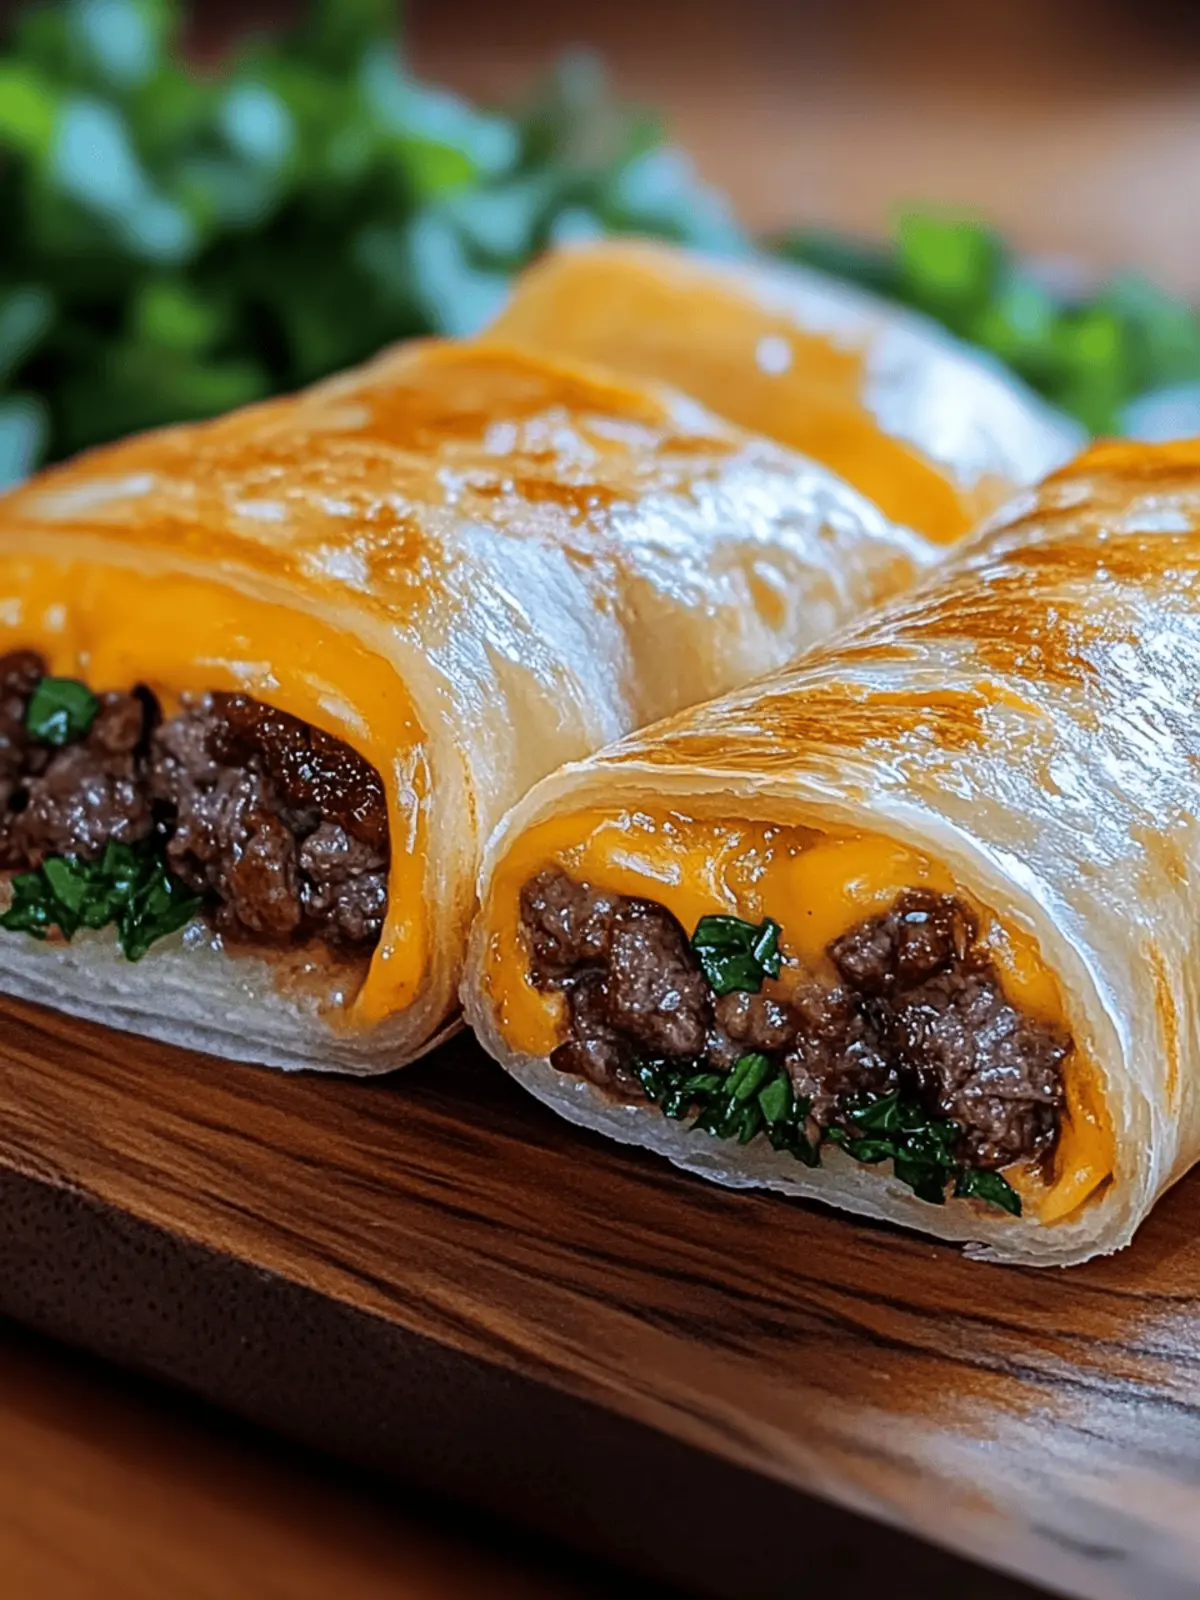
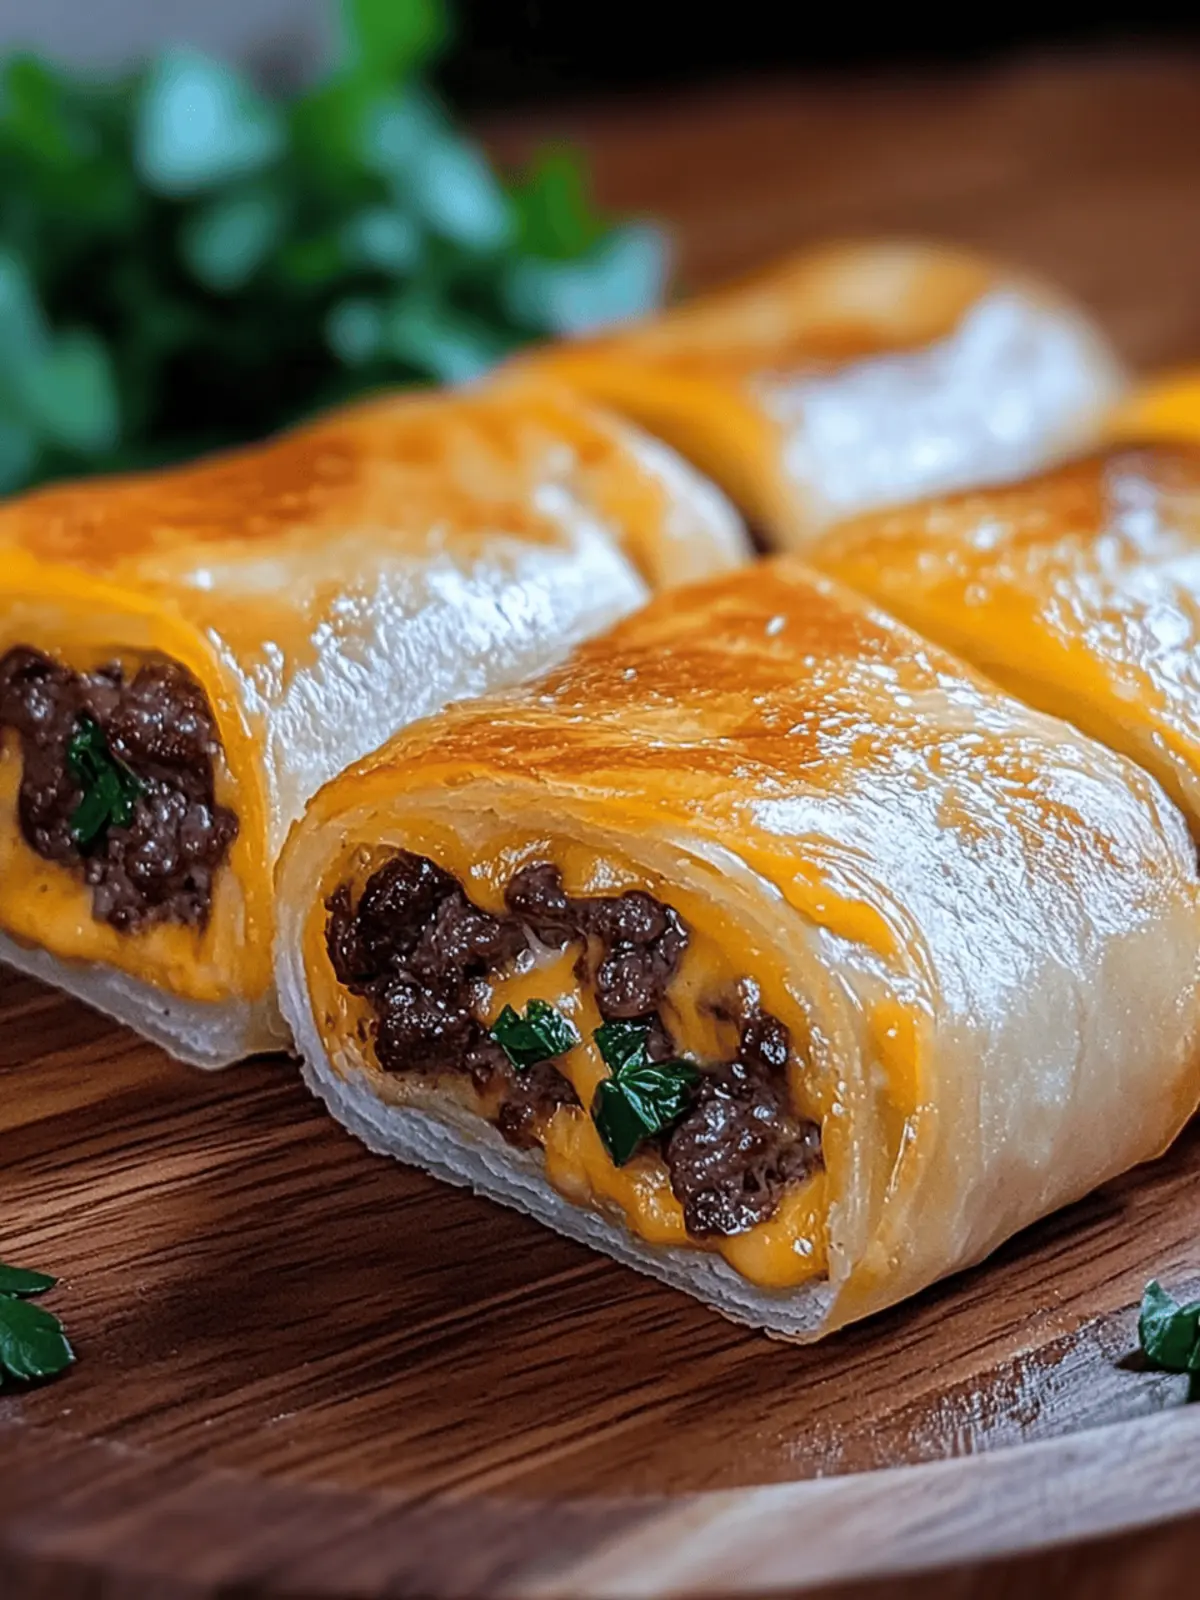
There’s a certain joy that fills the kitchen when you bring together simple ingredients to create something incredible. That’s exactly how I felt when I first whipped up these Easy Garlic Butter Beef Cheeseburger Rollups. Imagine the rich aroma of garlic butter mingling with sizzling beef, all enveloped in warm tortillas, making this a dish that feels like a hug in food form.
Ideal for busy weeknights, casual gatherings, or even as a satisfying snack, these rollups are a delightful twist on the classic cheeseburger. Not only are they unapologetically comforting, but they also serve as a crowd-pleasing option that’s both portable and bursting with flavor. Perfectly golden and crunchy on the outside, the gooey, cheesy interior will have your family or guests returning for seconds or thirds! Dive into the heart of this recipe, and let your kitchen fill with scents that promise a delicious meal awaits.
Why are Easy Garlic Butter Beef Cheeseburger Rollups awesome?
Unforgettable flavors: The irresistible blend of garlic butter, savory beef, and melted cheese creates a taste explosion that everyone will love.
Crowd-pleaser: Whether for game day or a casual dinner, these rollups are sure to impress friends and family alike.
Quick and easy: With minimal prep time, these rollups come together in a flash, making them ideal for busy weeknights.
Versatile options: Tailor the recipe to fit your family’s taste by swapping in different cheeses or adding your favorite veggies.
Perfectly portable: Enjoy them on the go or serve as appetizers at parties; their handheld format makes them a hit!
Indulge in this comforting dish and elevate your snacking game today!
Easy Garlic Butter Beef Cheeseburger Rollups Ingredients
For the Filling
- Ground Beef – Use ground chuck (15-25% fat) for a juicy and flavorful base that pairs perfectly with the garlic butter.
- Cheddar Cheese – This sharp cheese adds a creamy texture; feel free to replace it with Gruyère or Monterey Jack for a unique twist.
- Mozzarella Cheese – A beautiful melty addition that enhances the gooey factor; a blend of cheeses can provide depth and variety.
- Garlic – Fresh garlic gives that aromatic kick; it’s best to avoid processed garlic for the richest flavor.
- Onion Powder & Garlic Powder – These seasonings round out the delicious flavor profile of the beef mixture.
- Smoked Paprika – Introduces a subtle smokiness that elevates the overall taste of your rollups.
- Salt & Black Pepper – Essential for enhancing flavors; adjust according to your preference.
For the Wrapper
- Olive Oil – Necessary for cooking the beef while adding moisture and preventing sticking; a little goes a long way.
- Flour Tortillas – These serve as the base for wrapping up all that tasty filling; whole wheat tortillas can offer a healthier alternative.
- Butter – This key ingredient enhances the flavor and gives the rollups a golden crust; unsalted butter is recommended for better seasoning control.
- Worcestershire Sauce – This infused sauce brings richness and depth to the beef mixture, making it even more savory.
Optional Garnish
- Sliced Pickles – Adding a crunchy, acidic contrast, pickles beautifully complement the richness of the rollups and can be a delightful topping.
Enjoy creating these Easy Garlic Butter Beef Cheeseburger Rollups with this carefully curated ingredient list, and watch as they become a staple in your home!
How to Make Easy Garlic Butter Beef Cheeseburger Rollups
- Preheat the oven: Start by heating your oven to 375°F (190°C). Prepare a baking sheet by lining it with parchment paper to prevent sticking.
- Brown the beef: In a skillet, heat a splash of olive oil over medium-high heat. Cook the ground beef until it’s beautifully browned, about 7-8 minutes. Make sure to break it apart for even cooking!
- Season the meat: Stir in Worcestershire sauce, onion powder, garlic powder, smoked paprika, salt, and pepper. Remove from heat and let it cool slightly, allowing those savory flavors to meld.
- Mix the garlic butter: In a separate bowl, combine the melted butter with minced garlic, ensuring it’s well mixed and aromatic.
- Assemble the rollups: Lay the flour tortillas flat on a clean surface. Distribute the beef mixture onto each tortilla, then top generously with shredded cheddar and mozzarella cheese.
- Roll and secure: Roll the tortillas tightly, tucking in the sides as you go to keep the fillings secure. Place the rollups seam-side down on the prepared baking sheet. Brush generously with garlic butter for that golden touch.
- Bake to perfection: Bake in the preheated oven for 12-15 minutes until the rollups are golden brown and the cheese is wonderfully melted. Allow them to cool for a few minutes before slicing.
- Garnish and serve: If desired, add sliced pickles on top to add a fresh crunch before serving. Enjoy these warm and delightful rollups!
Optional: Serve with your favorite dipping sauces for an extra layer of flavor.
Exact quantities are listed in the recipe card below.
What to Serve with Easy Garlic Butter Beef Cheeseburger Rollups?
Bring your meal to life with delightful pairings that balance and enhance the flavors of these scrumptious rollups.
- Crispy French Fries: The classic combo of beef and fries is irresistible; their crunch complements the gooey filling perfectly.
- Garlic Parmesan Green Beans: A fresh, vibrant side that adds a pop of color and a crunchy contrast to the rich rollups.
- Creamy Coleslaw: This tangy, creamy side is refreshing and provides a delightful balance to the savory richness of the rollups.
- Zesty Dipping Sauces: Consider serving with ketchup, barbecue sauce, or spicy aioli. These sauces add an extra punch of flavor for your tastebuds to revel in.
- Simple Garden Salad: Light and refreshing, a mix of greens and cherry tomatoes brings a crispness that pairs well with the warm rollups.
- Cold Beverages: Pair with iced tea or lemonades for a refreshing drink option; their acidity complements the meaty flavors beautifully.
Each pairing brings its unique charm, ensuring your meal is memorable and satisfying!
Easy Garlic Butter Beef Cheeseburger Rollups Variations
Feel free to explore these creative twists on your rollups to suit your taste buds and dietary preferences!
- Turkey Twist: Substitute ground beef with ground turkey for a leaner option; the flavors still shine beautifully with garlic butter!
- Cheese Medley: Experiment with a blend of cheeses like pepper jack for a spicy kick or fontina for a creamy touch. Go crazy with cheese!
- Spicy Addition: Mix in diced jalapeños or crushed red pepper flakes into the meat mixture for an extra layer of heat that’ll tantalize your taste buds.
- Veggie Delight: Add sautéed mushrooms, spinach, or bell peppers to the meat mixture for an added nutritional boost and colorful presentation. More veggies, more fun!
- Herbed Up: Mix in fresh herbs like parsley or cilantro into the beef for an aromatic twist that brightens each bite. Freshness can make such a difference!
- Whole Wheat Wrap: Use whole wheat tortillas for a healthier choice; they add a nutty flavor and make your rollups even more wholesome.
- Sweet & Savory: Incorporate caramelized onions into the beef mixture for a sweet contrast that beautifully balances the savory richness of the rollup.
- BBQ Flair: Add BBQ sauce to the ground beef while cooking for a tangy, smoky flavor profile that transforms the rollup into a summer barbecue treat!
Expert Tips for Easy Garlic Butter Beef Cheeseburger Rollups
- Choose Quality Beef: Opt for ground chuck with 15-25% fat for juicy rollups that won’t be dry. Leaner options might result in less flavor.
- Avoid Overfilling: Don’t overload the tortillas to prevent messiness during baking. A balanced amount of filling creates a picturesque roll.
- Tightly Roll: Roll the tortillas firmly, tucking in the sides to secure the filling; this prevents leakage and makes for better presentation.
- Season Wisely: Use just the right amount of salt and pepper; let the garlic butter and cheese shine instead of overpowering the beef flavor.
- Experiment with Cheese: Don’t hesitate to mix your favorite cheeses for the filling. Blending flavors can elevate these Easy Garlic Butter Beef Cheeseburger Rollups.
Storage Tips for Easy Garlic Butter Beef Cheeseburger Rollups
Room Temperature: Allow rollups to cool completely before storing. They can sit out for up to 2 hours before needing refrigeration.
Fridge: Store leftover rollups in an airtight container for up to 3 days. Make sure to separate layers with parchment paper to prevent sticking.
Freezer: For longer storage, freeze the rollups in a single layer on a baking sheet. Transfer to an airtight container or freezer bag once solidified, and they’ll last for up to 3 months.
Reheating: Reheat in the oven at 350°F (175°C) for 10-15 minutes until warmed through and crispy. Avoid microwaving to maintain that perfect texture in your Easy Garlic Butter Beef Cheeseburger Rollups.
Make Ahead Options
These Easy Garlic Butter Beef Cheeseburger Rollups are perfect for those busy days when you want to have a delicious meal ready without the last-minute fuss! You can prepare the beef filling and store it in an airtight container in the refrigerator for up to 3 days. Just cook the ground beef and mix it with the seasonings, then let it cool before transferring. When you’re ready to enjoy, simply assemble the rollups with the tortillas and cheese, brush with garlic butter, and bake as directed. This method not only saves you time but also ensures that flavors are just as delightful when you’re ready to serve them!
Easy Garlic Butter Beef Cheeseburger Rollups Recipe FAQs
What type of ground beef should I use for the rollups?
Absolutely! I recommend using ground chuck with a fat content between 15-25%. This blend provides an ideal balance of juiciness and flavor, resulting in tender rollups that don’t dry out during cooking. Leaner meats might sacrifice that rich taste!
How long can I store the Easy Garlic Butter Beef Cheeseburger Rollups in the fridge?
Very! After enjoying your delicious rollups, let them cool completely, then place them in an airtight container. They can stay fresh for up to 3 days in the refrigerator. Just be sure to separate each layer with parchment paper to prevent sticking!
Can I freeze the Easy Garlic Butter Beef Cheeseburger Rollups?
Absolutely! To freeze, start by cooling the rollups completely. Lay them in a single layer on a baking sheet, and once they’re frozen solid, transfer them to an airtight container or freezer bag. They will keep well for up to 3 months. Just remember to label the container with the date to stay organized!
What should I do if my tortillas crack when rolling?
If you notice your tortillas cracking, don’t worry! This usually happens with colder tortillas. Before you fill them, try warming them briefly in the microwave for about 10-15 seconds or heating them in a dry skillet for a few seconds on each side. This softens them, making rolling much easier and helping avoid breaks!
Can I use alternative ingredients for dietary restrictions?
Yes! If you have dietary considerations, you can absolutely customize this recipe. For gluten-free options, opt for gluten-free tortillas. If you’re looking for a leaner protein, turkey or chicken can work beautifully in place of beef. You can also substitute dairy for vegan cheese and use plant-based faux meat, ensuring everyone at your gathering can enjoy these tasty rollups!
What dipping sauces pair well with these rollups?
The more the merrier! I often serve my rollups with a variety of dipping sauces to elevate the experience. Classic condiments like ketchup and mustard are always a hit, but for a twist, try a spicy aioli or even a tangy barbecue sauce. Your guests will love having options!
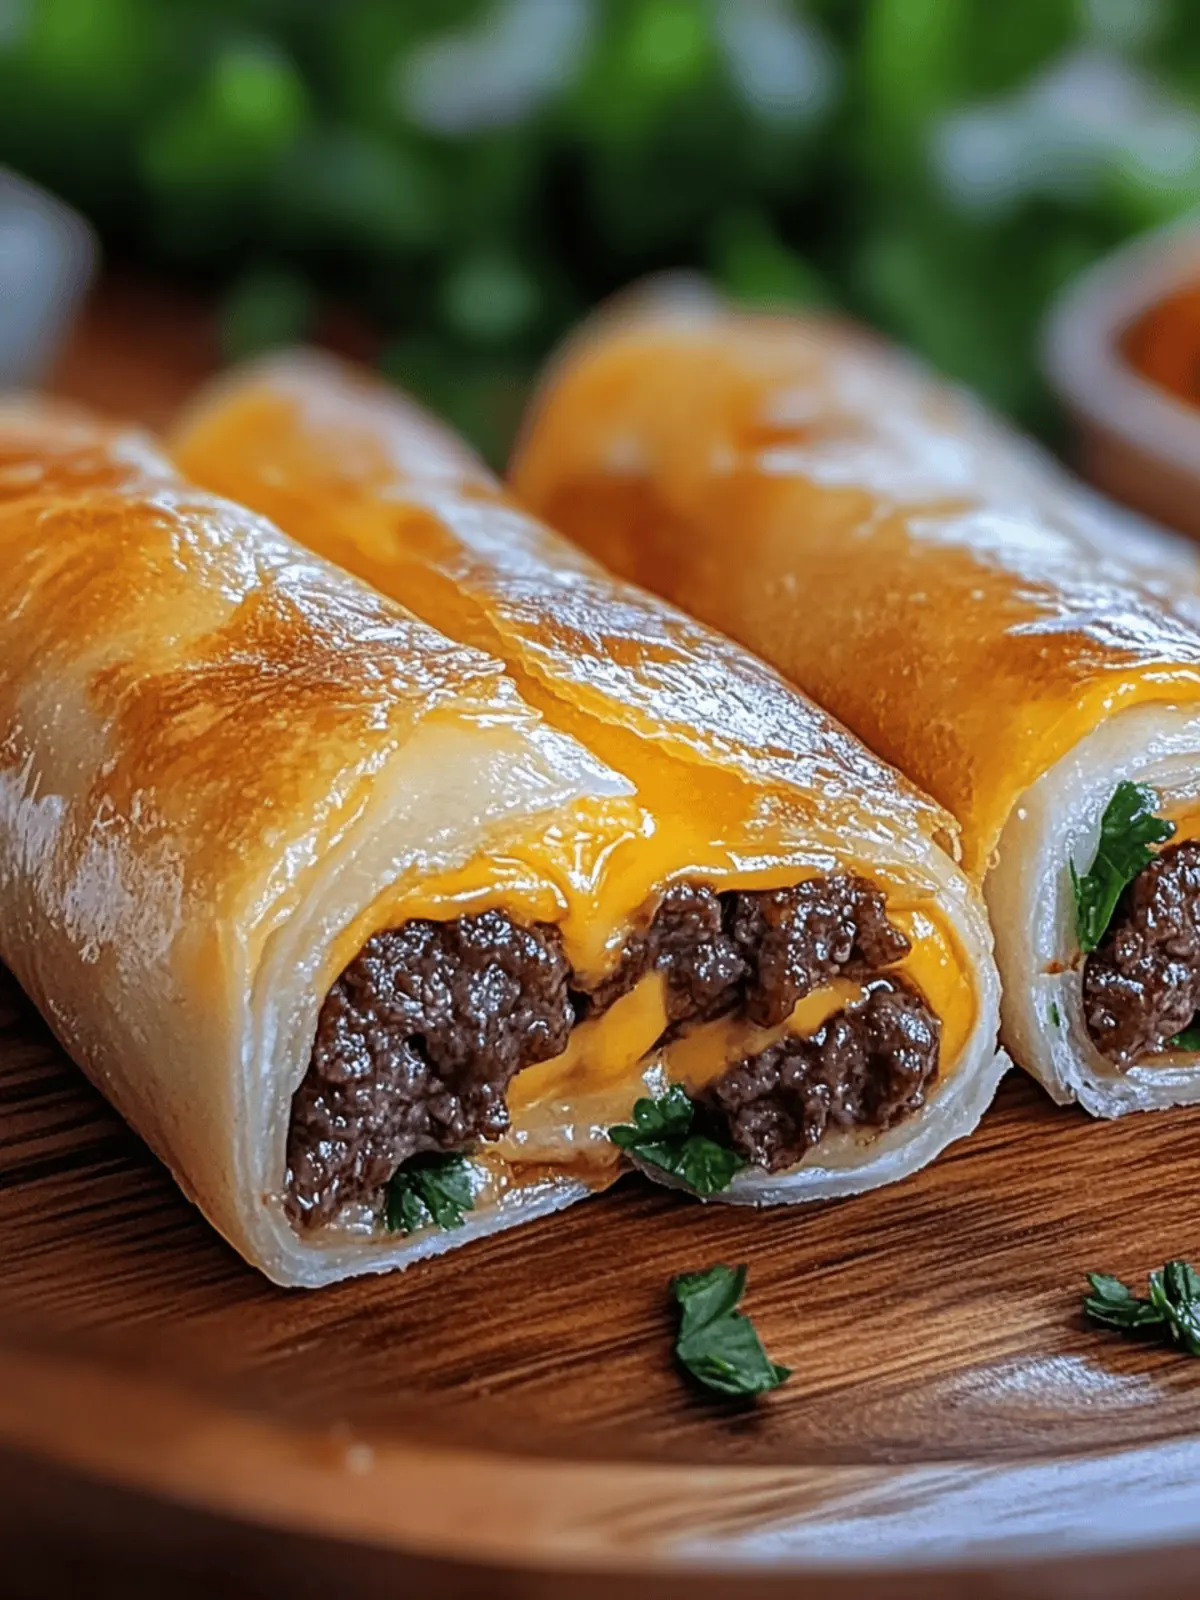
Easy Garlic Butter Beef Cheeseburger Rollups for Perfect Snacking
Ingredients
Equipment
Method
- Preheat the oven to 375°F (190°C) and line a baking sheet with parchment paper.
- Heat olive oil in a skillet over medium-high heat and cook the ground beef until browned, about 7-8 minutes.
- Stir in Worcestershire sauce, onion powder, garlic powder, smoked paprika, salt, and pepper, then let cool slightly.
- In a separate bowl, combine melted butter with minced garlic.
- Lay the flour tortillas flat and distribute the beef mixture, topping with shredded cheddar and mozzarella.
- Roll the tortillas tightly, tucking in the sides, and place seam-side down on the baking sheet. Brush with garlic butter.
- Bake for 12-15 minutes until golden brown and the cheese is melted.
- If desired, add sliced pickles on top before serving.

