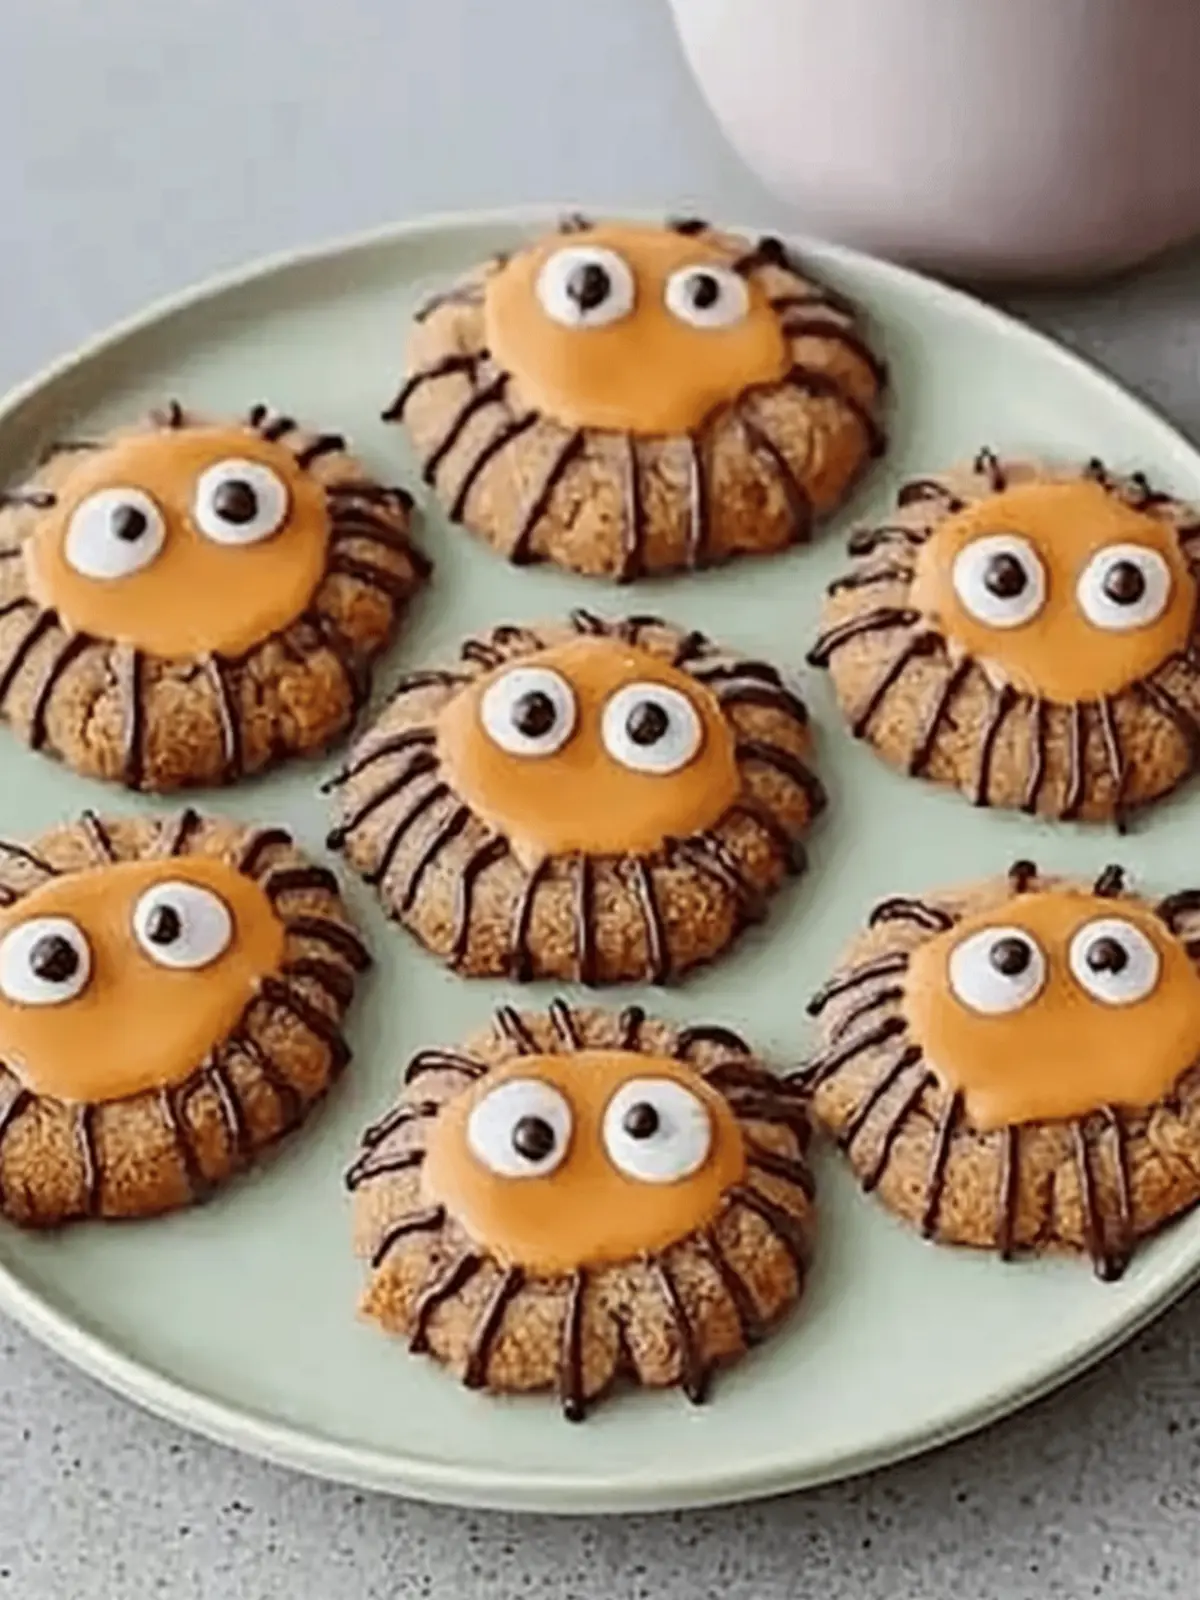
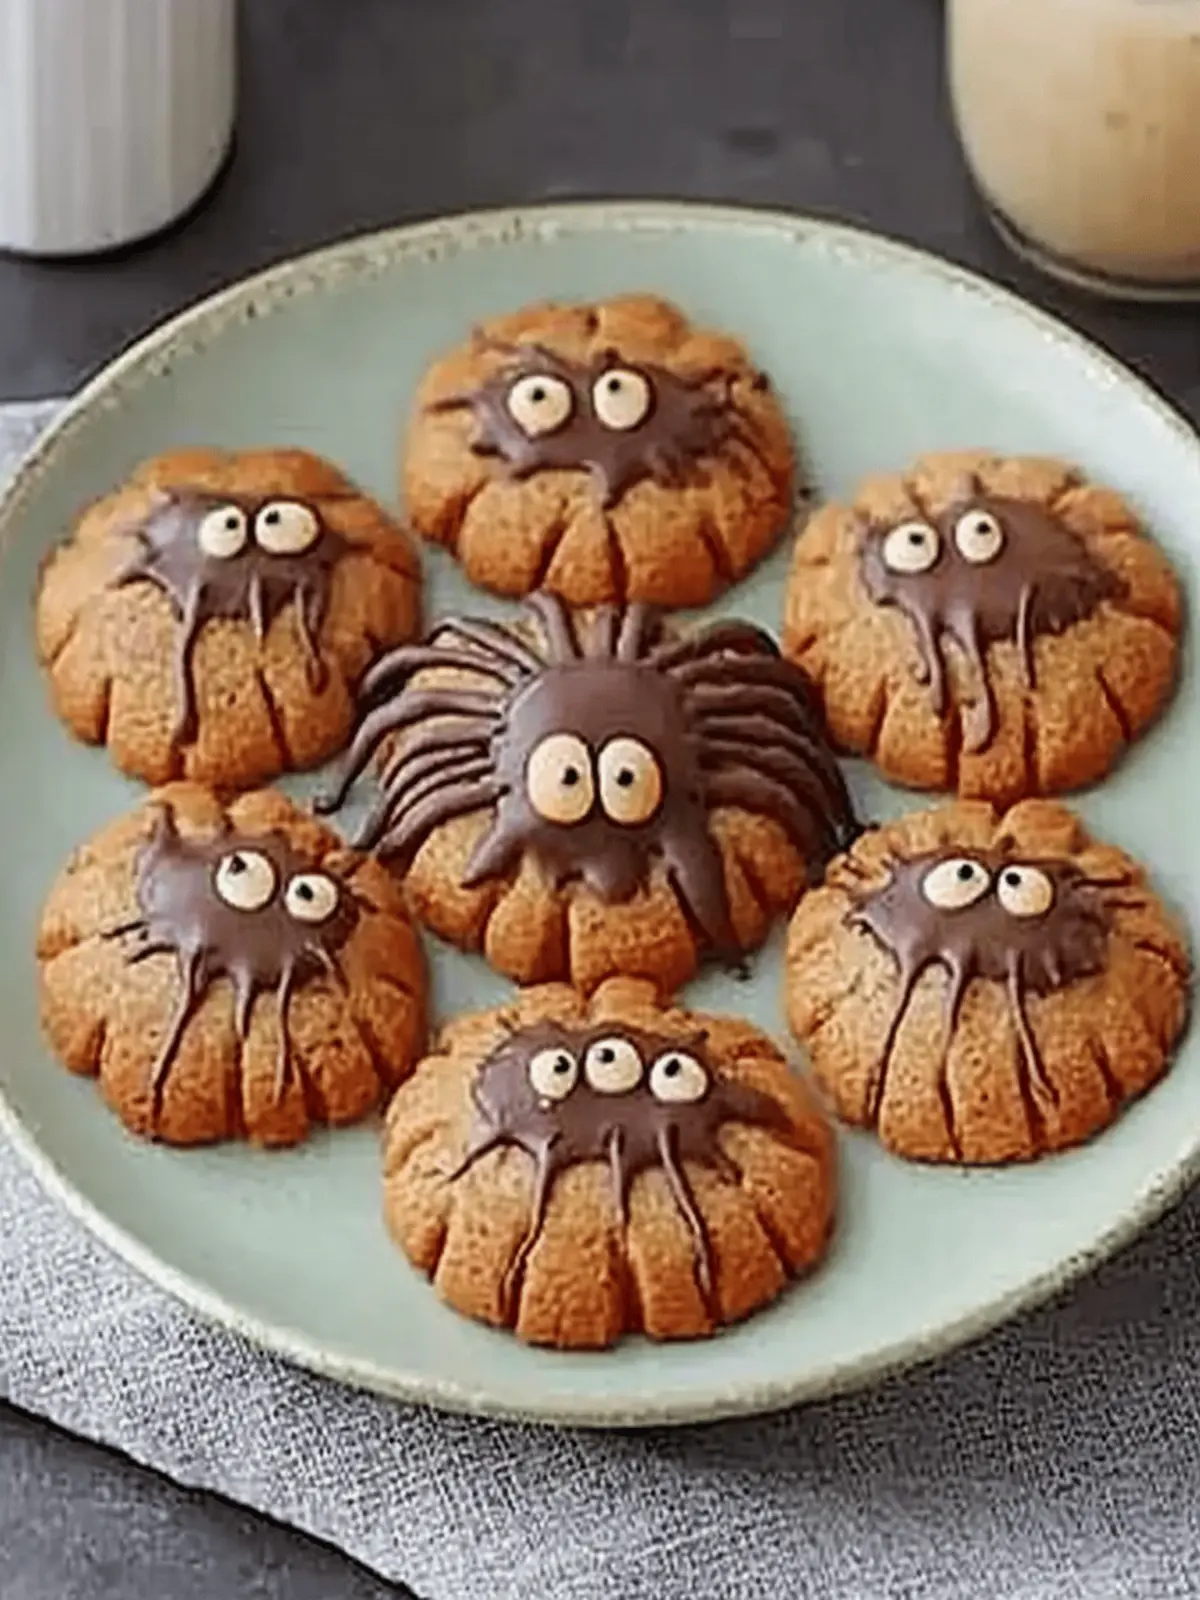
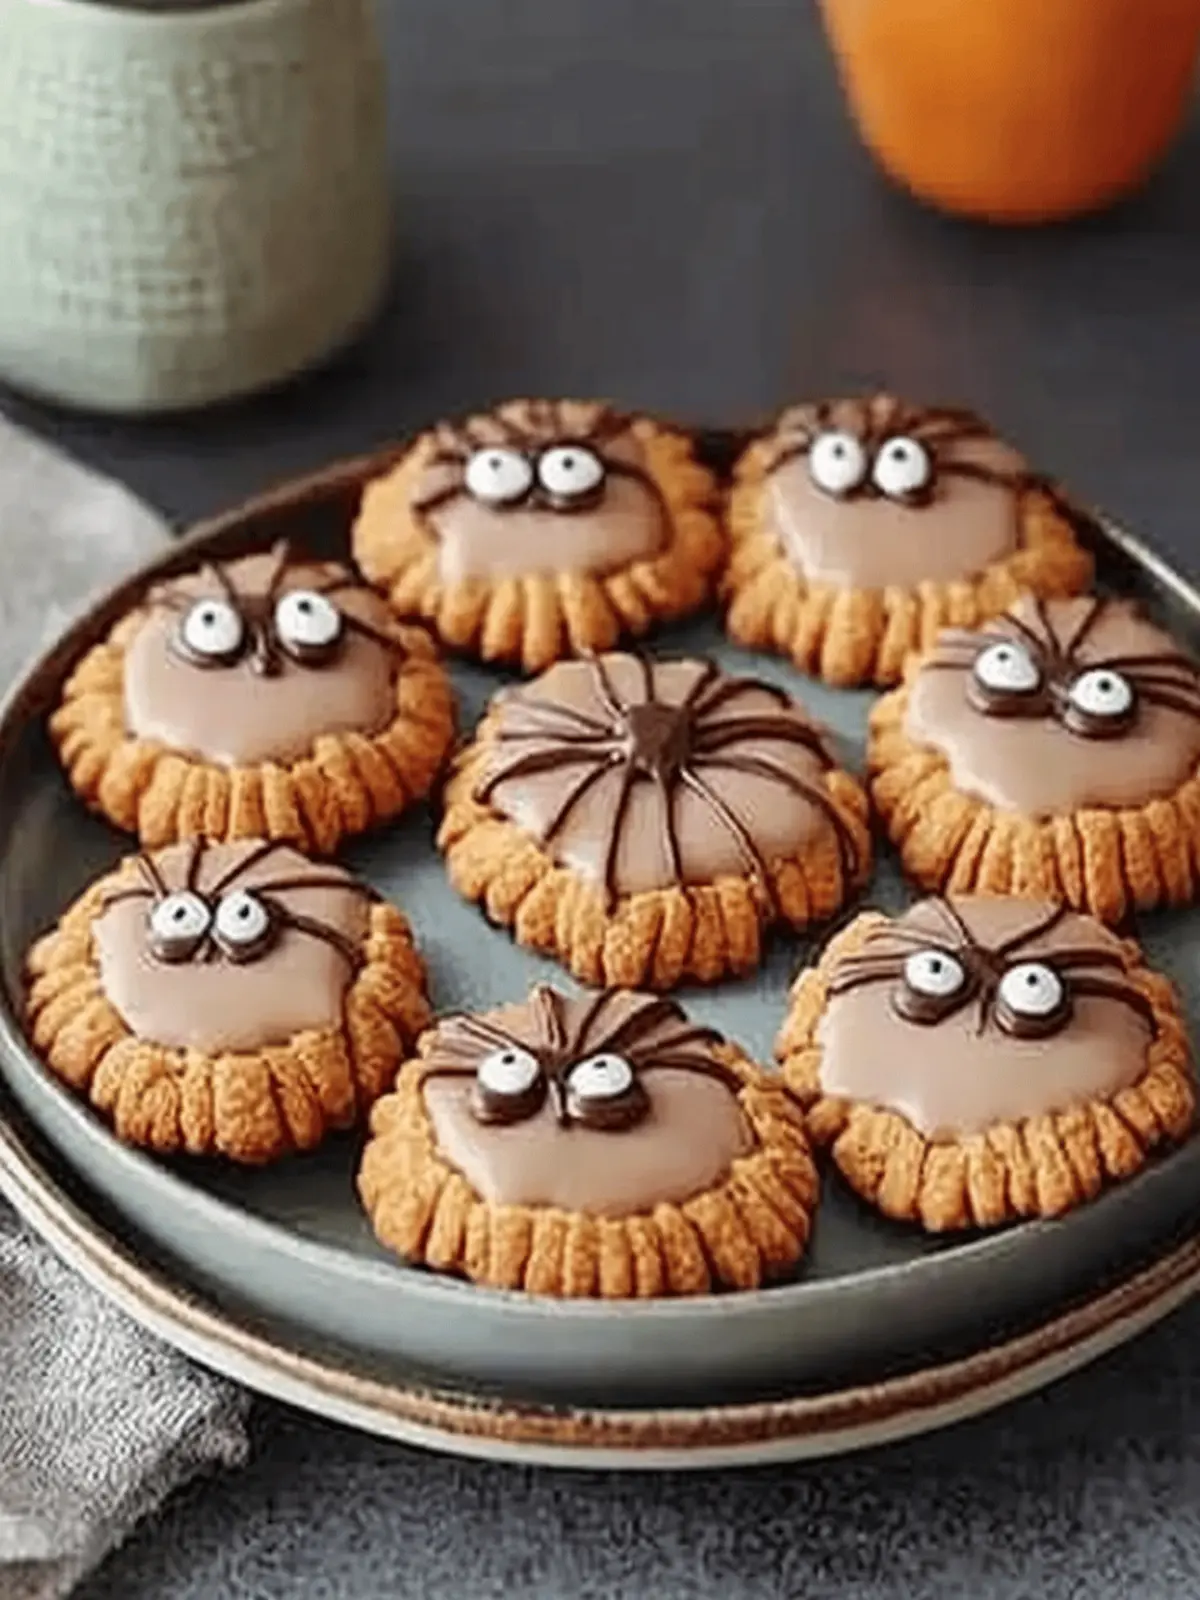
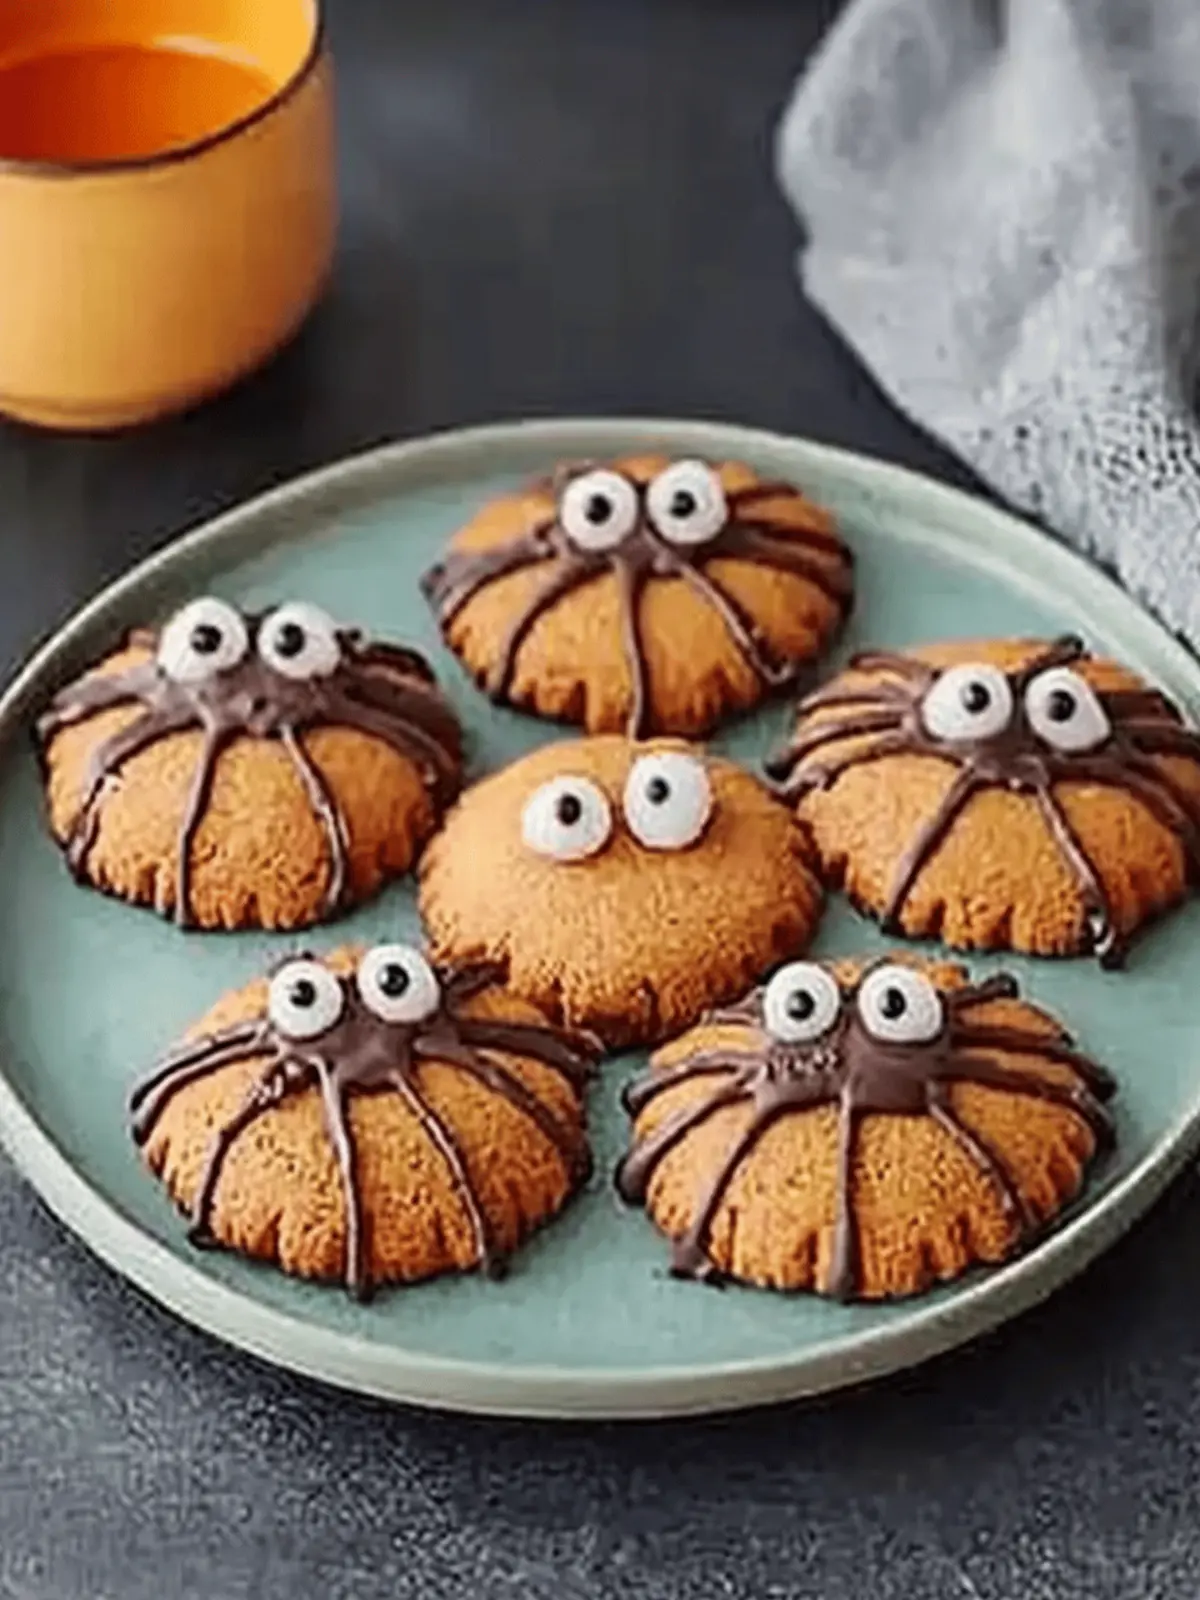
As the leaves begin to fall and the air turns crisp, I can’t help but feel a sense of excitement for Halloween. It’s that time of year when creativity in the kitchen really shines! Last week, I stumbled upon a delightful idea that transformed my usual cookie routine into something spookily spectacular: Halloween Peanut Spider Cookies. Picture this: soft and chewy peanut butter cookies adorned with chocolatey spider decorations, ready to make any party a hit!
These little treats are not just about the fun looks; they promise a burst of rich flavor with each bite. Combining creamy peanut butter and decadent chocolate, they create a balance that’s impossible to resist. And the best part? Whether you’re gearing up for a Halloween bash or simply want to impress family and friends, these cookies are both easy to whip up and endlessly adaptable. Plus, they’re sure to enchant kids and adults alike, so let’s dive into this creepy, yet delicious creation!
Why will you love Spider Cookies?
Fun, Festive Appeal: These Spider Cookies are a spooky delight that brings excitement to any Halloween gathering.
Easy to Make: With simple ingredients and straightforward instructions, you’ll have these cookies ready in no time!
Delicious Flavor: The combination of creamy peanut butter and chocolate is undeniably mouthwatering, ensuring every bite is a treat.
Versatile Options: With easy substitutions, you can accommodate various dietary needs while keeping the fun intact!
Crowd-Pleasing Treat: Perfect for kids and adults alike, these cookies will be the highlight of your Halloween festivities.
Make-Ahead Friendly: Bake and freeze them ahead of time to alleviate holiday stress! Enjoy the deliciousness!
Spider Cookies Ingredients
For the Cookies
- Creamy Peanut Butter – Offers the foundational flavor and texture; substitute with almond butter for variety.
- Sugar – Balances the peanut butter’s richness; coconut sugar makes a healthier option.
- Large Egg – Binds ingredients and adds moisture; use a flax egg for a vegan version.
For the Decoration
- Reese’s Mini Peanut Butter Cups – Acts as the spider’s body; chocolate candies also work as allergy-friendly swaps.
- Milk Chocolate Chips – Perfect for creating spider legs and adhering candy eyes; dark chocolate gives a richer taste.
- Shortening – Ensures smooth melting of chocolate; coconut oil is a healthier alternative.
- Candy Eyes – Adds a whimsical touch; if unavailable, edible decorations can be a fun substitute.
Note: With these Spider Cookies, you’re not just baking—you’re creating an unforgettable Halloween experience!
How to Make Spider Cookies
- Preheat the oven to 350°F. This ensures the cookies will bake evenly and develop that perfect chewy texture.
- Cream together the peanut butter and sugar in a mixing bowl for 5-7 minutes until light and fluffy. This step is crucial for incorporating air, making your cookies delightfully soft.
- Beat in the large egg until well combined. This adds moisture and helps bind the mixture for the ultimate cookie texture.
- Roll the dough into 1-inch balls and place them 2 inches apart on ungreased baking sheets. Flatten slightly for even baking, giving them just a little shape.
- Bake for 15-17 minutes until the tops are slightly cracked. Cool for 3 minutes on wire racks, allowing the cookies to set before moving.
- Press a mini peanut butter cup into the center of each cookie as they cool. The warmth of the cookies will melt them slightly, creating a delicious “body” for your spiders.
- Melt the chocolate chips and shortening together in the microwave until smooth, stirring intermittently for an even consistency.
- Decorate by using a pastry bag to adhere candy eyes to the peanut butter cups. Pipe lines for spider legs using the melted chocolate, then let set for a fun, spooky decoration.
Optional: Dust with a sprinkle of edible glitter for an extra festive touch!
Exact quantities are listed in the recipe card below.
Make Ahead Options
These Halloween Peanut Spider Cookies are perfect for meal prep! You can prepare the cookie dough up to 24 hours in advance by mixing all the ingredients and storing it in an airtight container in the refrigerator. This keeps the dough fresh and ready to bake when you are. Additionally, you can roll the dough into balls and freeze them for up to 3 months. When you’re ready to bake, simply place the frozen dough balls on a baking sheet and let them sit at room temperature for about 10-15 minutes before baking. This way, you’ll enjoy the same delightful taste and texture without any fuss. Just follow the finishing instructions for decorating and enjoy these beautiful spider cookies for your Halloween festivities!
What to Serve with Spider Cookies?
As you get ready to delight your guests with these spooky treats, consider pairing them with delicious accompaniments that amplify the fun!
- Chilled Apple Cider: The crisp flavors of apple cider bring a refreshing balance to the sweetness of the cookies, making every bite a delightful experience.
- Vanilla Ice Cream: Creamy ice cream is a perfect pairing, adding a cold contrast to the warm peanut butter cookies, creating a deliciously indulgent dessert.
- Pumpkin Spice Latte: Embrace the season with a cozy cup of this spiced coffee, its warm flavors perfectly enhancing the rich peanut butter and chocolate notes.
- Decorative Party Platter: Fill a platter with assorted candies and Halloween-themed treats. This visually playful spread will attract everyone to join in on the spooky fun.
- Hot Chocolate: For a classic pairing, rich hot chocolate with marshmallows is a heartwarming companion that satisfies both kids and adults alike.
- Caramel Dipping Sauce: The sweet, buttery flavor of caramel adds a decadent touch; dip your cookies for an extra layer of sweetness and indulgence.
- Ghostly Meringues: Serve light and airy meringue cookies shaped like ghosts as a playful companion, adding a delightful contrast in both flavor and texture.
- Halloween Fruit Skewers: Skewer seasonal fruits like grapes, melon, and oranges for a fresh element, adding color and nutrition to your festive spread.
Combining these ideas will enhance the joy of your spooky celebrations, creating a truly memorable Halloween feast!
Expert Tips for Spider Cookies
- Chill the Cups: Keep mini peanut butter cups in the fridge before placing them on cookies to help them maintain their shape while baking.
- Underbake for Softness: For cookies that are irresistibly soft and chewy, slightly underbake them by a couple of minutes to avoid over-drying.
- Uniform Sizes: Use a small cookie scoop to ensure all cookies are the same size, leading to even baking and a consistent appearance.
- Storage Savvy: Store cookies in an airtight container with sheets of wax paper between layers to prevent sticking, preserving that soft texture of your Spider Cookies.
- Customization Options: Experiment with different nut butters or candy decorations to add your unique twist while keeping allergen concerns in mind.
Spider Cookies Variations
Get ready to unleash your creativity and customize these delightful Spider Cookies with some fun twists!
- Nut-Free: Substitute peanut butter with sunflower seed butter to make these cookies safe for nut allergies. They’ll maintain the same sweet, nutty flavor without the nuts!
- Vegan: For a plant-based option, use a flax egg instead of a regular egg combined with coconut oil in place of shortening. These cookies will be just as tasty without the animal products.
- Sweetener Swap: Replace granulated sugar with coconut sugar for a lower-glycemic, healthier alternative. This gives a subtle caramel flavor that’s delightful!
- Chocolate Lovers: Use dark chocolate chips instead of milk chocolate to intensify that rich, chocolaty goodness, offering a perfect balance with the peanut butter.
- Extra Crunch: Mix in chopped nuts or crushed granola for an added crunch factor; it creates texture and makes the cookies even more exciting!
- Spookier Designs: Get creative with decorating! Use different candies or chocolate melting wafers for spider legs and bodies—think gummy worms or Halloween-themed sprinkles.
- Flavor Infusion: Try adding a teaspoon of vanilla extract or a dash of cinnamon to the dough for an extra layer of flavor that’s totally enchanting!
- Mini Sizes: Roll the dough into smaller balls for bite-sized cookies. Perfect for little hands or as part of a Halloween dessert platter!
Embrace the spirit of Halloween and enjoy making these Spider Cookies your own!
How to Store and Freeze Spider Cookies
Room Temperature: Store cookies in an airtight container at room temperature for up to 1 week, ensuring they remain soft and chewy for every spooky snack craving.
Fridge: If preferred, Spider Cookies can be stored in the fridge for up to 2 weeks. Just make sure they’re sealed to prevent dryness and keep their delightful texture.
Freezer: To extend their lifespan, freeze the cookies in an airtight container for up to 8 months. Separate layers with wax paper to avoid sticking, perfect for a quick treat anytime!
Reheating: For the best flavor and texture after freezing, thaw at room temperature or warm them in the microwave for a few seconds before serving.
Halloween Peanut Spider Cookies Recipe FAQs
How do I select ripe ingredients for my Spider Cookies?
Absolutely! When choosing ingredients like peanut butter, look for creamy options without added sugars and oils for the best flavor and texture. Avoid any with dark spots or an off smell, as this can indicate spoilage. For a healthier sugar choice, coconut sugar should be light brown and free of clumps.
What is the best way to store Spider Cookies?
Store your Spider Cookies in an airtight container at room temperature, where they’ll stay deliciously soft for up to a week. For longer storage, place them in the fridge for up to two weeks, but make sure they’re fully sealed to prevent drying!
Can I freeze Spider Cookies? How do I do it?
Yes! Freezing your Spider Cookies is a fantastic option if you want to enjoy them later. Place cooled cookies in an airtight container, layering them with wax paper to prevent sticking, and freeze for up to 8 months. To thaw, simply leave them at room temperature or pop them in the microwave briefly until warmed through.
What are common troubleshooting tips when making Spider Cookies?
If your cookies turn out too dry, they might be overbaked; aim to slightly underbake them for that dreamy chewy texture! Utilizing a small cookie scoop can also help in achieving uniform sizes for even baking. Lastly, if your chocolate decoration isn’t sticking, ensure it’s still warm and runny when applying it.
Are there any dietary considerations I should keep in mind for Spider Cookies?
Very! For nut allergies, consider substituting creamy peanut butter with sunflower seed butter, which provides a similar texture while keeping them nut-free. If you’re catering to vegan diets, a flax egg works perfectly in place of the large egg, and coconut oil can replace shortening for a healthier twist!

Spider Cookies That Spook and Satisfy - Easy Halloween Treats
Ingredients
Equipment
Method
- Preheat the oven to 350°F.
- Cream together the peanut butter and sugar in a mixing bowl for 5-7 minutes until light and fluffy.
- Beat in the large egg until well combined.
- Roll the dough into 1-inch balls and place them 2 inches apart on ungreased baking sheets. Flatten slightly.
- Bake for 15-17 minutes until the tops are slightly cracked. Cool for 3 minutes on wire racks.
- Press a mini peanut butter cup into the center of each cookie as they cool.
- Melt the chocolate chips and shortening together in the microwave until smooth.
- Decorate by using a pastry bag to adhere candy eyes to the peanut butter cups. Pipe lines for spider legs using the melted chocolate.


