
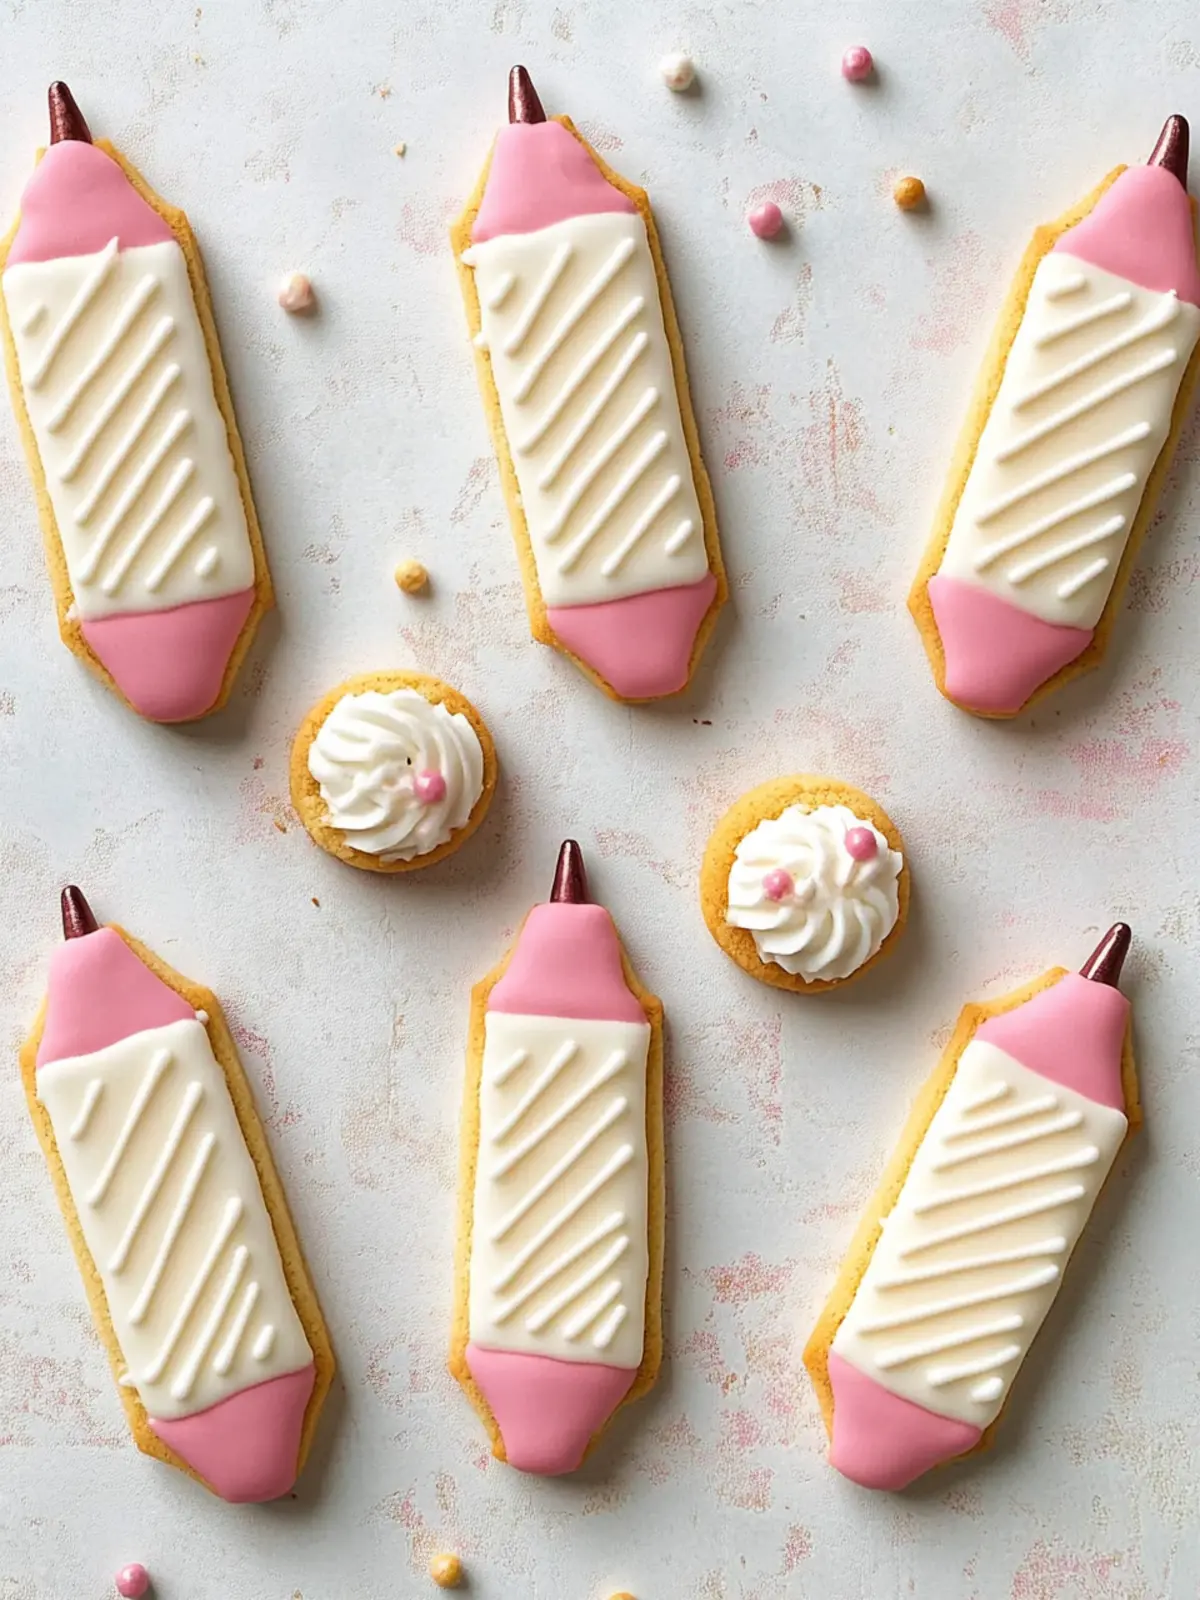
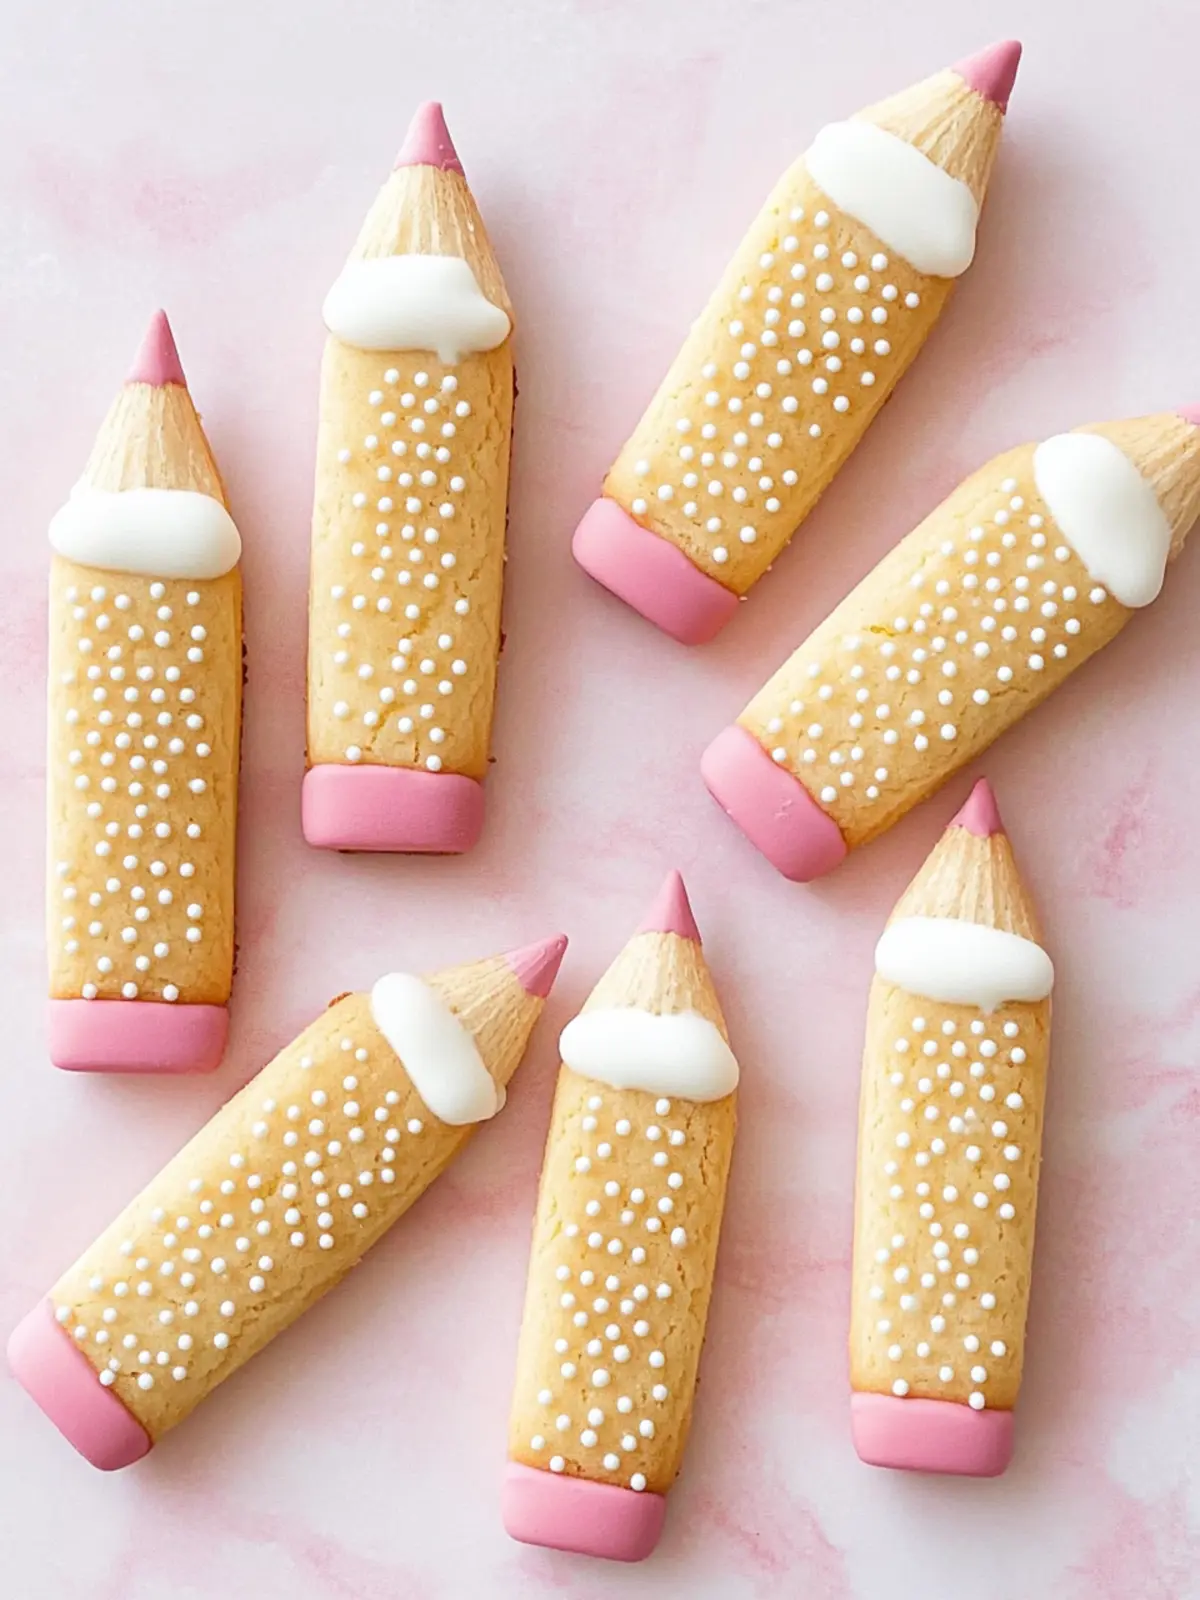
There’s something so delightful about turning simple ingredients into charming treats that spark joy. Recently, I found myself in the mood to create something sweet yet visually playful, and that’s when these Cute Wafer Pencil Cookies came to life. Imagine biting into a crisp vanilla wafer, beautifully coated in smooth white chocolate, and drizzled with a touch of pink—it’s like holding a piece of edible art!
As someone who enjoys crafting homemade goodies, I love how this recipe combines ease and creativity. Whether you’re looking to impress at a bake sale or simply treat yourself to a fun afternoon project, these cookies are a perfect solution. With a handful of ingredients and a little imagination, you’ll discover how effortless it is to whip up a batch that feels festive and special. Trust me, each bite is a sweet escape from the everyday hustle, and they’re bound to bring smiles to everyone you share them with! Let’s dive in and start creating these adorable wafer creations.

Why will you adore Cute Wafer Pencil Cookies?
Effortless Creativity: This recipe makes it easy to create charming treats with just a few ingredients.
Eye-Catching Appeal: The combination of white and pink chocolate creates a stunning visual that will impress guests.
Versatile Delight: Perfect for parties, bake sales, or a delightful snack at home, these cookies please every palate.
Quick to Make: You can whip up a batch in no time, perfect for spontaneous sweet cravings!
Family Fun: Get the kids involved for a fun baking session that sparks creativity and joy.
Trust me, once you try these cookies, you won’t want to stop sharing them. Plus, for similar fun projects, check out our collection of easy dessert recipes.
Cute Wafer Pencil Cookies Ingredients
• Get ready for a delightful treat!
For the Cookies
- Vanilla Wafers – use store-bought for a quick and easy base.
- Bright White Chocolate Melting Wafers – melts smoothly for that perfect coating.
- Light Pink White Chocolate Melting Wafers – adds a fun pop of color to your cookies.
For the Decoration
- Mini Chocolate Chips – sprinkle on top for added texture and sweetness.
- 5 piping tips – for drizzling and decorating with flair.
- 1 piping bag – helps create those lovely pink chocolate drizzles over your cookies.
These Cute Wafer Pencil Cookies are not only a delight to make but also beautifully captivating to share!
How to Make Cute Wafer Pencil Cookies
-
Melt the Bright White Chocolate Melting Wafers in a microwave-safe bowl. Heat in 30-second intervals, stirring in between, until smooth and fully melted. This ensures a creamy coating for your cookies.
-
Dip each Vanilla Wafer into the melted white chocolate, allowing any excess to drip off. Place them on a parchment-lined baking sheet and let them set until firm. This should take about 30 minutes at room temperature.
-
Melt the Light Pink White Chocolate Melting Wafers using the same method as before. This delightful color will add a fun touch to your cookies!
-
Pipe the melted pink chocolate over the set white chocolate-coated Vanilla Wafers using the piping bag and tips. Create zigzag patterns or playful drizzles to enhance the cupcake-like decor.
-
Sprinkle Mini Chocolate Chips atop the cookies while the pink chocolate is still warm. This adds a delightful crunch, making each bite even more enjoyable!
Optional: For a festive touch, add colorful sprinkles before the chocolate sets.
Exact quantities are listed in the recipe card below.
How to Store and Freeze Cute Wafer Pencil Cookies
Room Temperature: Store cookies in an airtight container at room temperature for up to 3 days to maintain their crispiness and prevent any moisture absorption.
Fridge: If you wish to keep them fresh longer, refrigerate the cookies in a sealed container for up to 1 week. Bring them back to room temperature before serving.
Freezer: For longer storage, you can freeze the Cute Wafer Pencil Cookies for up to 2 months. Layer them between parchment paper in an airtight container to prevent sticking.
Thawing: To enjoy frozen cookies, simply move them to the fridge for a few hours or let them sit at room temperature for about 30 minutes before indulging!
What to Serve with Cute Wafer Pencil Cookies?
Indulge your senses with delightful accompaniments that elevate your sweet treat experience.
- Milk: A classic pairing that complements the sweetness of the cookies while balancing their rich chocolate flavor.
- Fresh Berries: Strawberries or raspberries add a refreshing tartness that lightens up the dessert platter beautifully.
- Coffee: A warm cup of coffee provides a cozy contrast to the cooling sweetness of the white chocolate.
- Ice Cream: Serve these cookies with a scoop of vanilla or strawberry ice cream for a luscious dessert experience.
- Fruit Salad: A vibrant mix of seasonal fruits offers a fresh and healthy contrast to the rich flavors of the cookies.
- Chocolate Dipping Sauce: For true chocolate lovers, a drizzle of melted chocolate on the side elevates the indulgence factor.
- Lemonade: The zesty sweetness of lemonade cuts through the creamy chocolate, making for a refreshing drink option.
- Gourmet Hot Chocolate: A cup of rich hot chocolate creates a dreamy, indulgent experience, bringing warmth to your dessert table.
Each of these pairings not only enhances the flavors of the Cute Wafer Pencil Cookies but also creates a charming and memorable dessert spread for any occasion.
Cute Wafer Pencil Cookies Variations & Substitutions
Feel free to get creative and put your unique spin on these delightful cookies!
- Dark Chocolate: Swap the white chocolate wafers for dark chocolate for a rich, decadent flavor contrast.
- Nutty Crunch: Add finely chopped nuts like almonds or hazelnuts to the melted chocolate for a delightful crunch.
- Flavor Infusion: Incorporate a drop of vanilla or almond extract into the melted chocolate for an extra layer of flavor.
- Fruit Zest: Sprinkle a bit of orange or lemon zest on top before the chocolate sets for a refreshing citrus twist.
- Seasonal Sprinkles: Change up the toppings with colorful sprinkles themed for holidays or celebrations to match the occasion.
- Coconut Delight: Mix in shredded coconut with the mini chocolate chips for a tropical flair that everyone will love.
- Spicy Kick: Add a pinch of cayenne or chili powder to the melted chocolate for a flavor explosion that surprises the palate!
- Gluten-Free Option: Use gluten-free Vanilla Wafers to create a version suitable for those with dietary restrictions.
With these variations, you’ll be sure to delight anyone who tries these enchanting cookies!
Make Ahead Options
These Cute Wafer Pencil Cookies are a fantastic choice for meal prep fans! You can melt the white and pink chocolate and dip the vanilla wafers up to 24 hours in advance. Simply store the dipped cookies in an airtight container at room temperature, keeping them away from moisture which could mess with their delicate crunch. When you’re ready to serve, just melt the pink chocolate again in the piping bag and drizzle it over the set cookies, sprinkling the mini chocolate chips on top while it’s still warm. This way, you can enjoy these charming treats without the stress of last-minute preparation, making your dessert table shine with minimal effort!
Tips for the Best Cute Wafer Pencil Cookies
- Choose Quality Chocolate: Use high-quality white chocolate melting wafers for a smooth, velvety coating that enhances flavor and texture.
- Watch the Temperature: Make sure the melted chocolate isn’t too hot when dipping the wafers, as this can cause them to lose their crispness.
- Set Time Matters: Allow the dipped wafers to set completely on the baking sheet before moving to ensure they won’t break or smudge.
- Piping Precision: Test your piping bag and tips with a little chocolate beforehand to avoid any messes while decorating the Cute Wafer Pencil Cookies.
- Experiment with Sprinkles: Get creative with toppings like colorful sprinkles or different types of decorations to personalize your cookie creations!

Cute Wafer Pencil Cookies Recipe FAQs
What type of vanilla wafers should I use?
Absolutely! I recommend using store-bought vanilla wafers for convenience. Look for a crispy variety that has a nice flavor and texture, which will hold up well when dipped in chocolate.
How should I store Cute Wafer Pencil Cookies?
To keep your cookies fresh, store them in an airtight container at room temperature for up to 3 days. If you’d like to keep them for longer, refrigerate them in a sealed container for up to 1 week. Before serving, bring them back to room temperature for the best texture.
Can I freeze these cookies?
Yes, you can freeze Cute Wafer Pencil Cookies for up to 2 months! To do this, layer the cookies between sheets of parchment paper in an airtight container or zip-top freezer bag. This prevents sticking and preserves their shape. When you’re ready to enjoy them, simply thaw in the fridge for a few hours or at room temperature for about 30 minutes.
What if my melted chocolate isn’t smooth?
If your melted chocolate is grainy, it’s likely overheated. Heat it in 10-15 second intervals next time, stirring thoroughly in between, until it’s smooth. If you accidentally overheat it, try adding a teaspoon of vegetable oil to salvage the texture and bring it back to a drizzle-ready consistency.
Are there any dietary considerations for these cookies?
Yes! If you’re mindful of allergies, check the ingredient labels for potential allergens like milk or soy in the melting wafers. Additionally, consider gluten-free vanilla wafers if someone in your family has gluten sensitivities. For a fun twist, you can even experiment with vegan chocolate options!
Can my pets eat these cookies?
No, it’s best to keep these cookies away from pets. Chocolate is toxic to dogs and cats, so ensure that they don’t have access to any leftover chocolate-covered treats. Stick to pet-safe snacks when pampering your furry friends!
Cute Wafer Pencil Cookies to Brighten Your Dessert Table
Ingredients
Equipment
Method
- Melt the Bright White Chocolate Melting Wafers in a microwave-safe bowl. Heat in 30-second intervals, stirring in between, until smooth and fully melted.
- Dip each Vanilla Wafer into the melted white chocolate, allowing any excess to drip off. Place them on a parchment-lined baking sheet and let them set until firm. This should take about 30 minutes at room temperature.
- Melt the Light Pink White Chocolate Melting Wafers using the same method as before.
- Pipe the melted pink chocolate over the set white chocolate-coated Vanilla Wafers using the piping bag and tips.
- Sprinkle Mini Chocolate Chips atop the cookies while the pink chocolate is still warm.
- Optional: For a festive touch, add colorful sprinkles before the chocolate sets.