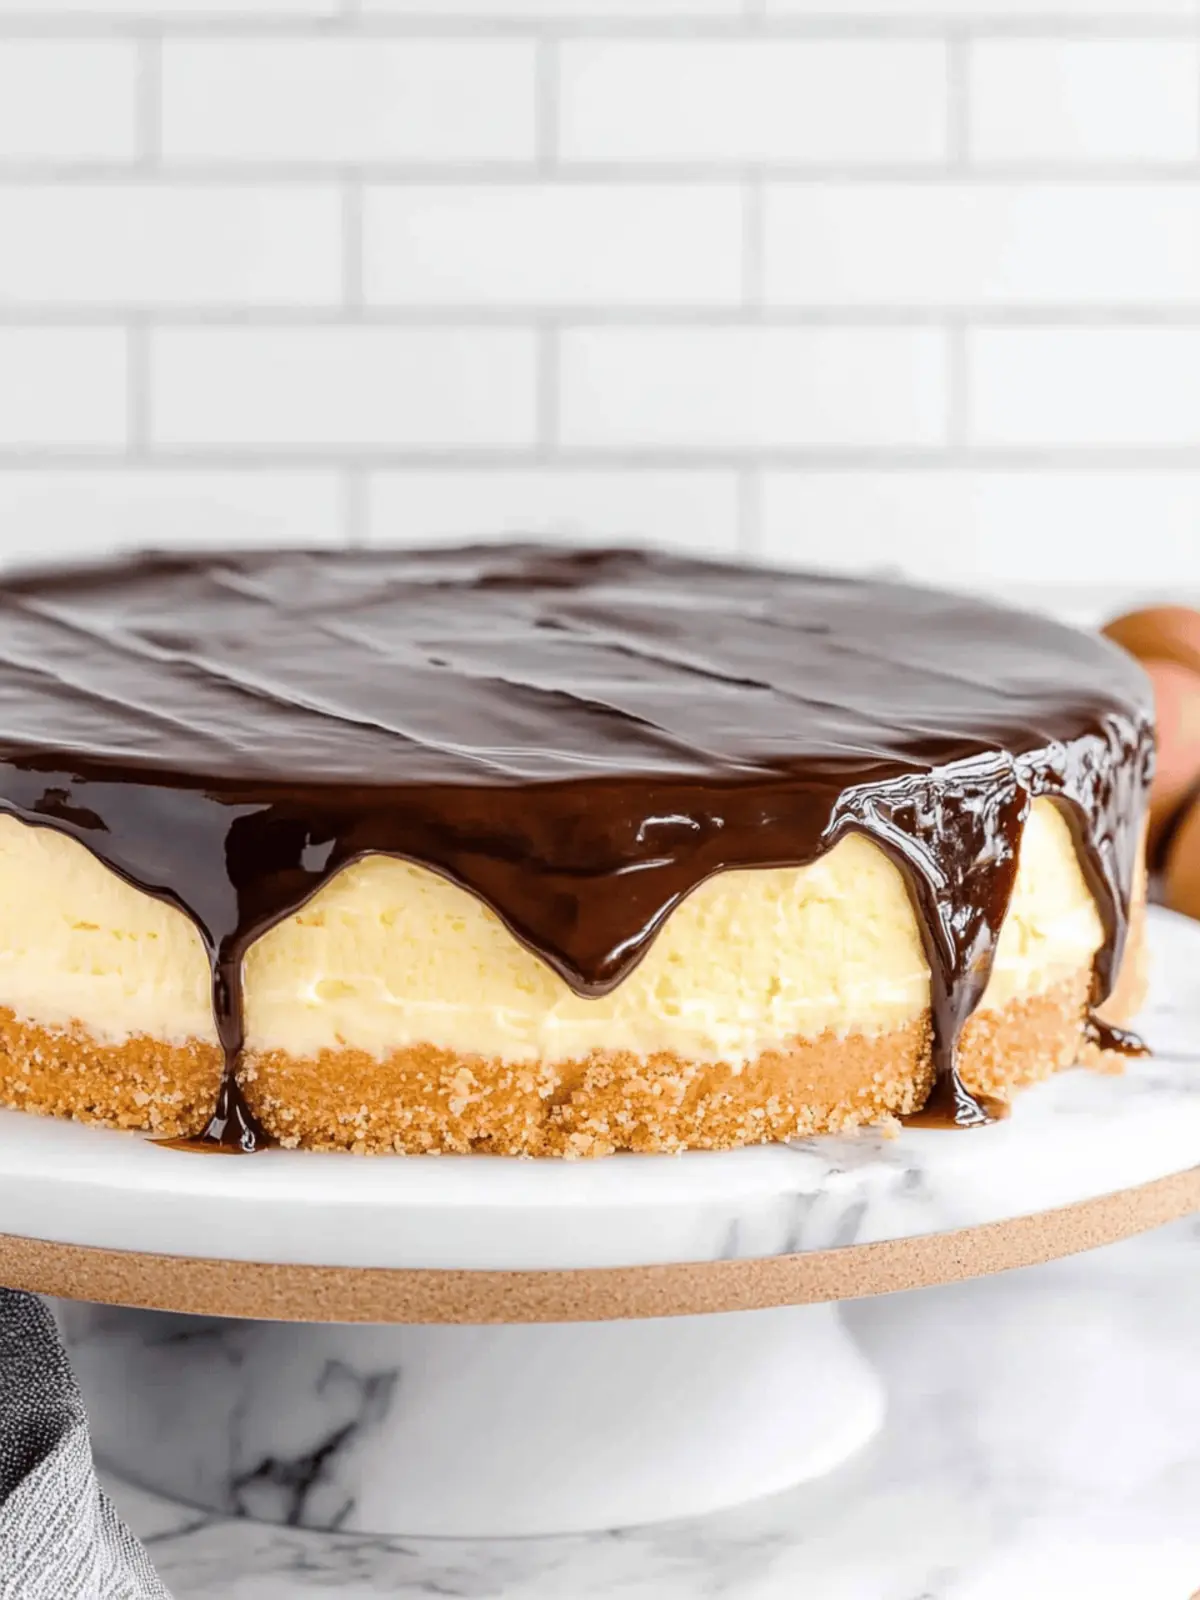
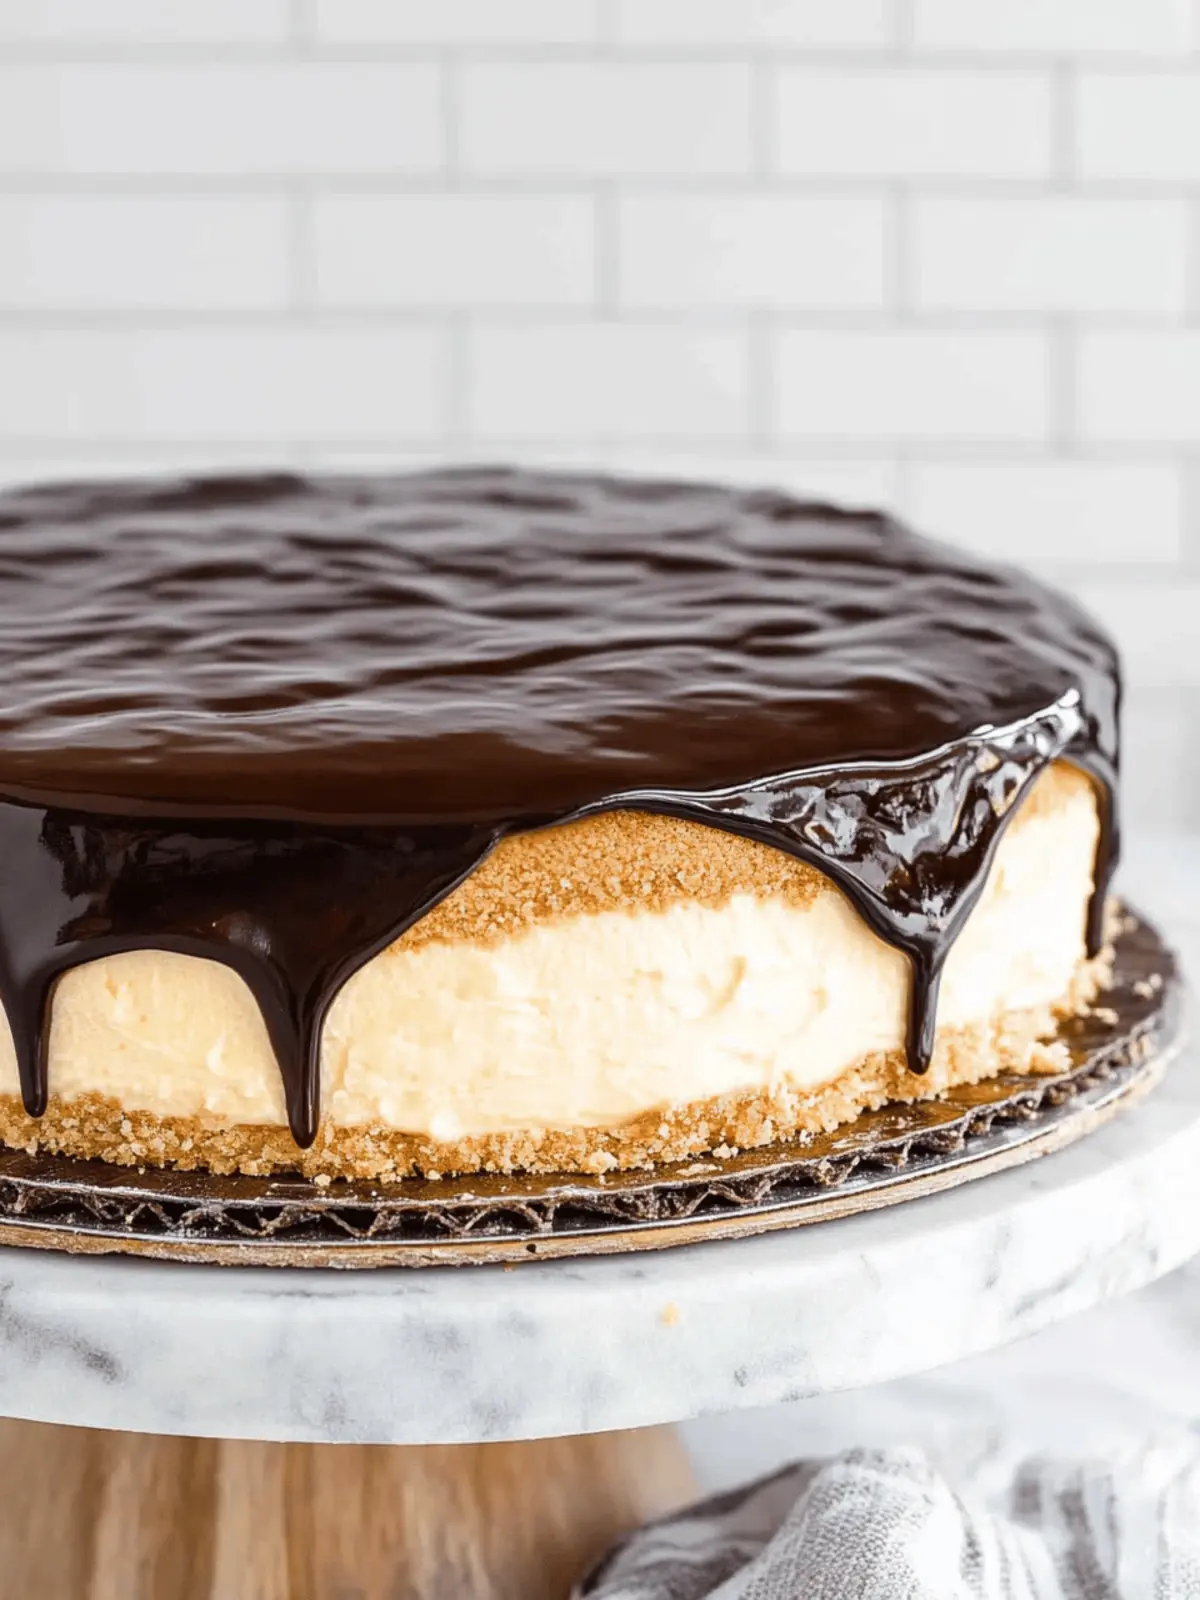
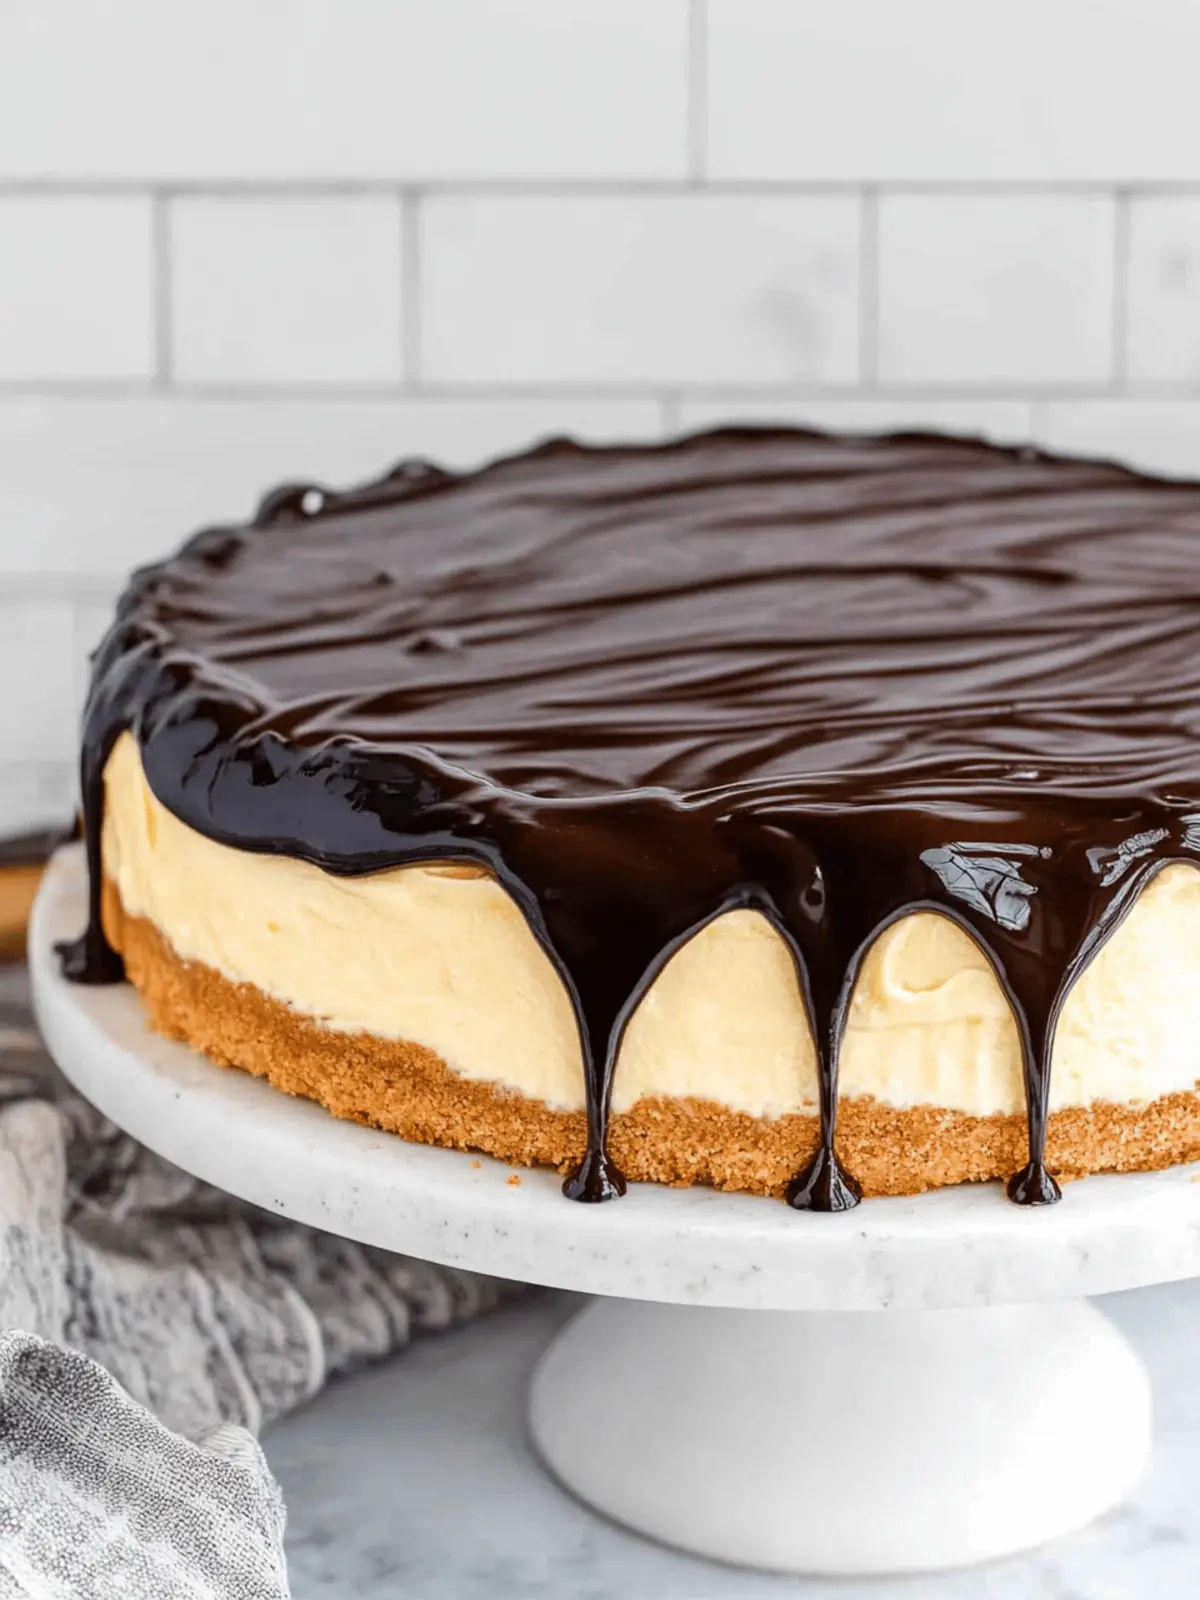
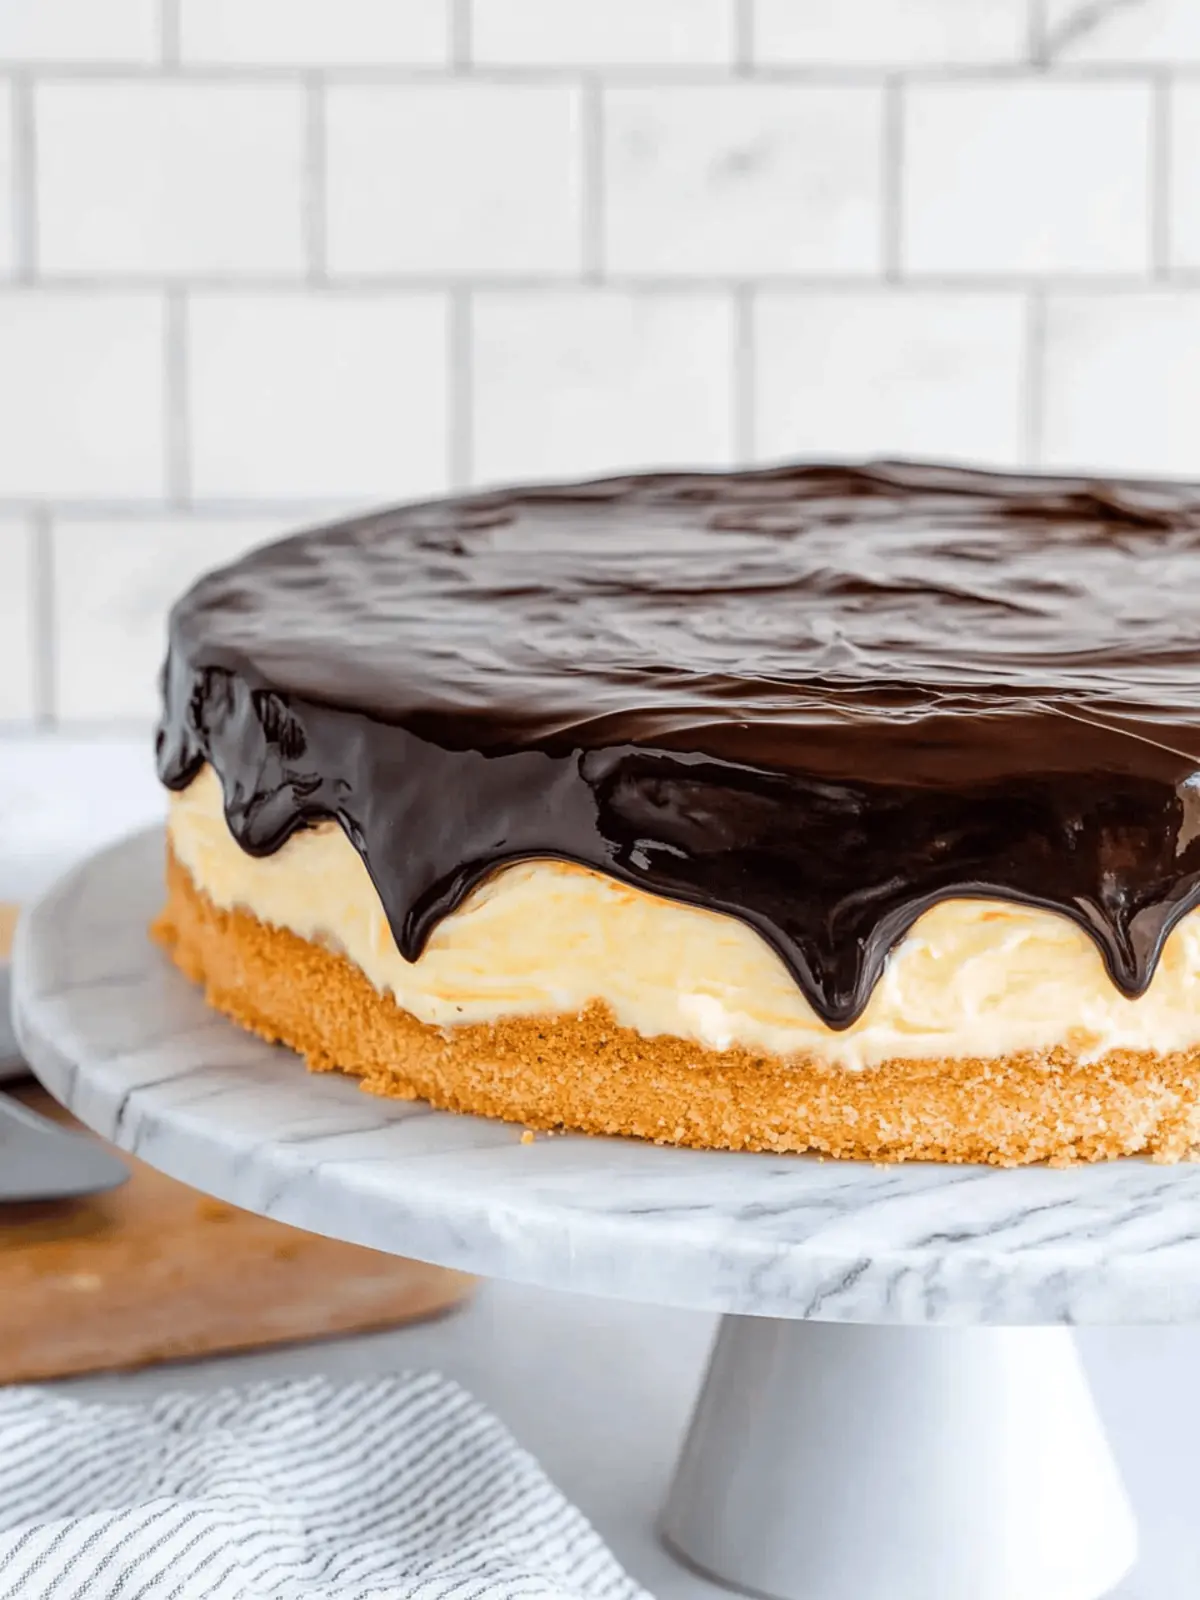
The moment I bite into a slice of Boston Cream Pie, I’m transported back to my childhood, where every forkful felt like a little celebration. With its luscious layers of velvety pastry cream nestled between fluffy vanilla sponge cake and topped with rich chocolate glaze, this dessert is an indulgence that never fails to impress. I first discovered this delightful recipe during a dessert-themed potluck; it was the dish that left everyone asking, “Who made this?!”
Now, don’t let the beautiful presentation intimidate you. This Boston Cream Pie recipe strikes the perfect balance between elegance and ease, making it an ideal choice for both novice bakers and seasoned chefs looking for that show-stopping dessert. You’ll soon find that with just a few key ingredients and a little patience, you can create the kind of dessert that not only dazzles at dinner parties but also warms the heart on those cozy nights in. So, let’s gather our ingredients and dive into this culinary delight together!
Why is this Boston Cream Pie Recipe a must-try?
Delightful Layers: The combination of light, fluffy sponge cake and creamy pastry filling makes every bite a blissful experience.
Elegant Impressions: Present this dessert at gatherings, and watch as it steals the show every time.
Time-Saving: With prep and cook times of just under 3 hours, including chilling, you can whip up this masterpiece without difficulty.
Basic Ingredients: Using simple pantry staples, this recipe allows anyone to create gourmet-level desserts at home.
Nostalgic Comfort: The familiar flavors of chocolate and vanilla bring a sense of warmth that soothes the soul, making it perfect for any occasion.
Boston Cream Pie Ingredients
For the Pastry Cream
• Half and half – creates a rich and creamy base for the filling.
• Egg yolks – essential for thickening the pastry cream and adding richness.
• Granulated sugar – sweetens the filling and enhances its flavor.
• Pinch salt – brings balance to the sweetness.
• All-purpose flour – helps to thicken the mixture and give it a stable texture.
• Unsalted butter – adds a lovely creaminess and luxurious mouthfeel.
• Vanilla extract – infuses the cream with a warm, comforting flavor.
For the Cake
• All-purpose flour – forms the base of the fluffy sponge cake.
• Baking powder – ensures the cake rises perfectly for that airy texture.
• Kosher salt – enhances the overall flavor of the cake.
• Whole milk – contributes to the moisture and tenderness of the sponge.
• Unsalted butter – brings richness and flavor to the cake batter.
• Vanilla extract – adds a fragrant touch to the sponge, complementing the cream.
• Egg whites – whipped to create a light and airy structure in the cake.
• Granulated sugar – sweetens the cake and helps stabilize the egg whites.
For the Glaze
• Heavy whipping cream – provides a silky texture to the glaze.
• Light corn syrup – adds shine and helps prevent crystallization.
• Bittersweet chocolate – delivers a deep chocolate flavor that pairs beautifully with the pastry cream.
Gather these ingredients and get ready to impress with this delectable Boston Cream Pie recipe!
How to Make Boston Cream Pie
- Heat the Cream: In a medium size saucepan over medium heat, add 2 cups of half-and-half and heat until simmering, providing a cozy base for your pastry cream.
- Whisk the Yolks: In a bowl, whisk together the 6 large egg yolks, ½ cup granulated sugar, and a pinch of salt until smooth. Add ¼ cup all-purpose flour and whisk until fully incorporated, ensuring a creamy texture.
- Temper the Mixture: Remove the half-and-half from heat and slowly add about ½ cup to the yolk mixture while whisking to temper. Return the yolk mixture to the saucepan, whisking constantly to prevent curdling.
- Thicken the Cream: Cook over medium heat, whisking continuously until slightly thickened (about 1-2 minutes). Reduce to low-medium and let it simmer for 8 minutes, keeping that whisk moving for a silky finish.
- Bring to a Boil: Increase heat to medium while whisking until the mixture reaches a rolling boil (about 1-2 minutes). Then, remove from heat, feeling that beautiful anticipation build up!
- Add Butter and Vanilla: Whisk in cold butter cubes and 2 teaspoons of vanilla extract until melted and fully blended. Cover with plastic wrap pressed against the surface and refrigerate for at least 2 hours to let the flavors meld together.
- Prepare the Oven: Preheat your oven to 325°F. Grease two 9-inch cake pans and line them with parchment paper to ensure your cakes come out perfectly.
- Mix Dry Ingredients: In a medium bowl, combine 1 ½ cups all-purpose flour, 1 ½ teaspoons baking powder, and ½ teaspoon kosher salt. Set aside, as we prepare for the fluffy cake!
- Melt Butter and Milk: In a small saucepan over low heat, add ¾ cup whole milk and 6 tablespoons unsalted butter until melted. Remove from heat, stir in 1 ½ teaspoons vanilla extract, and set aside.
- Beat the Egg Whites: In a large mixing bowl, beat 3 large egg whites with 1 ½ cups sugar until light and airy (about 5 minutes). It should look fluffy, like a cloud! Add the hot milk mixture and whisk by hand until fully incorporated.
- Combine Ingredients: Gently add the dry ingredients to the egg-white mixture, mixing by hand until just blended. Quickly divide the batter into prepared pans and smooth the tops, inviting those lovely layers.
- Bake the Cakes: Bake in the preheated oven for 20-22 minutes, until lightly browned and a toothpick comes out clean. The aroma will fill your kitchen, making it hard to resist!
- Cool the Cakes: Transfer the cakes to a cooling rack and let them cool completely in the pans (about 2 hours). The wait will be well worth it!
- Make the Glaze: In a small saucepan over medium heat, combine ½ cup heavy whipping cream and 2 tablespoons light corn syrup. Allow to simmer, then remove from heat, enhancing those chocolatey notes.
- Combine Chocolate: Add 4 ounces of chopped bittersweet chocolate to the saucepan and let sit for 5 minutes, then whisk until smooth for that irresistible glaze.
- Assemble the Cake: Place one cake layer on a cake platter. Whisk the cold pastry cream gently, then spoon it onto the center of the cake and spread evenly to the edges, lovingly building those layers.
- Top with the Second Layer: Place the second cake layer (bottom side up) over the pastry cream and press lightly to ensure everything sticks together beautifully.
- Add the Glaze: Pour the chocolate glaze onto the center of the cake’s top layer, allowing the excess to drip down the edges. Serve and enjoy this masterpiece with loved ones!
Optional: Top with fresh berries for a touch of color and flavor.
Exact quantities are listed in the recipe card below.
Boston Cream Pie Variations
Feel free to unleash your creativity and make this recipe your own with these delightful variations that will tantalize your taste buds.
- Dairy-Free: Substitute half-and-half with coconut milk or almond milk for a plant-based version that’s just as creamy.
- Gluten-Free: Use a gluten-free 1:1 baking flour in lieu of all-purpose flour; it’s a simple way to accommodate dietary needs without sacrificing taste.
For a playful twist, try adding a splash of almond extract to the pastry cream. The nutty flavor will elevate the cream to new heights, creating a uniquely delicious experience.
- Fruit-Infused: Add a layer of fresh fruits such as sliced strawberries or raspberries between the layers for a burst of freshness. This not only enhances the flavor but also adds a lovely pop of color!
- Chocolate Cake Alteration: Swap out the vanilla sponge cake for a rich chocolate cake to double down on the chocolate goodness, creating an indulgent treat for chocoholics.
If you prefer a bit of spice, a touch of cinnamon or nutmeg in the pastry cream can add an unexpected warmth that complements the chocolate beautifully.
- Nutty Crunch: Incorporate chopped nuts, like toasted almonds or hazelnuts, into the glaze for a delightful crunch that contrasts perfectly with the smooth creaminess.
- Spiced Up: For a kick, add a pinch of cayenne or espresso powder to the chocolate glaze, enhancing the chocolate’s depth and bringing a delightful warmth to every bite.
With these variations, your culinary adventure doesn’t have to stop at the classic Boston Cream Pie. Enjoy experimenting and savoring your personal touch!
Tips for the Best Boston Cream Pie
- Chill the Cream: Ensure your pastry cream is well-chilled before assembling; this helps it hold its shape better within the cake layers.
- Tempering Technique: Always remove the half-and-half from heat before tempering; this prevents scrambling your yolks, creating a smooth pastry cream.
- Egg White Perfection: When beating egg whites, make sure your mixing bowl is clean and dry; any grease can prevent them from whipping up fluffy.
- Don’t Rush Cooling: Allow the cakes to cool completely in the pans; this helps them retain moisture and prevents crumbling during assembly.
- Check Your Oven: An oven thermometer can be handy; accurate temperature helps the cake rise perfectly, ensuring you get that lovely, fluffy texture in your Boston Cream Pie recipe.
How to Store and Freeze Boston Cream Pie
Room Temperature: If you plan to serve the Boston Cream Pie the same day, you can keep it at room temperature for up to 4 hours, covered lightly to avoid drying out.
Fridge: Store any leftover Boston Cream Pie in the refrigerator, wrapped in plastic wrap or in an airtight container, for up to 3 days. This keeps the layers fresh and creamy.
Freezer: For longer storage, freeze the assembled Boston Cream Pie for up to 2 months. Wrap it tightly in plastic wrap and then in aluminum foil to prevent freezer burn.
Reheating: When ready to enjoy, thaw in the fridge overnight. For the best texture, allow it to come to room temperature before serving.
What to Serve with Boston Cream Pie?
As you present this elegant dessert centerpiece, consider these perfect pairings that will complement its rich flavors beautifully.
- Fresh Berries: Serve with strawberries or raspberries for a bright, tart contrast to the sweet creaminess of the pie. Their juiciness adds a refreshing touch to every bite.
- Vanilla Ice Cream: A scoop of creamy vanilla ice cream enhances the decadent layers, creating a luxurious duo that melts in perfect harmony. The temperature contrast makes each forkful an indulgent experience.
- Coffee or Espresso: Rich coffee pairs flawlessly with the chocolate and cream, offering a warm and comforting finish after the delightful sweetness. It’s a classic combo for dessert lovers!
- Whipped Cream: A dollop of freshly whipped cream can lighten the experience, adding airiness that matches the pie’s fluffy cake. It elevates the presentation while enhancing that creamy dreaminess.
- Chocolate Sauce: Drizzling extra chocolate sauce on the plate allows for a visually stunning presentation and intensifies the chocolatey goodness of each slice. Serve on the side for dipping as well!
- Mint Tea: A refreshing cup of mint tea cleanses the palate after each sweet bite, balancing the dessert’s richness. Its aromatic profile complements the flavors beautifully.
- Lemon Sorbet: This refreshing treat offers a zesty contrast, providing a bright and vibrant note that cuts through the sweetness, making the dessert experience feel lighter and more exquisite.
- Pecan Pie Bars: If you’re in the mood for a baked treat, pair with pecan pie bars for a delightful texture contrast that maintains the dessert theme at your gathering. They add nutty richness next to the creamy layers of Boston Cream Pie.
Make Ahead Options
Boston Cream Pie is an ideal dessert for meal prep enthusiasts! You can prepare the pastry cream up to 3 days in advance, storing it in the refrigerator with plastic wrap pressed against its surface to maintain its silky texture. The sponge cake layers can also be baked and allowed to cool completely, then wrapped tightly in plastic wrap or aluminum foil and stored at room temperature for up to 24 hours. When you’re ready to serve, simply assemble the layers and add the chocolate glaze, which can be made the same day for the best shine. This way, you can enjoy a stunning dessert with minimal effort, making your busy days a little sweeter!
Boston Cream Pie Recipe FAQs
How do I choose ripe ingredients for this recipe?
Absolutely! For the best flavor in your Boston Cream Pie, use fresh eggs for that rich, creamy texture in the pastry cream. Choose high-quality bittersweet chocolate for the glaze; look for one that has a glossy finish and a pleasant cocoa aroma. Also, using fresh dairy products like half-and-half and whole milk ensures that your cake is rich and flavorful.
How should I store Boston Cream Pie?
After your delicious Boston Cream Pie has been assembled, store it in the refrigerator for up to 3 days. I recommend covering it with plastic wrap to keep the layers fresh and to prevent them from drying out. If you plan to serve it later in the week, just remember to keep it chilled!
Can I freeze Boston Cream Pie?
Yes, you can! To freeze your Boston Cream Pie, wrap it tightly in plastic wrap and then cover it with aluminum foil to protect against freezer burn. It will stay fresh in the freezer for up to 2 months. When you’re ready to enjoy it, thaw it overnight in the refrigerator and allow it to come to room temperature before serving. That way, it’ll taste just as delightful as the day you made it!
What should I do if my pastry cream is too runny?
Very common question! If your pastry cream isn’t thickening properly, it might not have cooked long enough. If you notice it’s too runny after cooling, return it to the heat and cook it a bit longer while whisking continuously. For added thickness, you can also try mixing in a little more flour (1 teaspoon at a time) until it reaches your desired consistency. Patience is key here to achieve that perfect creamy texture!
Is this Boston Cream Pie safe for people with allergies?
While this Boston Cream Pie recipe is a treat, it does contain common allergens like eggs, dairy, and gluten (from flour). If you’re serving it to someone with allergies, I suggest looking for substitutes. You can use dairy-free milk and egg substitutes, like aquafaba or flax eggs, to make this recipe more inclusive. However, be sure to check the labels on all ingredients to ensure they are safe for your guests.
Can I make any adjustments for a lighter version of this recipe?
Absolutely! To enjoy a lighter version of this Boston Cream Pie, consider using low-fat versions of half-and-half and milk. You can also reduce the amount of sugar by a third, and instead of butter in the cake, you could use applesauce as a substitute. This way, you can still indulge while making a few healthier choices!

Irresistible Boston Cream Pie Recipe Easy and Delicious
Ingredients
Equipment
Method
- In a medium size saucepan over medium heat, add half-and-half and heat until simmering.
- In a bowl, whisk together egg yolks, granulated sugar, and salt until smooth. Add flour and whisk until fully incorporated.
- Remove half-and-half from heat and slowly add to the yolk mixture while whisking to temper. Return to saucepan and whisk constantly.
- Cook over medium heat, whisking continuously until slightly thickened (about 1-2 minutes). Reduce heat and simmer for 8 minutes.
- Increase heat to medium while whisking until mixture reaches a rolling boil (about 1-2 minutes). Remove from heat.
- Whisk in cold butter and vanilla extract until melted and blended. Cover and refrigerate for at least 2 hours.
- Preheat oven to 325°F. Grease two 9-inch cake pans and line with parchment paper.
- Combine flour, baking powder, and salt in a medium bowl; set aside.
- Melt milk and butter in a small saucepan over low heat, then stir in vanilla extract and set aside.
- Beat egg whites and sugar in a large mixing bowl until light and airy (about 5 minutes). Stir in hot milk mixture.
- Gently add dry ingredients to egg-white mixture, mixing until just blended. Divide batter into prepared pans.
- Bake in preheated oven for 20-22 minutes, until lightly browned and a toothpick comes out clean.
- Cool cakes in pans on a cooling rack for about 2 hours.
- In a small saucepan over medium heat, combine heavy whipping cream and corn syrup; allow to simmer.
- Add chopped bittersweet chocolate, let sit for 5 minutes, then whisk until smooth.
- Place one cake layer on a cake platter. Whisk pastry cream gently and spread evenly on top.
- Place the second cake layer on top and press lightly. Pour chocolate glaze over the top layer.
- Serve and enjoy with loved ones!


