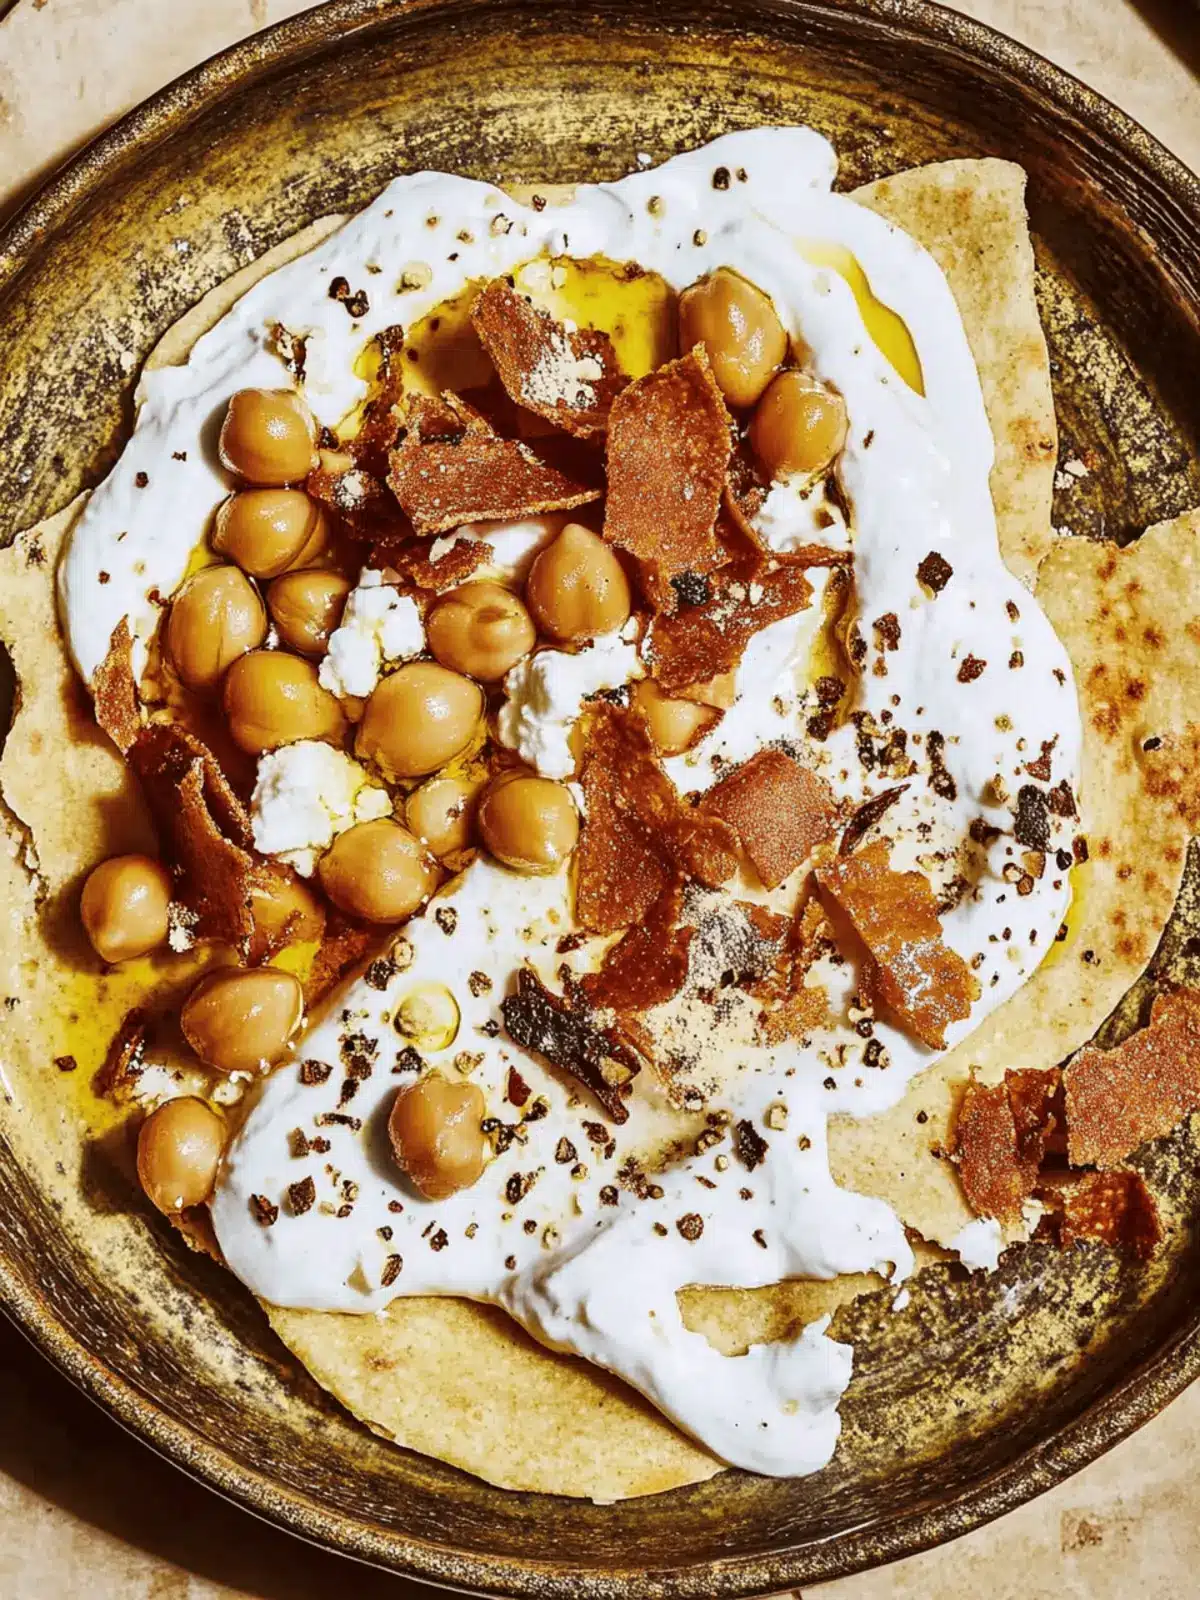
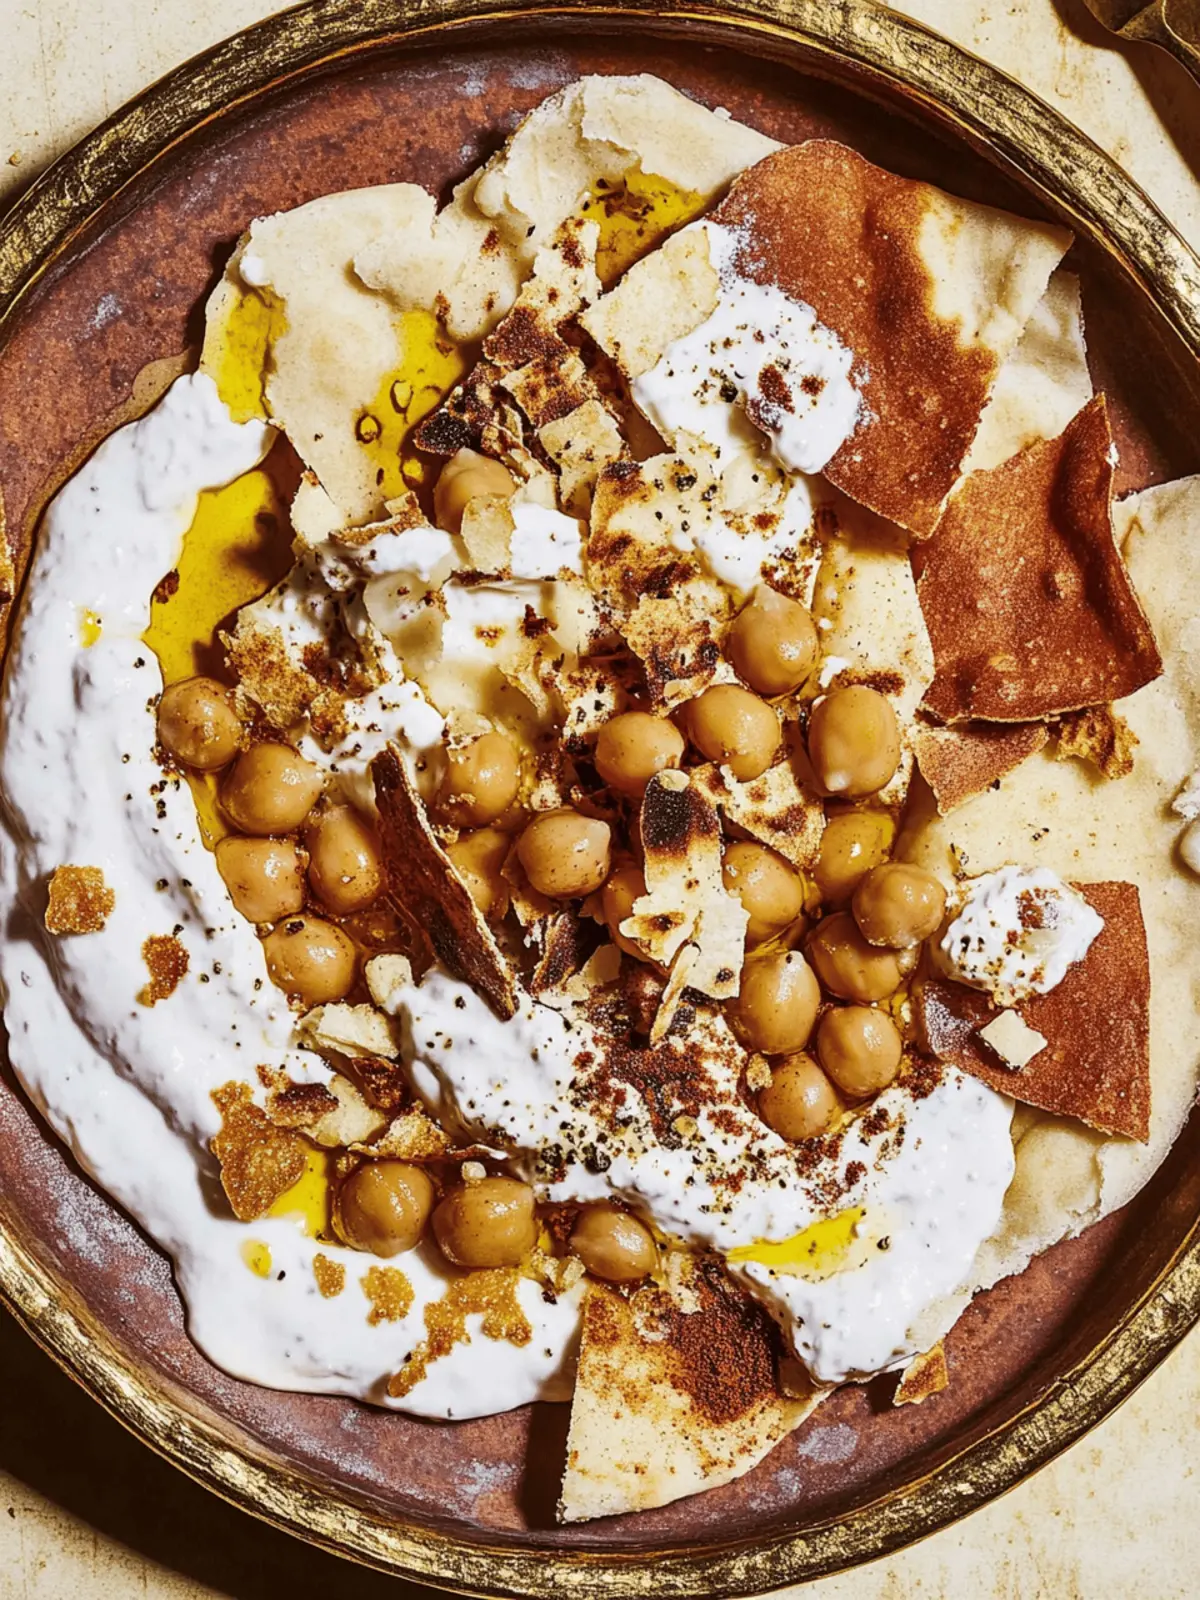
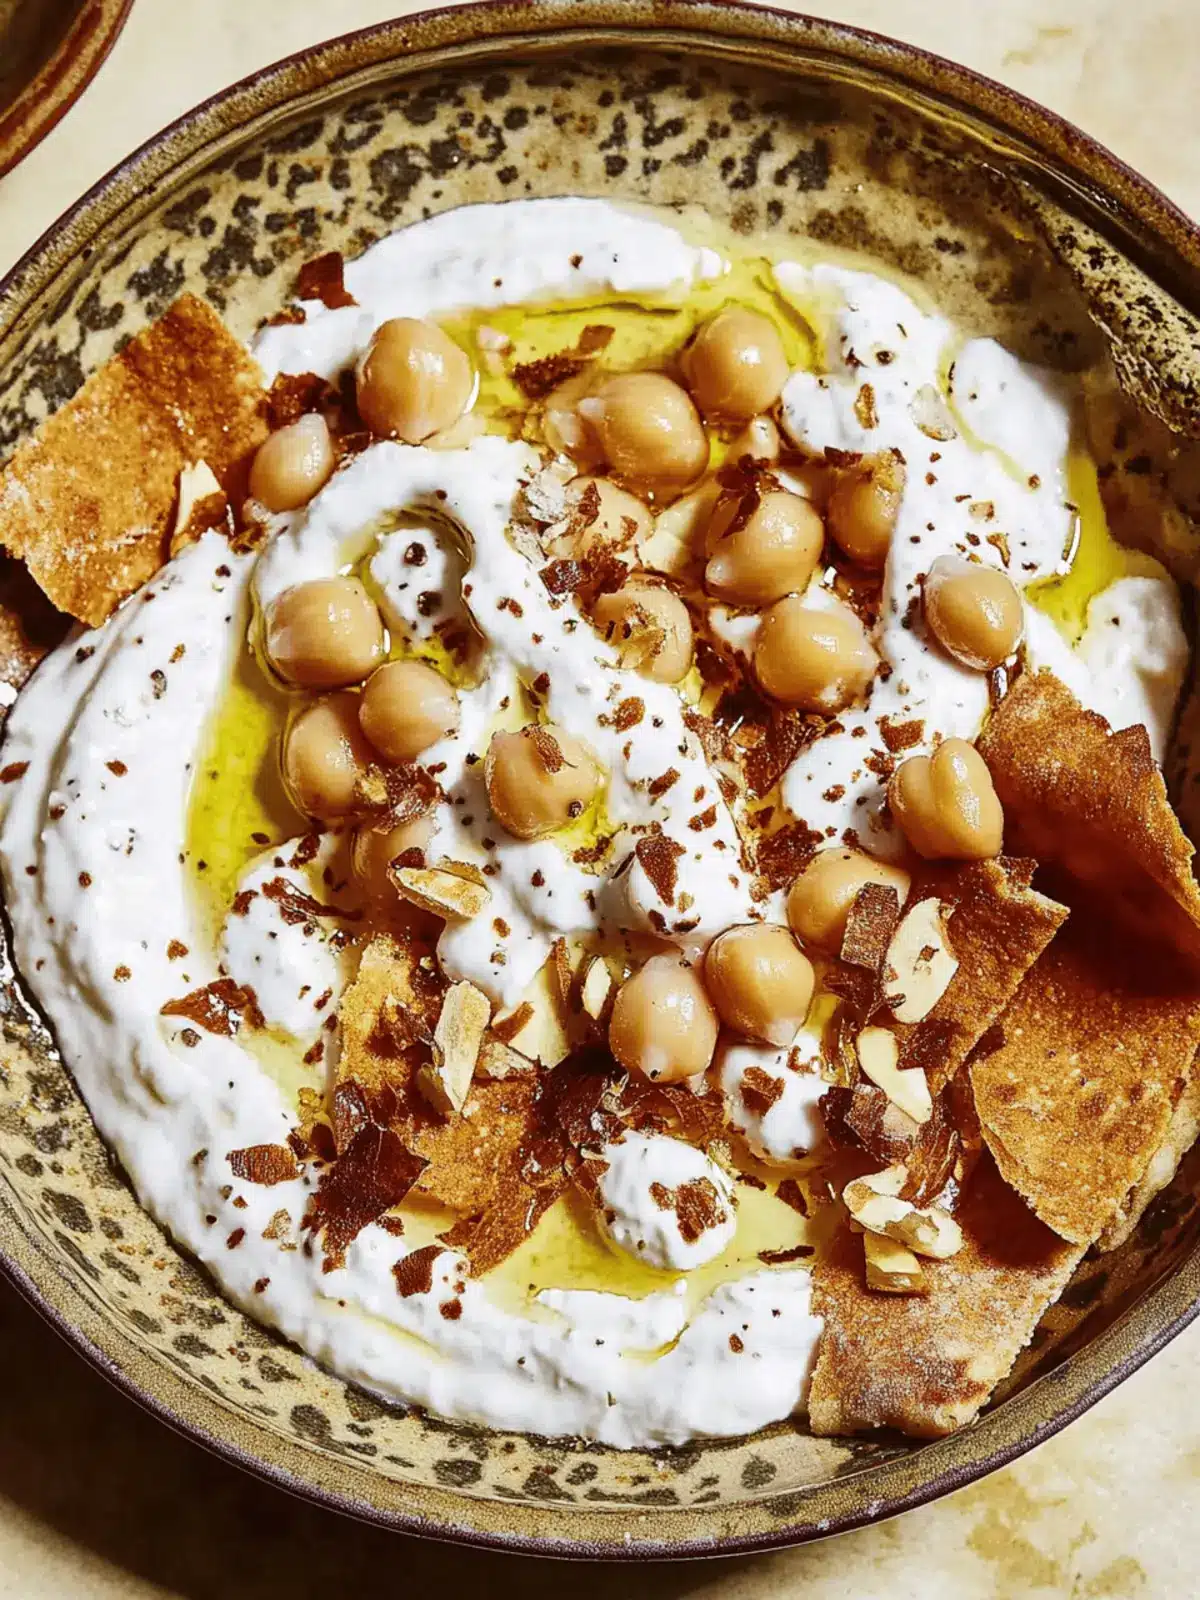
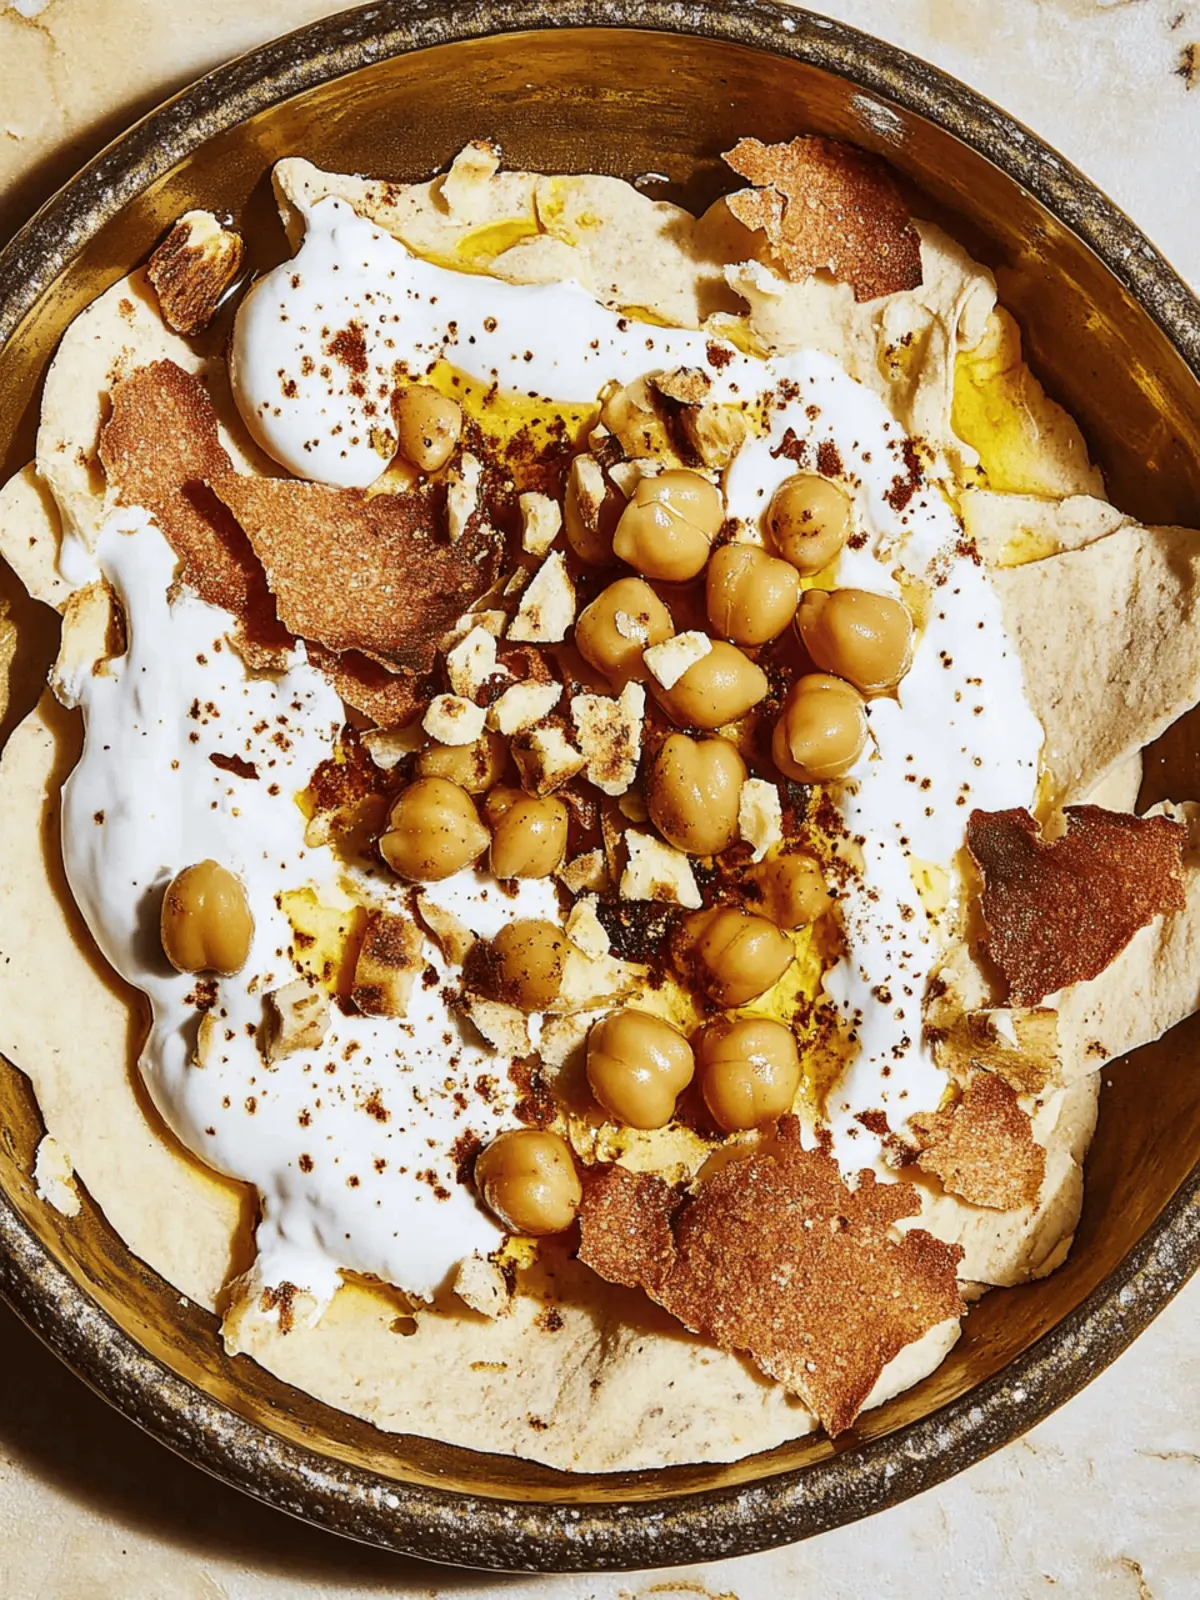
Have you ever experienced that satisfying crunch that transforms a meal from mundane to memorable? Just imagine tearing into crispy pita bread, its golden edges crackling as you dip into a creamy pool of yogurt topped with savory chickpeas. This Crispy Pita With Chickpeas and Yogurt, known as Fattet Hummus, is not just a dish; it’s an adventure for your senses!
Discovered amidst a quest for something fresh and exciting in my pantry, this delightful Middle Eastern classic quickly became my go-to for anything from a hearty breakfast to a savory side dish. With its simplicity and robust flavors, it brings together pantry staples in a way that feels gourmet yet effortless. In under 30 minutes, you can transform common ingredients into a vibrant meal that will impress anyone, making it the perfect solution for a busy weeknight or a leisurely weekend brunch.
Join me as we dive into the textures, tastes, and little secrets of making this delicious dish that’s sure to become a favorite in your home!
Why is Crispy Pita With Chickpeas and Yogurt Irresistible?
Simplicity at its finest: This dish requires minimal prep and just a few ingredients, making it a breeze to whip up whenever hunger strikes.
Nutritious and filling: Packed with protein and fiber, it’s a guilt-free choice that satisfies your craving without weighing you down.
Perfect for any meal: Enjoy it for breakfast, as a hearty lunch, or a savory side at dinner its versatility knows no bounds!
Crowd-pleaser: With its vibrant flavors and delightful textures, it’s a dish everyone will love, perfect for gatherings or family dinners.
Customizable: Swap ingredients based on your preferences add veggies or choose a different type of yogurt for delicious variations!
Quick and easy: Ready in under 30 minutes, it’s a lifesaver for busy nights when you crave homemade goodness without the fuss.
Crispy Pita With Chickpeas and Yogurt Ingredients
• Get ready to create magic with these simple yet essential components!
For the Pita
- Pita Bread – Use stale pita for the best crunch and texture in your Crispy Pita With Chickpeas and Yogurt.
For the Chickpeas
- Canned Chickpeas – Convenient and packed with protein; make sure to rinse and drain them well.
- Garlic – Fresh garlic enhances flavor beautifully; if you’re short on time, garlic powder will do in a pinch.
For the Yogurt Layer
- Plain Yogurt – Offers that tangy creaminess; Greek yogurt is a great thicker alternative if you prefer.
For Garnishing
- Sumac – This adds a unique tangy flavor; if you can’t find it, lemon zest works just fine.
- Chopped Herbs (optional) – Fresh parsley or mint can brighten the dish and add a pop of color.
How to Make Crispy Pita With Chickpeas and Yogurt
- Prepare Pita: Tear your stale pita bread into bite-sized pieces. Toast or bake them in the oven at 350°F for about 10 minutes, or until they turn golden brown and crispy.
- Simmer Chickpeas: In a medium-sized pot, combine the drained canned chickpeas and minced garlic with a splash of water. Simmer for around 10 minutes over medium heat, letting the flavors meld together beautifully.
- Layer Ingredients: Grab a serving dish and start layering. First, add a generous layer of your crispy pita pieces, then spoon the chickpeas and their flavorful liquid over the top. Finally, dollop with plenty of creamy yogurt, covering it all.
- Serve: To give your dish a flourish, sprinkle with sumac and any chopped fresh herbs you love, then serve immediately. This way, you’ll enjoy the delightful contrast of the crispy pita and rich yogurt.
Optional: Drizzle with olive oil for an extra touch of richness.
Exact quantities are listed in the recipe card below.
What to Serve with Crispy Pita With Chickpeas and Yogurt?
To elevate your meal experience, consider pairing this delightful dish with complementary flavors and textures.
- Mediterranean Salad: A refreshing mix of cucumbers, tomatoes, and olives adds a burst of color and a chilled contrast to the warm dish. The crispy pita and vibrant salad together paint a picture of a sunny Mediterranean day.
- Roasted Vegetables: Seasoned zucchini, bell peppers, and eggplant bring a smoky sweetness that pairs beautifully with the earthy chickpeas. Roasting enhances their natural flavors, making each bite a savory delight.
- Hummus Platter: Serve a side of classic hummus for a delightful dip that adds creaminess and richness. This pairing invites a smorgasbord of textures, perfect for a casual gathering or family meal.
- Stuffed Grape Leaves: These savory bundles offer a gentle vinegary tang that cuts through the richness of the yogurt, adding an exciting layer of flavor. Together, they promise a satisfying culinary adventure.
- Lemonade or Mint Tea: A refreshing beverage like tangy lemonade or soothing mint tea enhances the Mediterranean essence of the meal, providing a palate-cleansing finish to each bite.
- Fresh Pita Chips: For an added crunch, serve some extra pita chips on the side. Their crispy texture complements the main dish while allowing guests to enjoy dipping in the yogurt or additional spreads.
- Fruit Dessert: End your meal with a light, sweet finish, like a bowl of fresh fruit or a fruit salad. The sweetness juxtaposes savory flavors beautifully, leaving everyone thoroughly satisfied.
Expert Tips for Crispy Pita With Chickpeas and Yogurt
- Use Stale Pita: Ensure your pita bread is stale for maximum crunch. Fresh pita tends to become chewy instead of crispy when baked.
- Don’t Overcook Chickpeas: Simmer only until they are heated through and infused with flavor. Overcooking can make them mushy, detracting from the dish’s texture.
- Layer Just Before Serving: To maintain the crispness of the pita, layer in the yogurt right before serving. This ensures you enjoy that delightful contrast between crunchy and creamy.
- Adjust Seasonings: Don’t hesitate to taste as you cook! Adjust salt, garlic, or sumac to suit your taste preferences—creating your perfect version of Crispy Pita With Chickpeas and Yogurt.
- Add Fresh Herbs: Enhancing the dish with fresh herbs like parsley or mint can elevate flavors further. Plus, it adds a beautiful visual appeal to your serve.
How to Store and Freeze Crispy Pita With Chickpeas and Yogurt
Fridge: Store leftovers in an airtight container in the refrigerator for up to 3 days; keep the components separate to maintain crispy pita.
Freezer: For longer storage, freeze the crispy pita in a single layer and the chickpeas in a sealable bag for up to 2 months.
Reheating: To enjoy, reheat the chickpeas on the stove and toast the pita in the oven until crispy again.
Freshness Tip: For the best experience, assemble the Crispy Pita With Chickpeas and Yogurt just before serving, as this keeps the textures delightful.
Make Ahead Options
These Crispy Pita With Chickpeas and Yogurt (Fattet Hummus) are perfect for meal prep enthusiasts! You can toast the pita and prepare the chickpeas up to 24 hours in advance. Simply tear the stale pita into pieces and bake until golden brown, then store in an airtight container to maintain crispiness. For the chickpeas, simmer them with garlic, cool down, and refrigerate in a sealed container until ready to use. When you’re ready to serve, layer the crispy pita and chickpeas, then top with yogurt just before eating to keep the pita crunchy. This way, you can enjoy a delightful and quick meal with minimal effort during your busy week!
Crispy Pita With Chickpeas and Yogurt Variations
Feel free to unleash your creativity and make this recipe uniquely yours with these delightful twists!
- Lentil Swap: Replace chickpeas with a mix of cooked lentils for a different protein source. The earthy flavor of lentils pairs beautifully with the yogurt.
- Whole Grain Pita: Use whole grain pita for added nutrition and a slightly nuttier flavor. It enhances the heartiness of the dish while still delivering that necessary crunch.
- Spicy Kick: Add a pinch of cayenne or a drizzle of hot sauce to your chickpeas for an extra layer of heat. It transforms the dish into a spicy sensation for heat lovers.
- Mediterranean Veggies: Toss in some diced cucumbers or roasted bell peppers with your chickpeas for a fresh, crisp contrast. These additions elevate the dish visually and nutritionally.
- Herb Infusion: Experiment with flavored yogurt by mixing in fresh herbs like dill or cilantro. This adds a burst of freshness that complements the chickpeas perfectly.
- Nutty Boost: Sprinkle some toasted pine nuts or slivered almonds on top for a crunchy texture contrast. The nuttiness complements the creaminess of the yogurt beautifully.
- Citrus Zest: Add a little lemon or orange zest on top to brighten the flavors. It’s a simple touch that enhances the overall freshness of the dish.
- Vegan Twist: Swap yogurt for a plant-based alternative like cashew or coconut yogurt for a vegan version that’s still rich and creamy. It caters to various dietary needs without compromising on flavor.
Crispy Pita With Chickpeas and Yogurt Recipe FAQs
Which pita bread is best for making Crispy Pita With Chickpeas and Yogurt?
For the best crunch, I recommend using stale pita bread. Stale pita has a drier texture, allowing it to crisp up beautifully when baked or toasted. Fresh pita tends to remain chewy and may not provide the satisfying crunch that this recipe demands.
How should I store the leftovers of Crispy Pita With Chickpeas and Yogurt?
Store any leftovers in an airtight container in the refrigerator for up to 3 days. To keep the pita crispy, it’s crucial to store the components separately; store the crispy pita in one container and the chickpeas and yogurt in another. This way, you can enjoy the contrasting textures when you reassemble your dish!
Can I freeze Crispy Pita With Chickpeas and Yogurt?
Yes, you can freeze this dish! I suggest freezing the crispy pita in a single layer in a zip-top bag for up to 2 months. For the chickpeas, cool them completely, then transfer them to a sealable freezer bag. When you’re ready to eat, thaw the components in the fridge overnight, reheat the chickpeas on the stove, and toast the pita until crisp again.
What if my chickpeas end up mushy?
If your chickpeas are overcooked and mushy, don’t fret! To avoid this, make sure to simmer them just until heated through and infused with flavor, which is around 10 minutes. If they do become mushy, consider mashing some for a creamy texture while leaving others whole for that pleasing variety, adding more yogurt to compensate.
Are there any dietary concerns about using yogurt in this dish?
Absolutely! Use plain yogurt to minimize added sugars and artificial ingredients. If you have dietary restrictions or lactose intolerance, consider substituting with a dairy-free yogurt alternative such as coconut, almond, or cashew yogurt. These options have varying textures and flavors but can work beautifully in this recipe.
Can I customize the ingredients in Crispy Pita With Chickpeas and Yogurt?
Very much so! This dish is incredibly versatile. Feel free to substitute chickpeas with cooked lentils for a different protein source or use flavored yogurts instead of plain for a twist. Adding veggies, like diced cucumbers or roasted peppers, can also enhance both flavor and nutrition while keeping the dish exciting!

Crispy Pita With Chickpeas and Yogurt Fattet Hummus Bliss
Ingredients
Equipment
Method
- Tear stale pita bread into bite-sized pieces and toast them in the oven at 350°F for about 10 minutes until golden brown and crispy.
- In a pot, combine drained canned chickpeas and minced garlic with a splash of water. Simmer for around 10 minutes over medium heat.
- Layer crispy pita pieces in a serving dish, followed by chickpeas and their liquid, and then dollop with yogurt.
- Sprinkle with sumac and chopped fresh herbs before serving.


