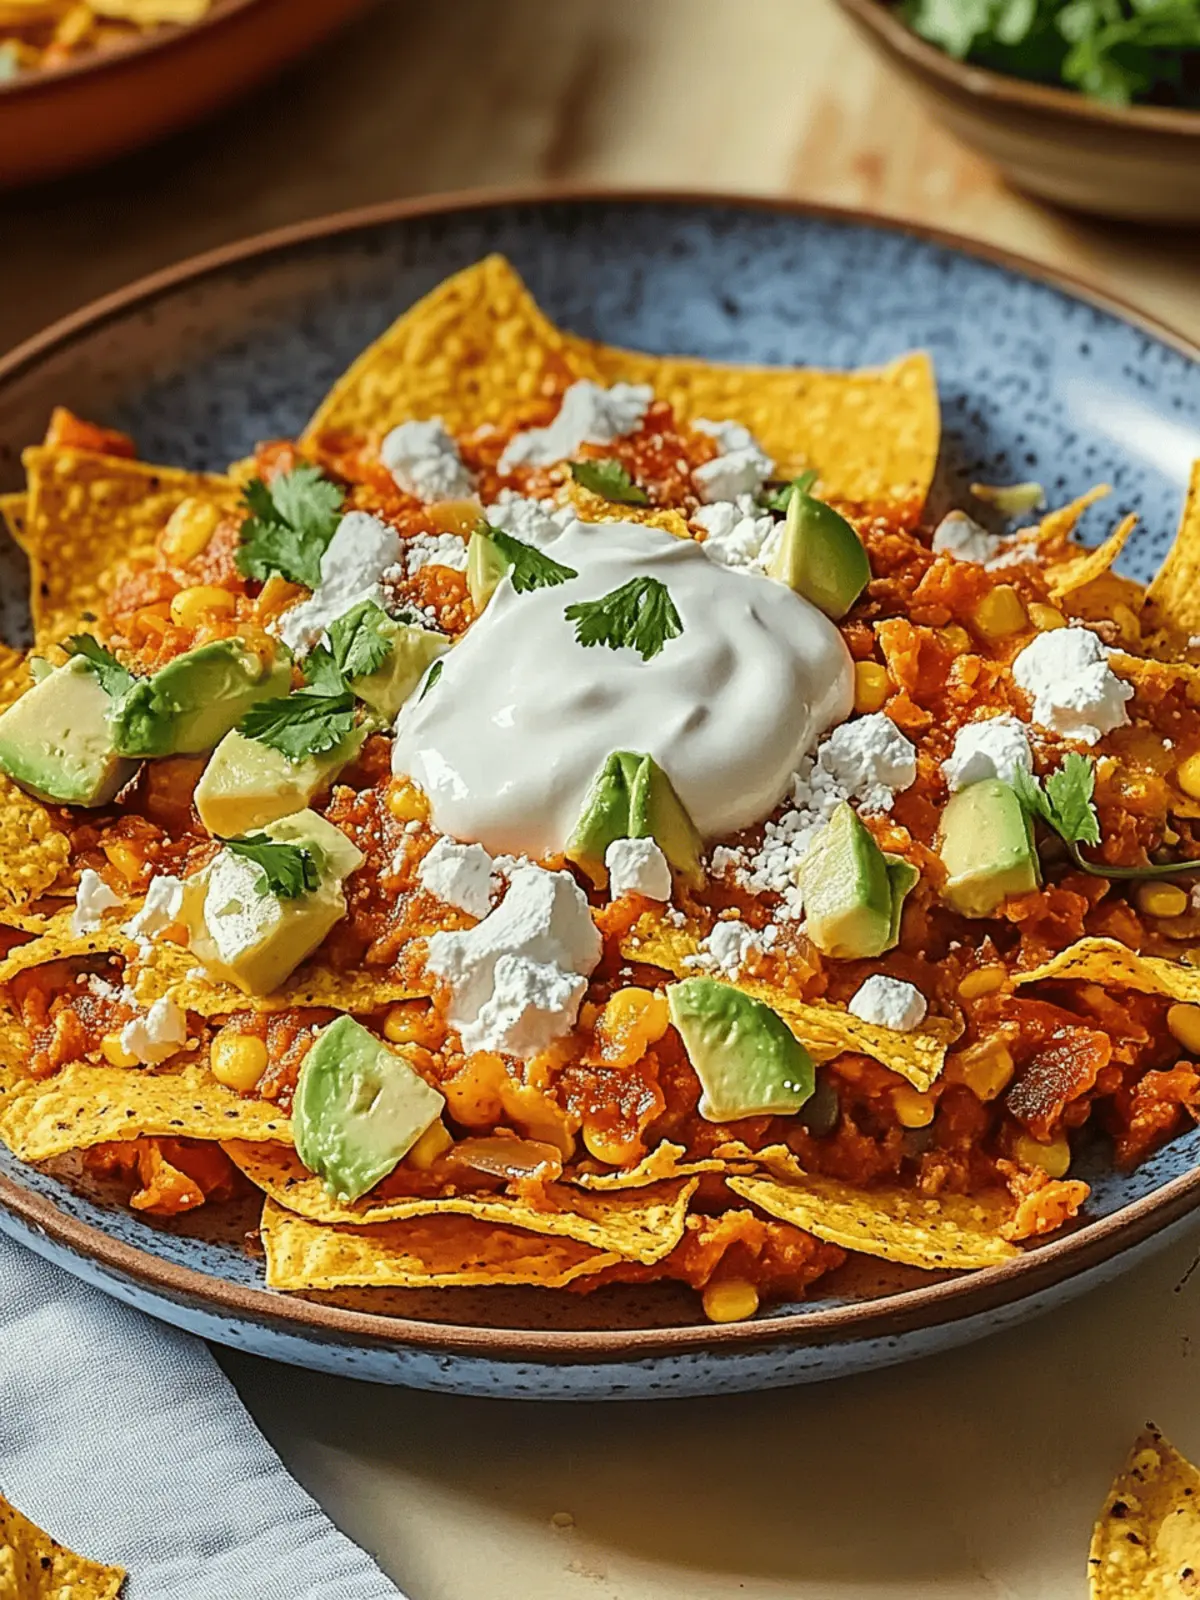
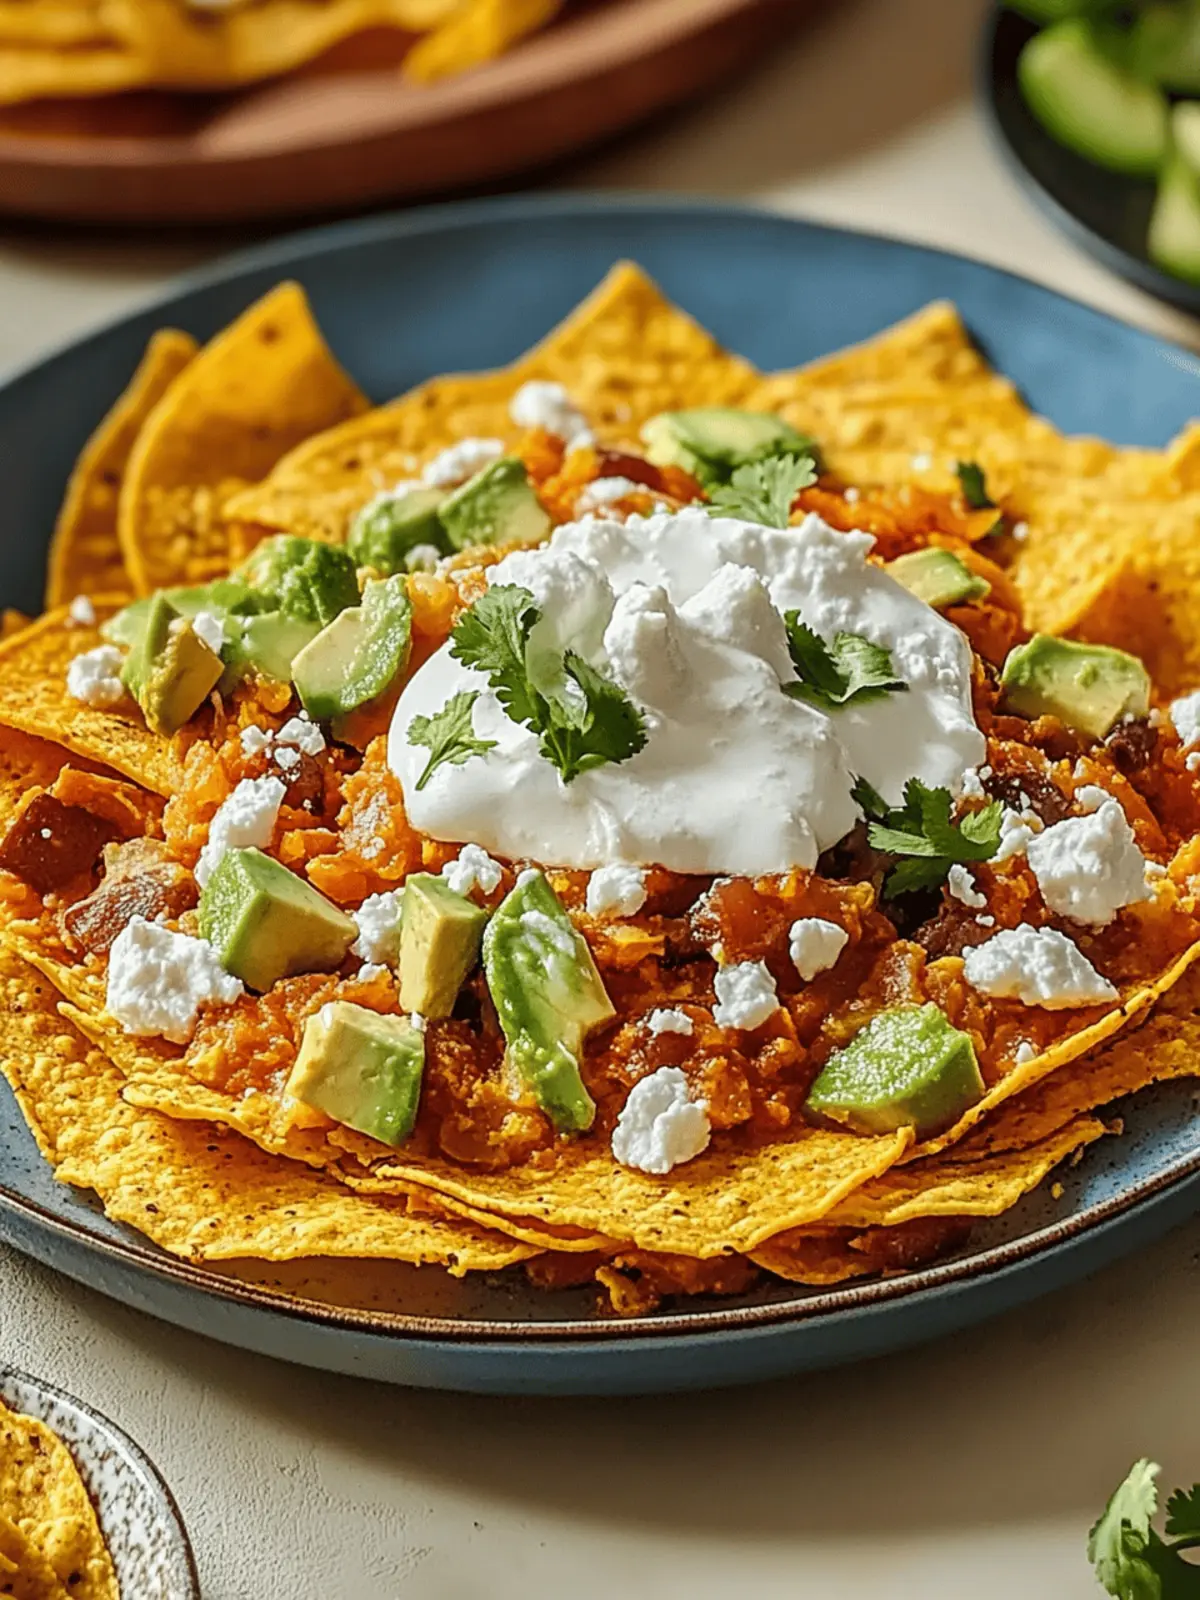
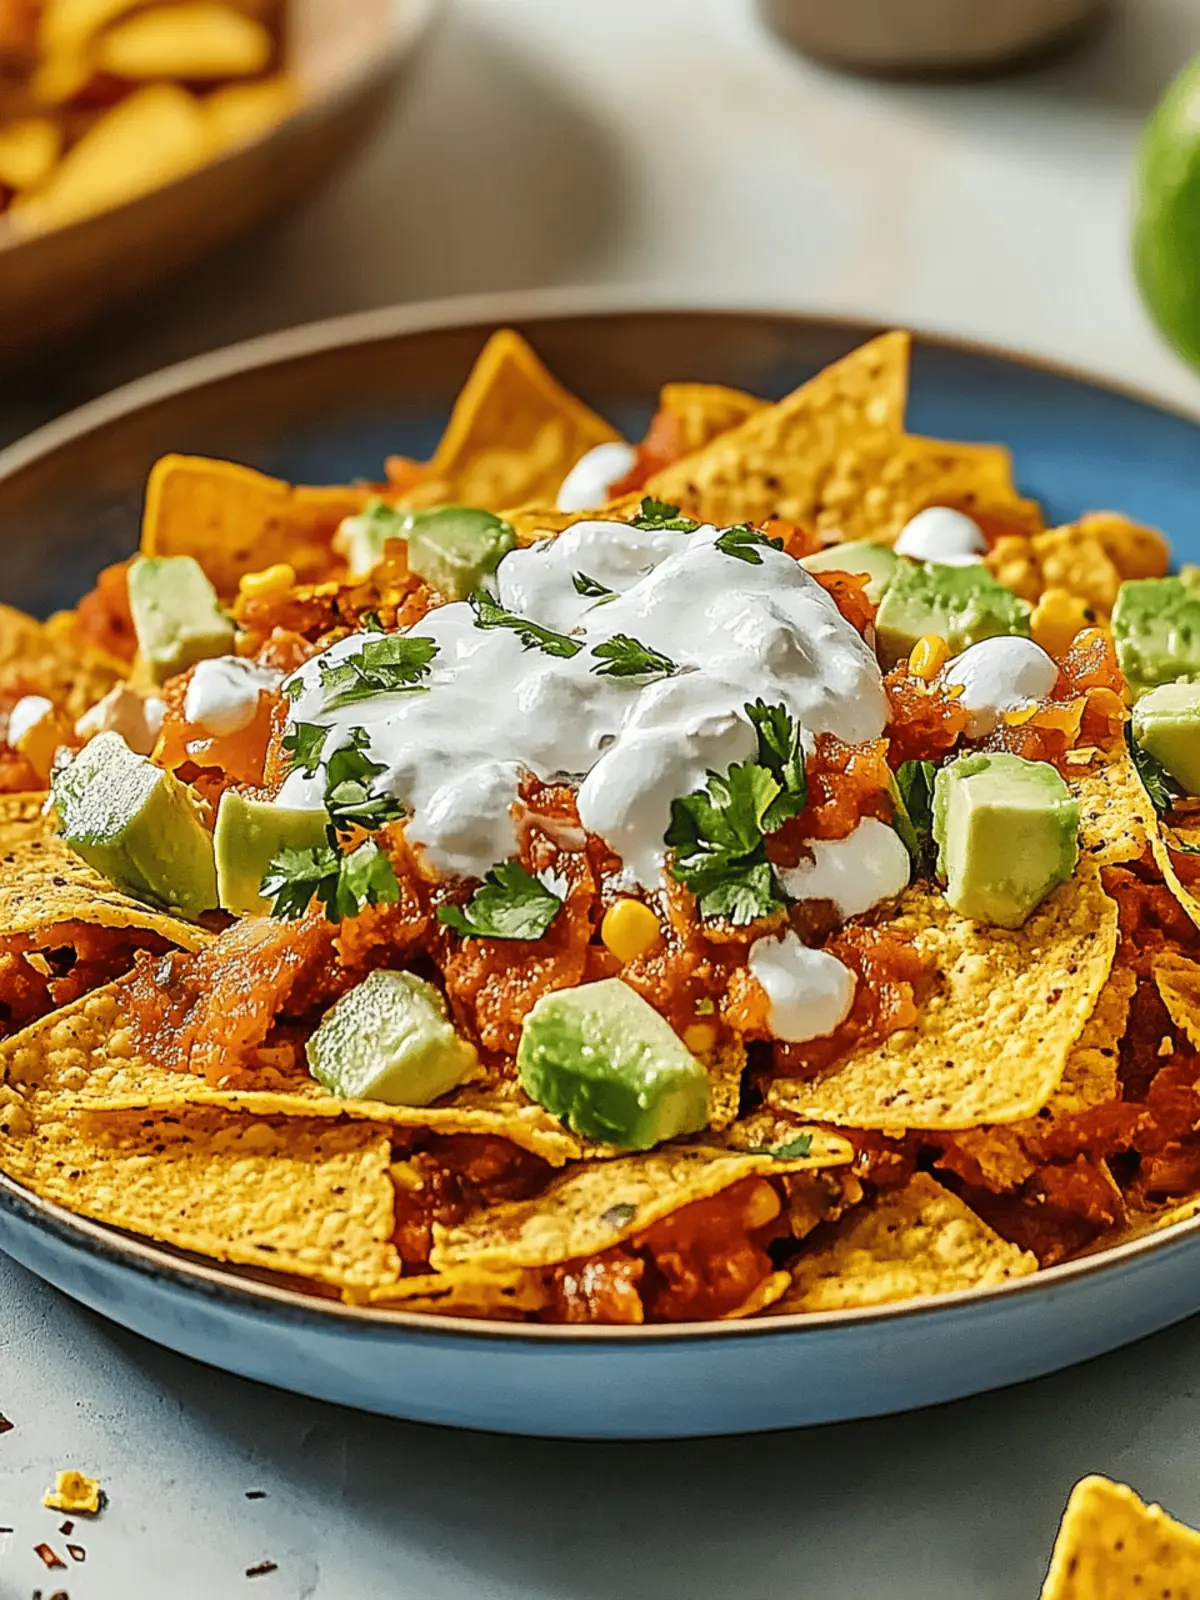
There’s something irresistibly inviting about the aroma of sizzling tortillas and warm salsa merging in the kitchen. When I first tried making Authentic Chilaquiles, I never expected it would become a cherished staple in our home. This vibrant Mexican breakfast dish transforms crispy tortilla chips into a canvas for rich flavors, where the choice between tangy red or green salsa adds a personal touch to every bite.
With the perfect blend of spice, crunch, and creamy toppings, Chilaquiles are not just for breakfast they’re versatile enough to elevate any meal! It’s astonishing how quick and easy this recipe is, allowing me to create a delectable feast that leaves everyone wanting more. Whether you’re entertaining friends or seeking comfort on a busy weekday morning, these satisfying plates can adapt to any palate, even accommodating vegetarians with simple substitutions. Join me as we dive into creating these colorful, flavor-packed Chilaquiles and bring a little zest to your kitchen!
Why is Authentic Chilaquiles a Must-Try?
Unforgettable Flavor: The vibrant mix of salsa, crispy chips, and creamy toppings creates a dish that’s bursting with flavor and satisfaction.
Quick and Easy: In just 30 minutes, you can transform simple ingredients into a delightful breakfast. Perfect for busy mornings or last-minute brunches!
Versatile Options: Customize with your choice of salsa and toppings—whether you prefer eggs, guacamole, or extra cheese, there’s a version for everyone.
Crowd-Pleaser: From family breakfasts to weekend gatherings, Authentic Chilaquiles are sure to impress and leave your guests asking for seconds.
Healthy Twist: Easily adapt this recipe to suit vegetarian diets or make it lighter by baking the chips instead of frying.
Authentic Chilaquiles Ingredients
• Explore the essential components that make Authentic Chilaquiles a flavorful Mexican breakfast delight!
For the Tortilla Base
- Corn Tortillas – The heart of the dish; cutting them into triangles and frying creates that perfect crispy texture.
- Vegetable Oil – Essential for frying the tortillas until golden and crispy; consider a light oil or baking as a healthier alternative.
For the Flavor Base
- Onions – Sautéing onions adds a natural sweetness and depth of flavor.
- Garlic – This aromatic is key for enhancing the overall taste profile of your Chilaquiles.
- Salsa (Red or Green) – A must-have for flavor; select your favorite based on the desired spice level and acidity, and feel free to use homemade or store-bought.
For the Creamy Toppings
- Queso Fresco – This creamy cheese elevates the dish; substitute with feta or cotija cheese if preferred.
- Mexican Crema – Adds a rich, velvety finish; sour cream is a perfect stand-in if needed.
- Cilantro – Brightens the dish with a refreshing touch; leave it out if it’s not to your taste.
For Protein Boost (Optional)
- Eggs – Scrambled or fried, eggs can enhance the nutritional value and heartiness of your Chilaquiles, making it perfect for breakfast.
With these ingredients, you’re on your way to crafting your own Authentic Chilaquiles, a delicious and satisfying meal that will charm everyone at your table!
How to Make Authentic Chilaquiles
- Cut Tortillas: Begin by slicing your corn tortillas into 2-inch triangle wedges. This will be the base of your dish, providing that delightful crunch.
- Fry Tortillas: Heat vegetable oil in a skillet over medium heat. Fry the tortilla pieces until they are golden brown and crispy, about 3-4 minutes. Drain them on paper towels to remove excess oil.
- Sauté Aromatics: In another skillet, sauté finely chopped onions and garlic over medium heat until they are translucent and fragrant, about 5 minutes. This will add delicious flavor to your salsa.
- Add Salsa: Pour in your choice of red or green salsa into the skillet with the onions and garlic. Allow it to simmer for about 2-3 minutes until slightly thickened, stirring occasionally.
- Toss Chips in Salsa: Gently toss the fried tortilla chips in the skillet with the warm salsa until they are well-coated but still crunchy. Enjoy the vibrant aroma filling your kitchen.
- Serve and Garnish: Plate your chilaquiles and top them with crumbled queso fresco, a drizzle of Mexican crema, and fresh cilantro. You can also add optional fried or scrambled eggs for extra protein.
- Add Final Touches: For a colorful and appetizing presentation, consider enhancing your chilaquiles with diced onions, avocado slices, or any additional garnishes you love.
Optional: Sprinkle extra cheese or a dollop of guacamole on top for added indulgence.
Exact quantities are listed in the recipe card below.
Authentic Chilaquiles Variations
There’s a world of flavors waiting for you to explore with this dish! Let your creativity shine as you enhance your Chilaquiles experience with these delightful twists.
- Salsa Swap: Experiment with different types of salsa, like mango or pineapple salsa, for a sweet and fruity kick. This fruity addition can brighten your breakfast and surprise your taste buds.
- Cheese Delight: Try substituting queso fresco with smoked mozzarella or pepper jack cheese for added depth and flavor. The creamy and slightly spicy notes will create a whole new flavor profile.
- Veggie Boost: Mix in sautéed bell peppers, zucchini, or zucchini ribbons for extra nutrition and freshness. These vibrant veggies not only add color but also a satisfying crunch.
- Heat it Up: Add sliced jalapeños or a drizzle of hot sauce for those who crave a spicy experience. The heat can elevate the dish, making each bite a flavorful adventure.
- Creamy Avocado: Incorporate avocado slices or a scoop of guacamole to introduce extra creaminess and nutrition. This brings a rich texture to contrast with the crispy chips.
- Protein Punch: Swap eggs for shredded rotisserie chicken or black beans for a protein-packed twist. This substitution is not only hearty but also makes the dish perfect for lunch or dinner.
- Herb Infusion: Use fresh herbs like parsley or green onions instead of cilantro for a different fresh flavor. Each herb provides a unique twist that can cater to your preferences.
- Tortilla Style: For a fun twist, use flavored tortillas—like spinach or tomato tortillas—to give your base an unexpected flavor and a visual pop. Your Chilaquiles will look as good as they taste!
Storage Tips for Authentic Chilaquiles
- Fridge: Store leftovers in an airtight container in the fridge for up to 2 days to maintain freshness and flavor.
- Reheating: To enjoy your chilaquiles again, gently reheat them in a skillet over medium heat, adding a splash of water or salsa to prevent dryness.
- Freezer: Avoid freezing chilaquiles, as the chips will become mushy upon thawing, losing their delightful crunch and texture.
- New Batch: If you’re making a fresh batch, consider saving any uncoated tortilla chips separately, allowing you to enjoy optimal crispiness with your next serving of Authentic Chilaquiles.
Expert Tips for Authentic Chilaquiles
- Crispy Chips: Ensure your tortilla chips are thoroughly drained after frying to maintain that sought-after crispiness throughout the dish.
- Salsa Selection: Choose your salsa wisely—red salsa offers a robust tomato flavor, while green salsa adds a delightful tanginess. Adjust the heat based on your preference!
- Avoid Sogginess: Toss the tortilla chips in the salsa just before serving to keep them crunchy. This is key for enjoying the perfect texture in your Authentic Chilaquiles.
- Baking Option: For a healthier version, consider baking your tortilla chips instead of frying. This still results in a satisfying chip that’s lower in fat.
- Personalize Your Toppings: Get creative with toppings! Adding avocado or extra cheese can elevate the dish, making it a truly personalized meal.
What to Serve with Authentic Chilaquiles?
There’s something special about creating a complete dining experience that perfectly complements the vibrant flavors of Chilaquiles.
- Refried Beans: A classic pairing that adds creamy texture and protein, making your meal heartier and simply irresistible.
- Fresh Avocado Slices: Their buttery richness elevates the dish and balances the spice with a cooling effect, enhancing every bite of Chilaquiles.
- Mexican Street Corn (Elote): The sweet, charred corn slathered in lime crema adds a fun twist, creating a bursting flavor combination that feels festive.
- Crisp Green Salad: A light, refreshing salad with citrus dressing provides a zesty contrast to the warm, savory Chilaquiles, brightening the table.
- Tropical Fruit Salad: Serve a side of sweet, juicy fruit to cleanse the palate and bring a burst of freshness alongside your flavorful breakfast delight.
- Chilled Horchata: This creamy, spiced rice drink is a delightful complement to the dish, offering a sweet contrast that balances the heat of the salsa.
- Cinnamon Sugar Churros: For an indulgent dessert, churros drizzled with chocolate sauce offer a sweet finish to your vibrant brunch that everyone will adore.
- Light Mexican Beer: A crisp lager or pale ale enhances the flavors while providing a refreshing sip to accompany your Chilaquiles feast.
Each of these pairings adds a new layer to your meal, creating a memorable dining experience that celebrates the essence of home-cooked goodness!
Make Ahead Options
Preparing Authentic Chilaquiles in advance can save you time on busy mornings! You can fry the tortilla chips and refrigerate them for up to 3 days. Just make sure to let them cool completely before storing them in an airtight container to maintain their crispiness. Additionally, you can sauté the onions and garlic ahead of time, cooling them before refrigerating for up to 48 hours. When you’re ready to enjoy your chilaquiles, simply reheat the salsa and chips together in a skillet, ensuring everything is warmed through. Top them off with queso fresco, crema, and any preferred garnishes for a quick, satisfying meal that tastes just as delicious as if it were freshly made!
Authentic Chilaquiles Recipe FAQs
How do I select the best corn tortillas?
Choosing the right corn tortillas is key to achieving crispy chilaquiles. Look for tortillas that are pliable, without dark spots or cracks, as these will fry up beautifully. Ideally, choose fresh tortillas from a local tortillería, or check the package date if purchasing store-bought.
Can I store leftover chilaquiles?
Absolutely! Store any leftovers in an airtight container in the fridge for up to 2 days. To preserve the flavor, heat it gently in a skillet over medium heat and add a splash of water or additional salsa to prevent drying out.
How should I freeze chilaquiles?
I recommend against freezing chilaquiles once they are made, as the chips will become mushy upon thawing. Instead, if you want to prepare in advance, freeze the uncoated tortilla chips separately. To bake them later, toss the chips in salsa just before serving for that crispy texture!
What can I do if my tortilla chips get soggy?
Great question! To avoid sogginess, ensure you coat the chips in salsa just before serving. If they do become soggy, you can try reheating them in a skillet with a touch of oil to re-crisp. If it’s a whole batch, consider crumbling the soggy chips and tossing them in a salad for an innovative twist!
Are there any dietary considerations for this recipe?
Most definitely! This Authentic Chilaquiles recipe can easily be made vegetarian by selecting plant-based toppings and substituting Mexican crema with a dairy-free option. If you have allergies, be sure to double-check the ingredients in your salsa and cheese substitutes.
Can I make chilaquiles spicy?
Very! If you’re looking for some heat, opt for a spicier red salsa or add some diced jalapeños or serrano peppers when sautéing the onions and garlic. Adjust to your taste for just the right kick!
Enjoy exploring these FAQs as you create your own delightful batch of Authentic Chilaquiles!
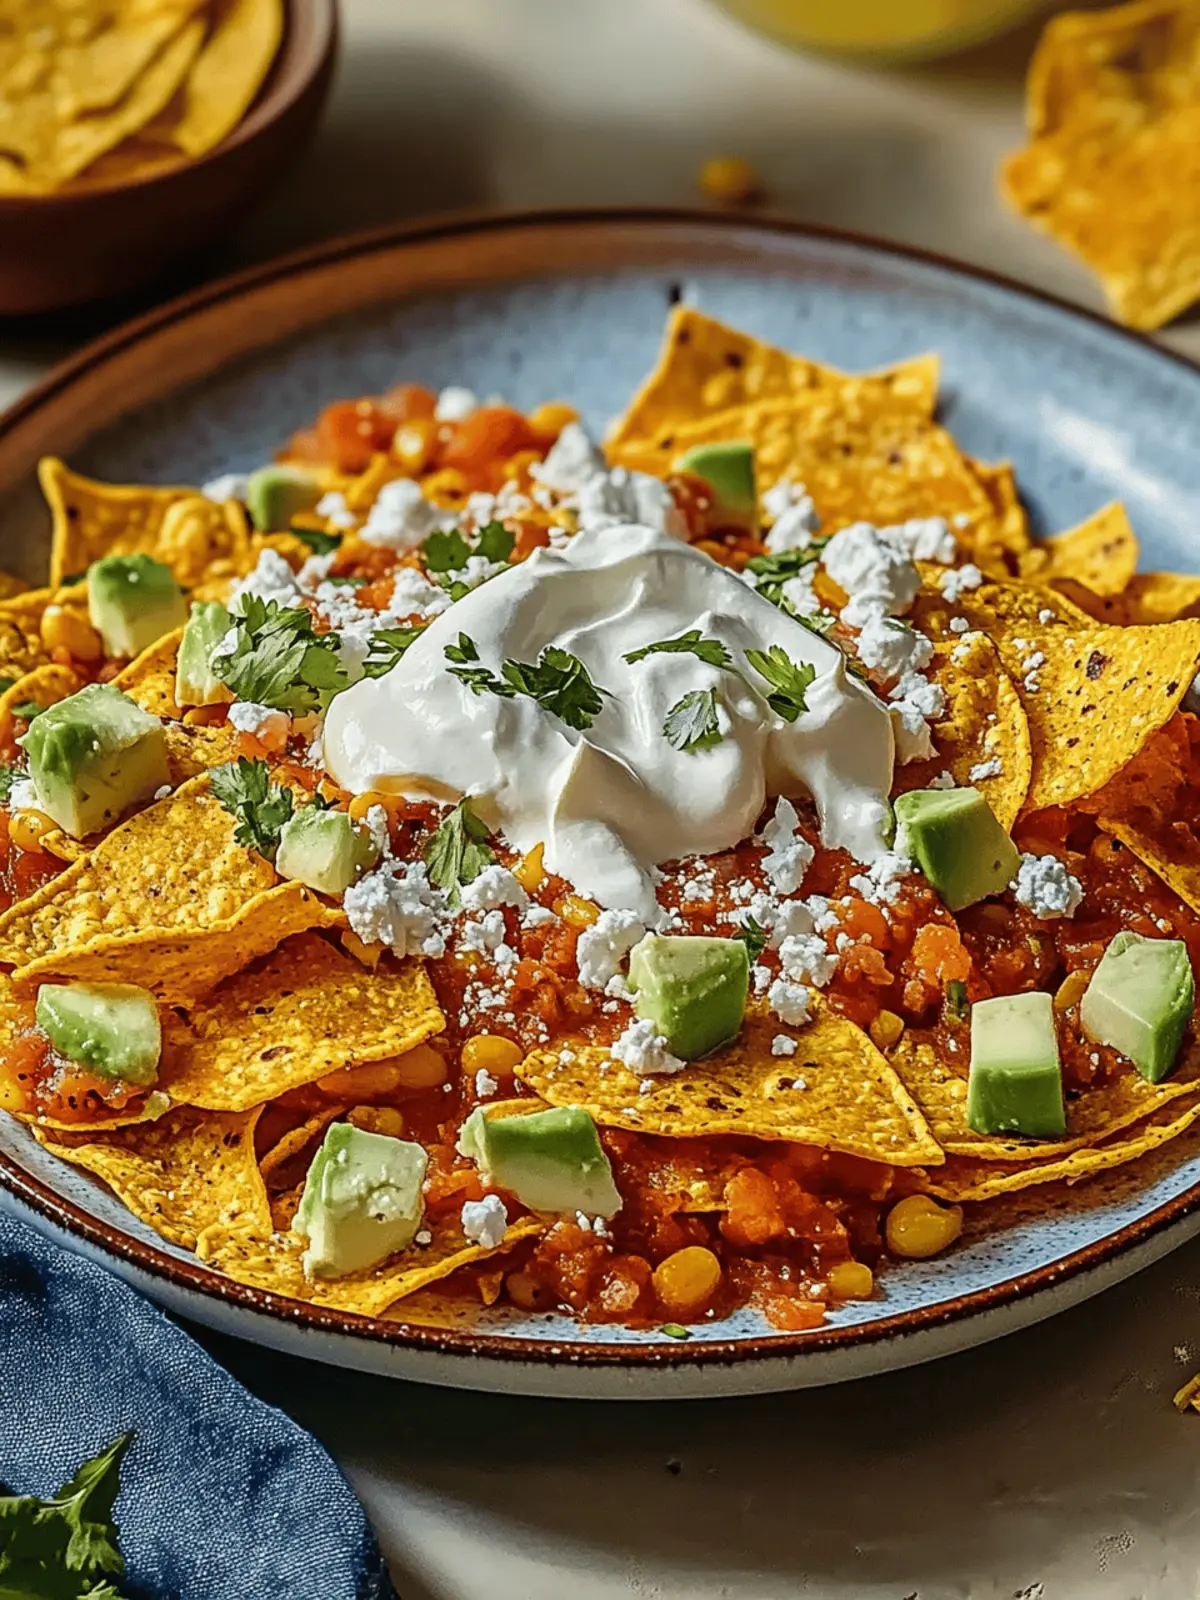
Savor Authentic Chilaquiles for a Flavorful Mexican Breakfast
Ingredients
Equipment
Method
- Cut Tortillas: Slice your corn tortillas into 2-inch triangle wedges.
- Fry Tortillas: Heat vegetable oil in a skillet over medium heat and fry the tortilla pieces until golden brown (3-4 minutes). Drain on paper towels.
- Sauté Aromatics: In another skillet, sauté chopped onions and garlic over medium heat until translucent (about 5 minutes).
- Add Salsa: Pour in your chosen salsa and let it simmer for 2-3 minutes.
- Toss Chips in Salsa: Gently toss the fried tortilla chips in the salsa until well-coated.
- Serve and Garnish: Plate the chilaquiles and top with queso fresco, Mexican crema, and cilantro.
- Add Final Touches: Enhance chilaquiles with diced onions, avocado slices, or any extras you love.

