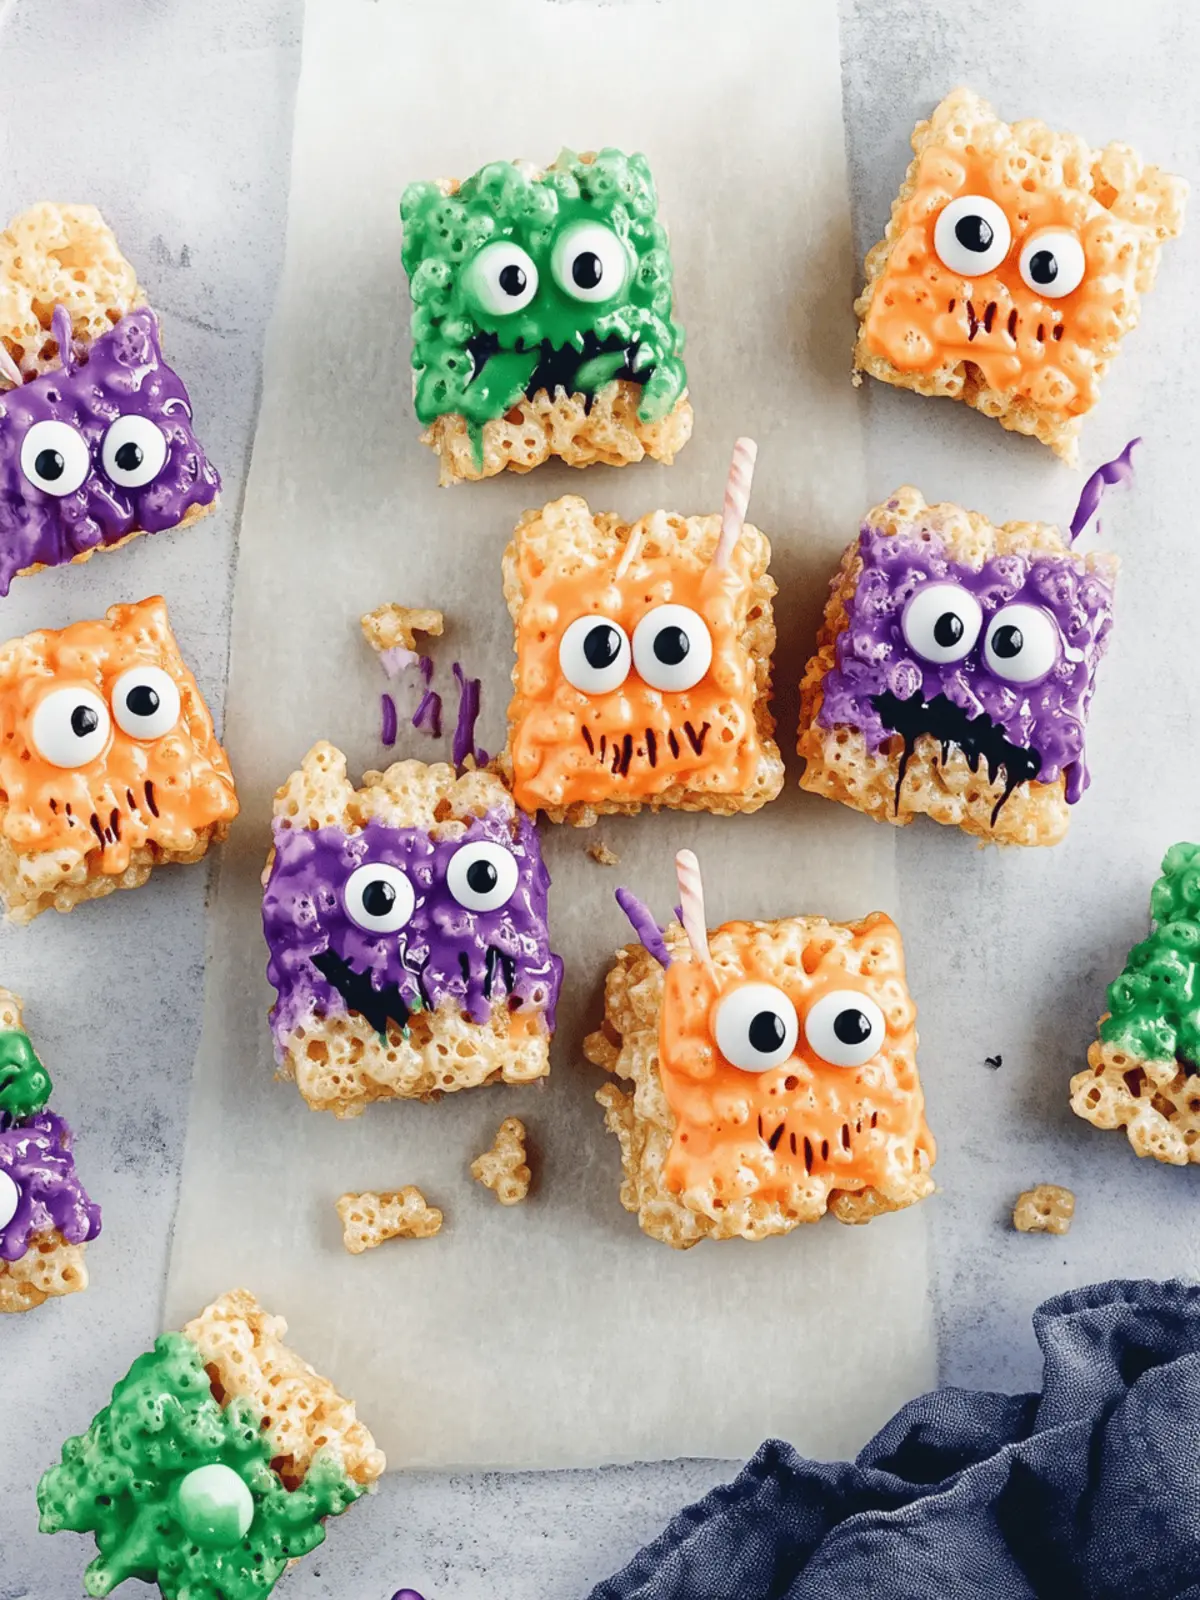
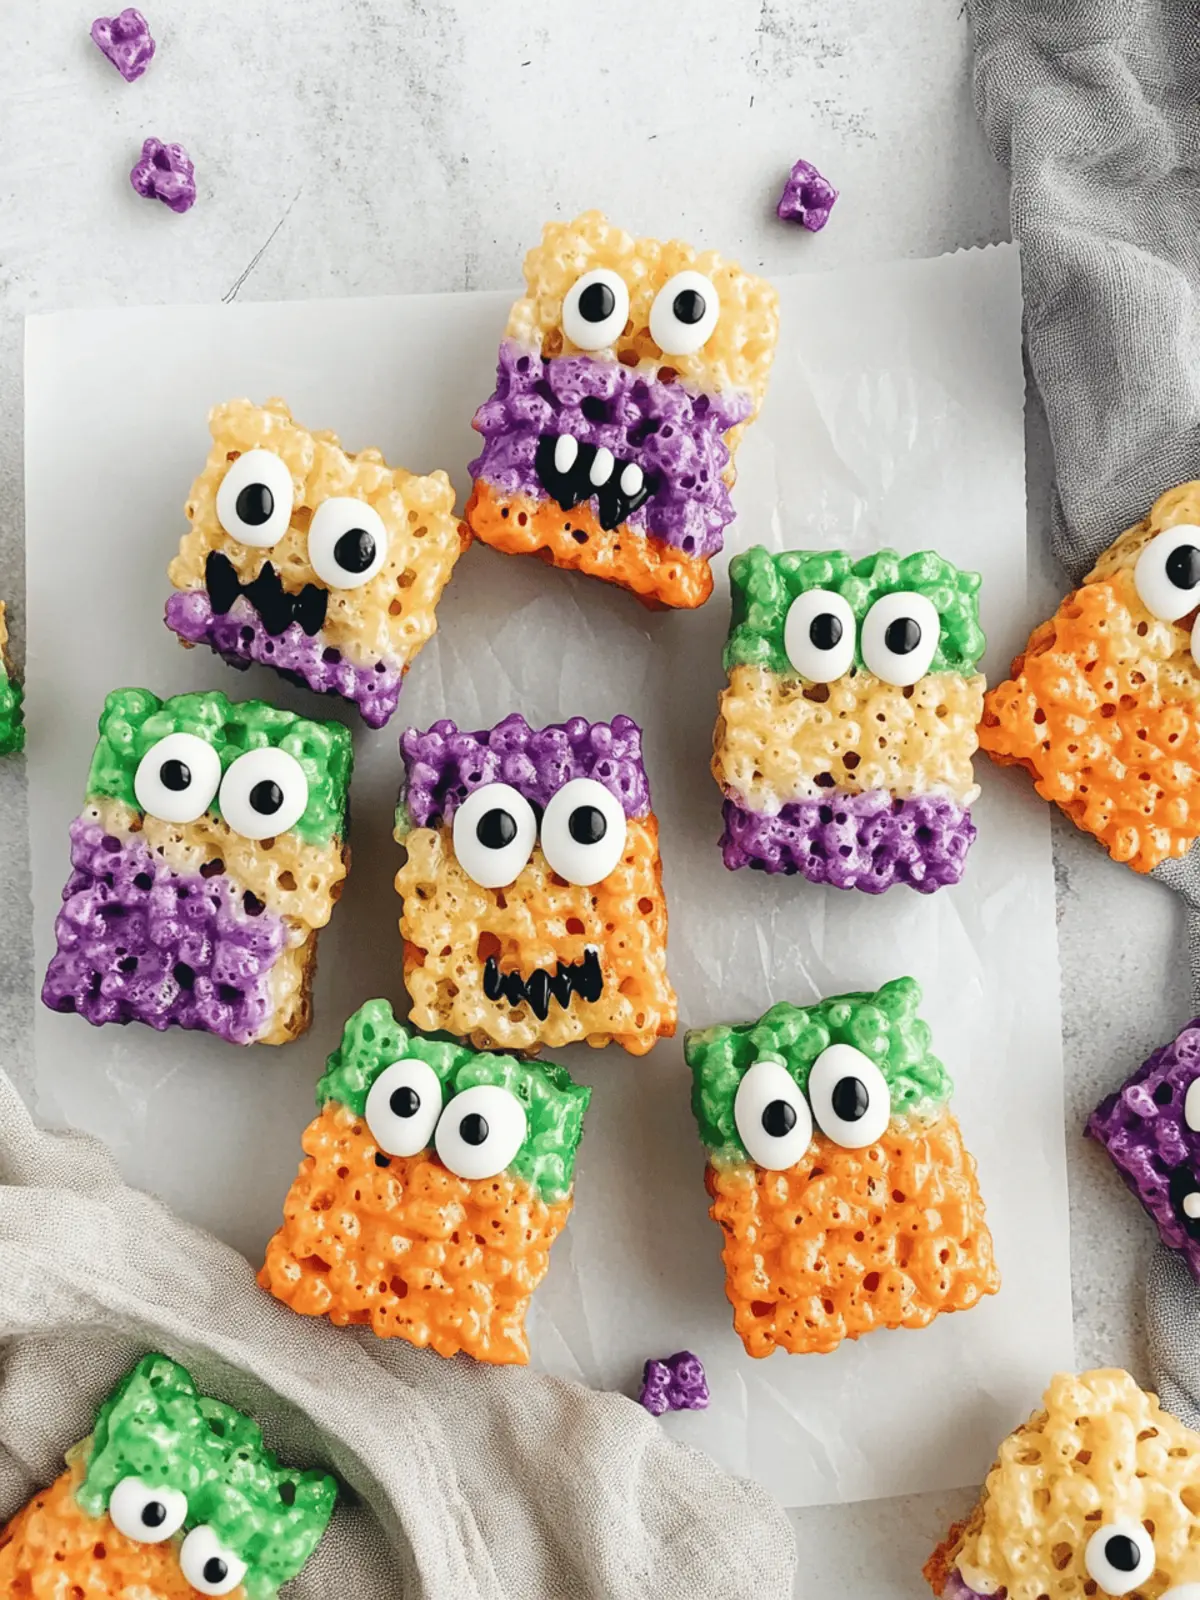
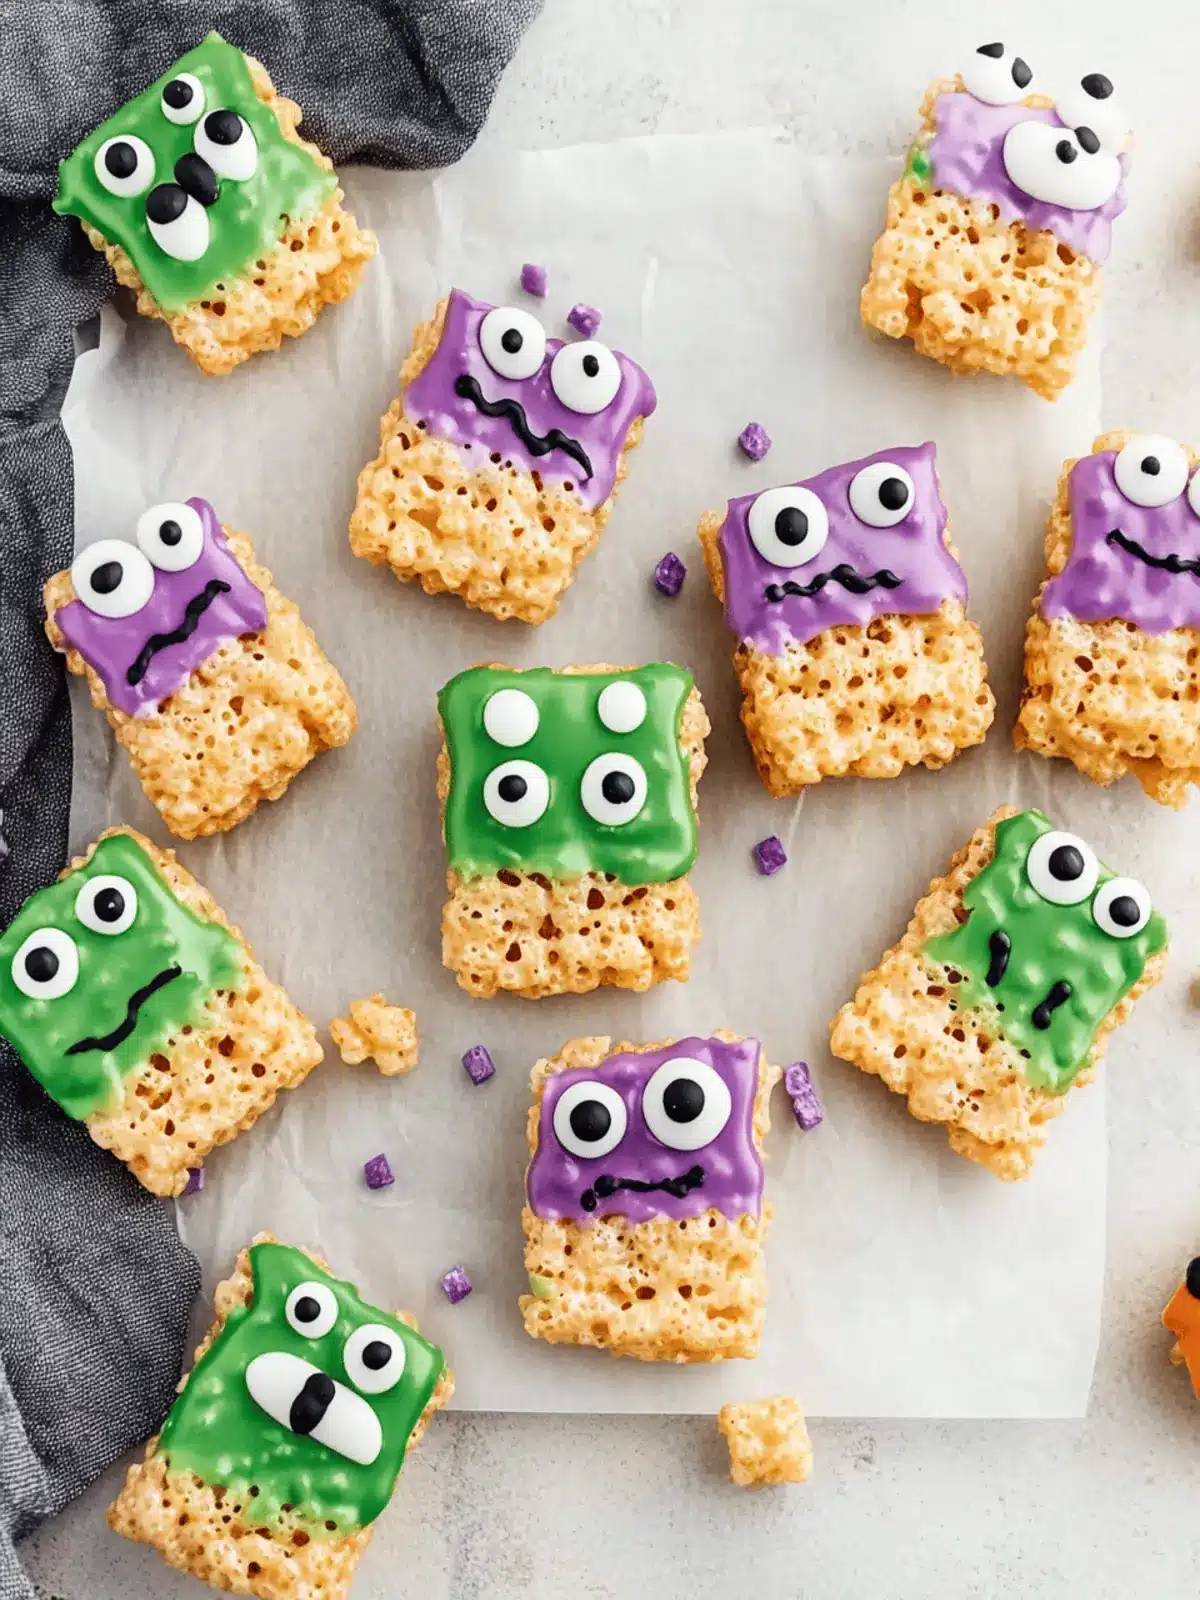
As Halloween approaches, I find the scent of melting marshmallows and butter swirling through my kitchen brings a wave of nostalgia. This year, I decided to elevate our usual festive treats with a twist: Easy Rice Krispie Monster Treats! The blend of crispy cereal, gooey marshmallows, and vibrant candy melts creates delightful goodies that are perfect for a seasonal celebration.
What I love most about these spooky treats is how simple they are to whip up and how much fun the kids have decorating their little monsters! With colorful frosting and playful candy eyes, these delightful creations never fail to spark laughter and creativity. Whether you’re preparing for a Halloween party or just looking to brighten up a gloomy autumn day, these treats are guaranteed to bring joy to your home. Let’s dive into this easy, no-bake recipe that will quickly become a crowd favorite!
Why are Easy Rice Krispie Monster Treats a hit?
Simplicity reigns: With just a few easy steps, anyone can make these festive treats, regardless of baking experience.
No-Bake magic: They come together without the need for an oven, making them perfect for last-minute party prep.
Kid-Friendly Fun: The decoration process is a delightful activity for children, sparking creativity and laughter as they design their unique monsters.
Sweet Nostalgia: The classic Rice Krispie flavors are elevated with festive colors, creating a taste that brings back fond memories.
Crowd-Worthy Appeal: Perfectly suited for Halloween parties, these treats are sure to impress both kids and adults alike with their playful charm!
Easy Rice Krispie Monster Treats Ingredients
Unleash the fun with these monster-themed goodies!
For the Base
- Butter – Adds richness and helps bind the mix; substitute with margarine for a dairy-free option.
- Marshmallows – Provide sweetness and that classic chewy texture; look for vegan marshmallows for a plant-based twist.
- Crispy Rice Cereal – Forms the fun and crunchy base; puffed quinoa can be used as an alternative if needed.
For the Decoration
- Colored Candy Melts – Creates a vibrant coating and festive look; opt for high-quality brands like Wilton to avoid clumping.
- Candy Eyeballs – Crucial for achieving the “monster” appearance; chocolate chips or other small candies are great substitutes.
- Sprinkles – Enhances visual appeal and adds fun texture; choose festive mixes or single-color sprinkles to match the theme.
Dive into this delightful recipe for easy Rice Krispie Monster Treats that are not only simple to make but also a thrilling treat for all!
How to Make Easy Rice Krispie Monster Treats
- Melt butter in a large pot over medium-low heat. Once melted, add in the marshmallows, stirring continuously until completely smooth and gooey, about 5 minutes.
- Combine the crispy rice cereal with the melted marshmallow mixture. Mix until all the cereal is evenly coated. You will want a sticky yet manageable texture, so ensure it’s well combined.
- Press the mixture into a 9×9 inch pan lined with parchment paper. Use a spatula or your hands to pack it down firmly. Let it cool for about 40 minutes, allowing it to set properly.
- Melt the colored candy melts in the microwave, stirring every 15 seconds until completely smooth. This usually takes around 1-2 minutes, so be patient for that vibrant color!
- Dip each Rice Krispie square into the melted candy. Use a butter knife to smooth out the coating, then place them back on parchment paper to allow the excess chocolate to drip away.
- Decorate by pressing candy eyes into the wet candy coating and sprinkling with colorful sprinkles. Allow the treats to set for about 45 minutes until hardened.
Optional: Add a drizzle of melted chocolate for an extra festive flair!
Exact quantities are listed in the recipe card below.
Expert Tips for Easy Rice Krispie Monster Treats
• Moisture Control: Ensure that no water gets into your melting chocolate, as this will cause it to seize and ruin your candy coating.
• Narrow Bowls: Use a narrow bowl for melting the candy melts to make dipping the Rice Krispie squares easier and more efficient.
• Cooling Time: Allow the Rice Krispie mixture to cool fully before cutting and dipping. This helps the treats hold their shape and texture.
• Storage Tips: Don’t chill the decorated treats, as this can cause the candy eyes to melt. Store in an airtight container for freshness.
• Experiment with Flavors: Feel free to try different candy melt colors or use chocolate drizzle for a delicious twist on these easy Rice Krispie Monster Treats!
Easy Rice Krispie Monster Treats Variations
Get ready to transform your spooky treats into something even more exciting!
- Dairy-Free: Swap butter for coconut oil and use vegan marshmallows to create a deliciously inclusive treat.
- Flavored Cereal: Instead of traditional rice cereal, try using cinnamon toast or cocoa puffs for a fun flavor twist. The sweet flavors will surprise your taste buds!
- Chocolate Drizzle: Replace the colorful melts with chocolate or caramel drizzle for a deliciously decadent alternative that kids and adults will love.
- Nutty Crunch: Add chopped nuts or crushed pretzels to the mix for an extra crunch that balances the sweet and gooey texture perfectly.
- Spicy Twist: Stir in some cinnamon or a pinch of cayenne pepper for an exciting heat that will have everyone guessing your secret ingredient.
- Veggie Power: Incorporate some finely grated zucchini or carrots for a sneaky health boost while keeping the same yummy texture and flavor.
- Pumpkin Spice: For a seasonal flair, add pumpkin puree and a dash of pumpkin pie spice into the marshmallow mix; it’s like autumn in every bite!
- Themed Sprinkles: Choose Halloween-themed sprinkles, such as ghosts or pumpkins, to elevate the festive spirit of your treats further. Adding these little details can make your creations truly shine!
Make Ahead Options
These Easy Rice Krispie Monster Treats are a fantastic choice for meal prep, allowing you to save time during Halloween festivities! You can prepare the Rice Krispie base up to 3 days in advance. Simply follow the initial steps, allow the base to cool completely, then wrap it tightly in plastic wrap and store it at room temperature to maintain its chewy texture. On the day of serving, melt your colored candy melts and dip the pre-prepared squares, decorating with candy eyes and sprinkles right before presenting them. This method ensures your treats remain just as delicious while allowing you to enjoy more time with friends and family!
What to Serve with Easy Rice Krispie Monster Treats?
As you prepare for an enchanting Halloween gathering, consider delightful pairings that elevate your spooky desserts to a full, festive meal.
- Witch’s Brew Punch: A colorful, fizzy drink that adds a refreshing balance to the sweetness of the treats. Perfect for all ages!
- Ghoulish Grapes: Pick your favorite grapes and skewer them for a quick, healthy snack that contrasts with the rich, sugary flavors of the Rice Krispie treats.
- Chocolate-Dipped Pretzels: The salty crunch of pretzels, coated in chocolate and decorated with sprinkles, provides a fun texture that pairs nicely with the soft treats.
- Mini Pumpkin Pies: Each bite of creamy pumpkin filling offers a delicious contrast, bringing in the warm autumn spices associated with Halloween.
- Monster Fruit Salad: A vibrant mix of seasonal fruits, tossed together with a touch of lime juice, freshens up the table and encourages healthy snacking among little ones.
- Creepy Cheese Platter: Include a variety of cheeses served with crackers that add a savory note, making a delightful balance to the treats’ sweetness.
- Ghostly Marshmallow Pops: These sweet creations echo the ingredients of your monster treats while providing another fun element to your Halloween spread.
- Spooky Cake Pops: These bite-sized confections, decorated like monsters or ghosts, add a playful touch and are always a hit with kids.
Embrace the whimsy of Halloween and let these pairings bring excitement to your gathering!
How to Store and Freeze Easy Rice Krispie Monster Treats
Room Temperature: Keep your decorated Easy Rice Krispie Monster Treats in an airtight container at room temperature for up to 3 days to maintain their deliciousness.
Freezer: If you have an untouched Rice Krispie base, it can be frozen for up to 3 months before decorating. Make sure to wrap it tightly in plastic wrap to prevent freezer burn.
Avoid Refrigeration: Do not store decorated treats in the fridge, as the cold can cause the candy eyes to melt, ruining their cute appearance.
Reheating: If the treats become tough over time, you can gently rewarm them in a low oven for a couple of minutes to soften slightly before enjoying.
Easy Rice Krispie Monster Treats Recipe FAQs
How do I choose the right marshmallows?
Absolutely! The key is to opt for fresh marshmallows that are soft and squishy. If you find marshmallows with a crusty exterior or hard texture, they may have been exposed to air for too long. For a plant-based version, look for vegan marshmallows—these provide the same chewy texture without any animal products.
What’s the best way to store leftover treats?
To keep your Easy Rice Krispie Monster Treats fresh, store them in an airtight container at room temperature for up to 3 days. If they begin to harden, popping them in a low oven for a couple of minutes can soften them right up, bringing back that delightful chewy texture.
Can I freeze the Rice Krispie base?
Yes, indeed! You can freeze the untouched Rice Krispie base for up to 3 months. Just wrap it tightly in plastic wrap or use a freezer-safe container to prevent any freezer burn. When you’re ready to whip up some spooky treats, simply thaw it in the fridge overnight before decorating.
What if my candy melts seize while melting?
Very! If your candy melts come into contact with water, they can seize up and become crumbly instead of smooth. To troubleshoot, check that your bowl and utensils are completely dry before melting. If it does seize, don’t discard it; try adding a teaspoon of vegetable oil or shortening and stir until smooth again.
Are these treats safe for kids with nut allergies?
Absolutely! These Easy Rice Krispie Monster Treats can be made nut-free by selecting nut-free brands of all the ingredients used. However, always check the labels to ensure no cross-contamination has occurred in the manufacturing process, especially with the candy melts and marshmallows.
Can I customize the decorations?
The more the merrier! These treats are incredibly versatile when it comes to decoration. You can substitute the candy eyeballs with chocolate chips, or use different types of sprinkles to suit any theme. Feel free to unleash your creativity, as it’s all about making monster treats that are uniquely yours!
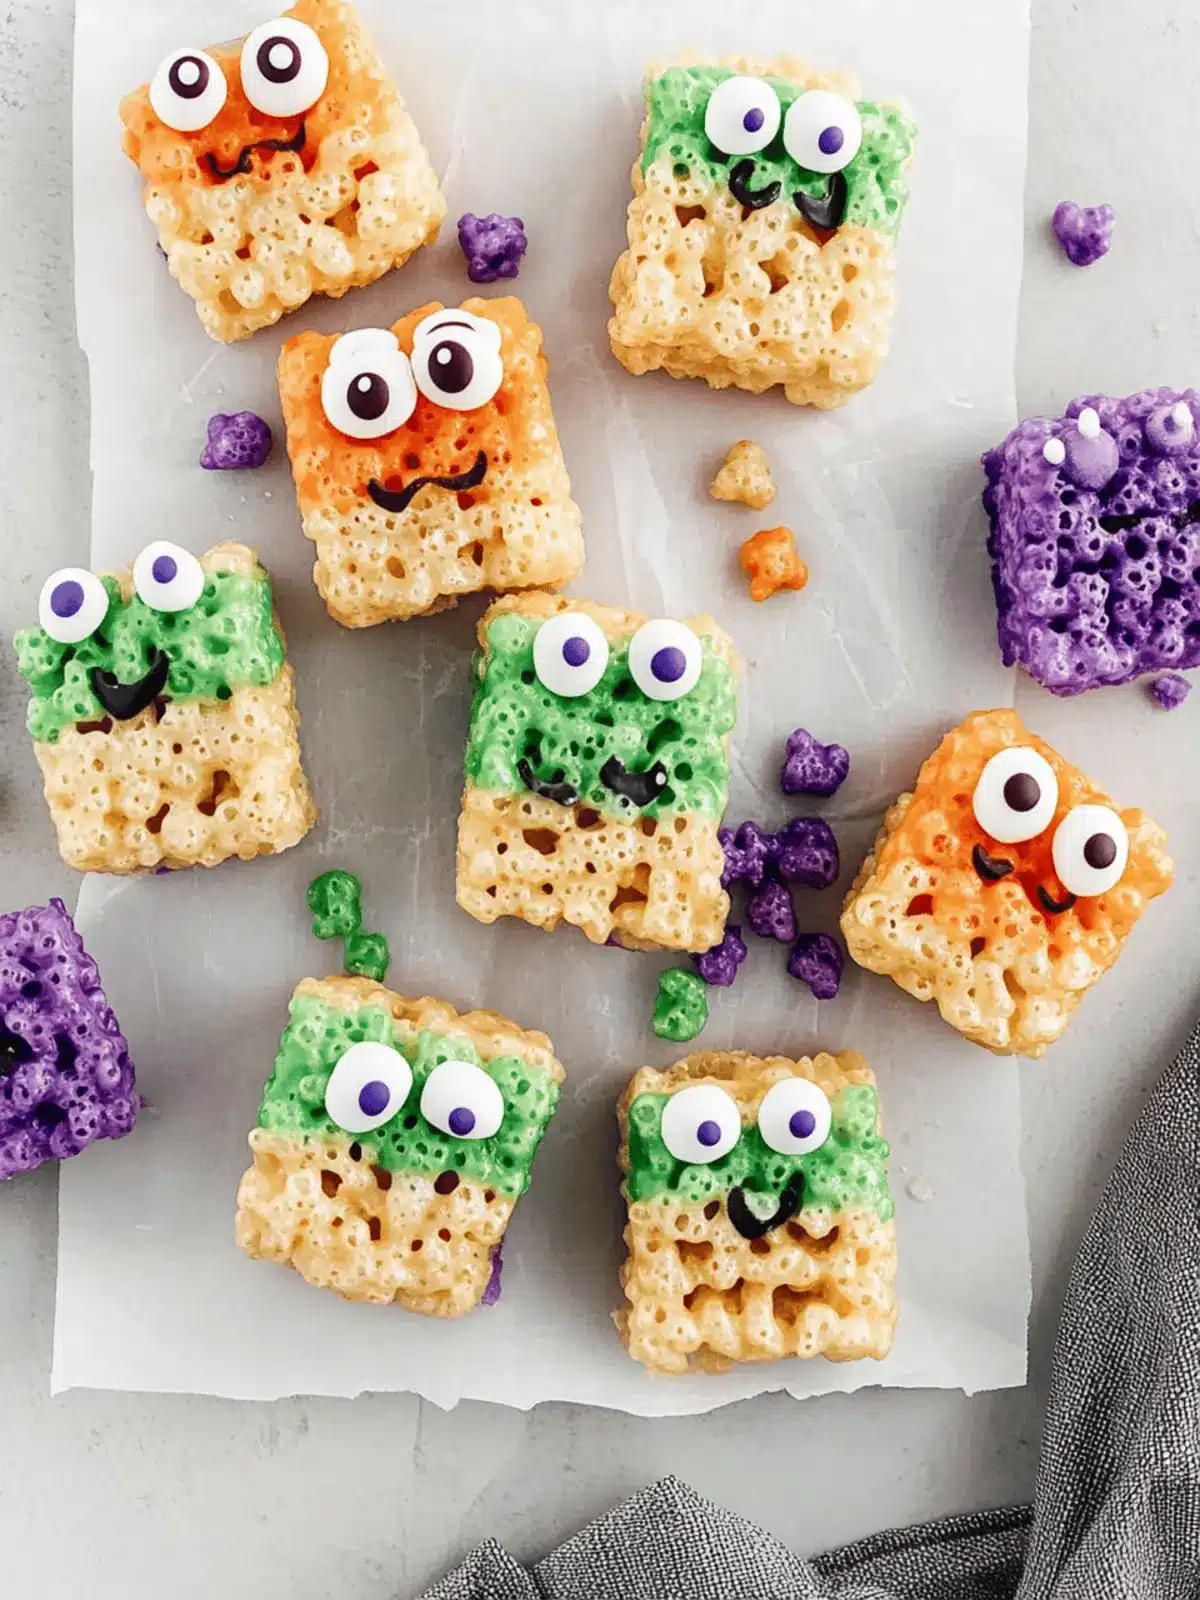
Create Easy Rice Krispie Monster Treats for Spooky Fun!
Ingredients
Equipment
Method
- Melt butter in a large pot over medium-low heat. Once melted, add in the marshmallows, stirring continuously until completely smooth and gooey, about 5 minutes.
- Combine the crispy rice cereal with the melted marshmallow mixture. Mix until all the cereal is evenly coated.
- Press the mixture into a 9x9 inch pan lined with parchment paper. Use a spatula or your hands to pack it down firmly. Let it cool for about 40 minutes.
- Melt the colored candy melts in the microwave, stirring every 15 seconds until completely smooth, usually around 1-2 minutes.
- Dip each Rice Krispie square into the melted candy, using a butter knife to smooth out the coating.
- Decorate by pressing candy eyes into the wet candy coating and sprinkling with colorful sprinkles. Allow to set for about 45 minutes until hardened.

