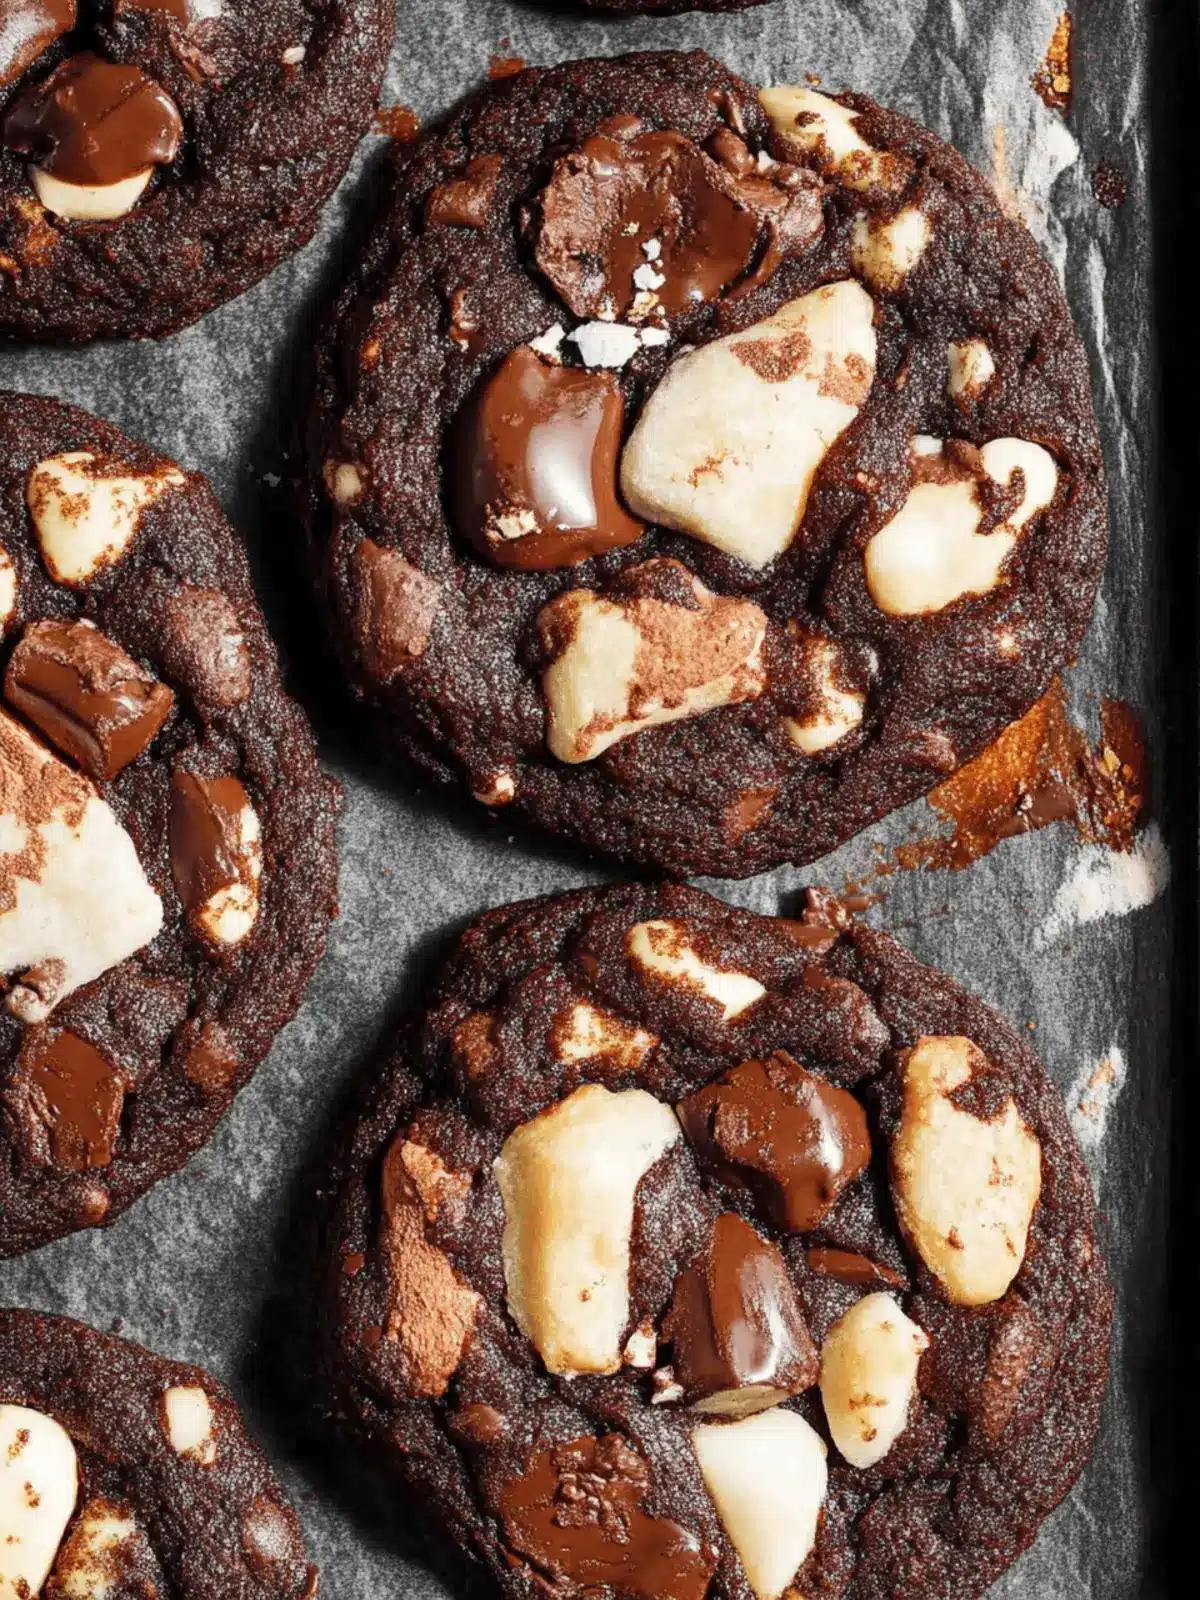
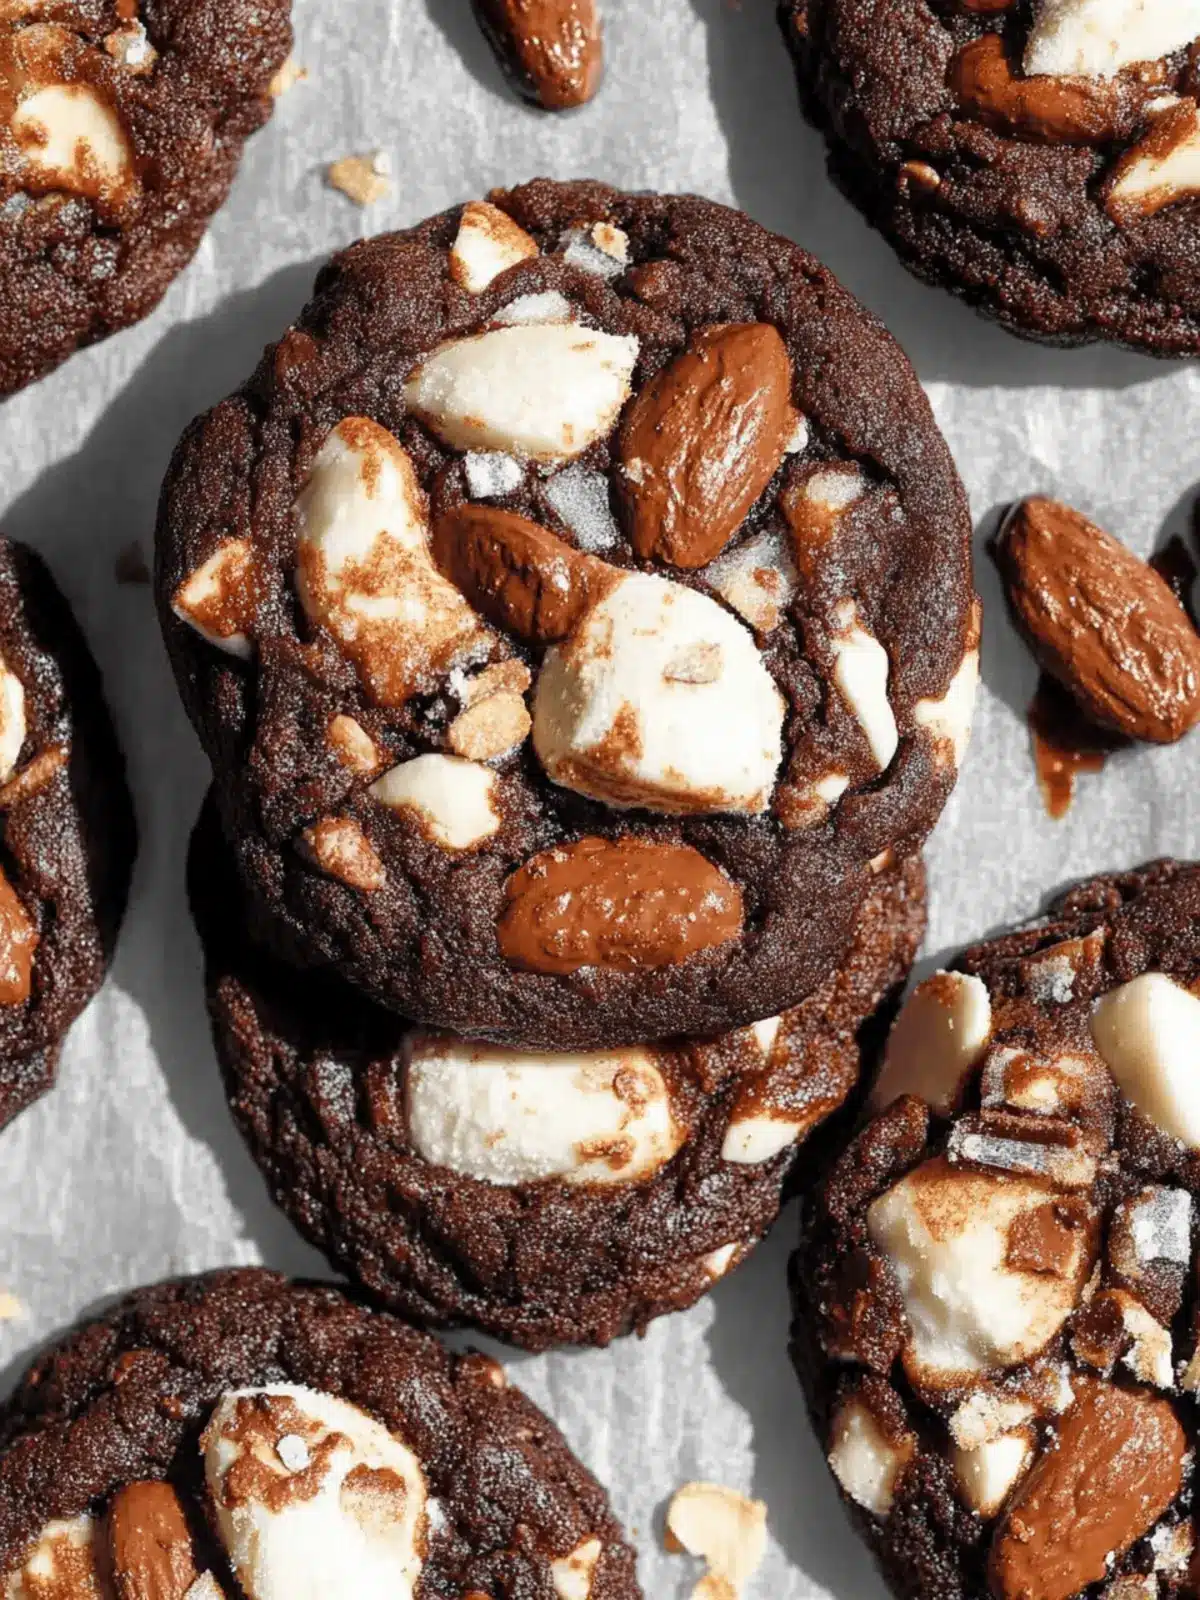
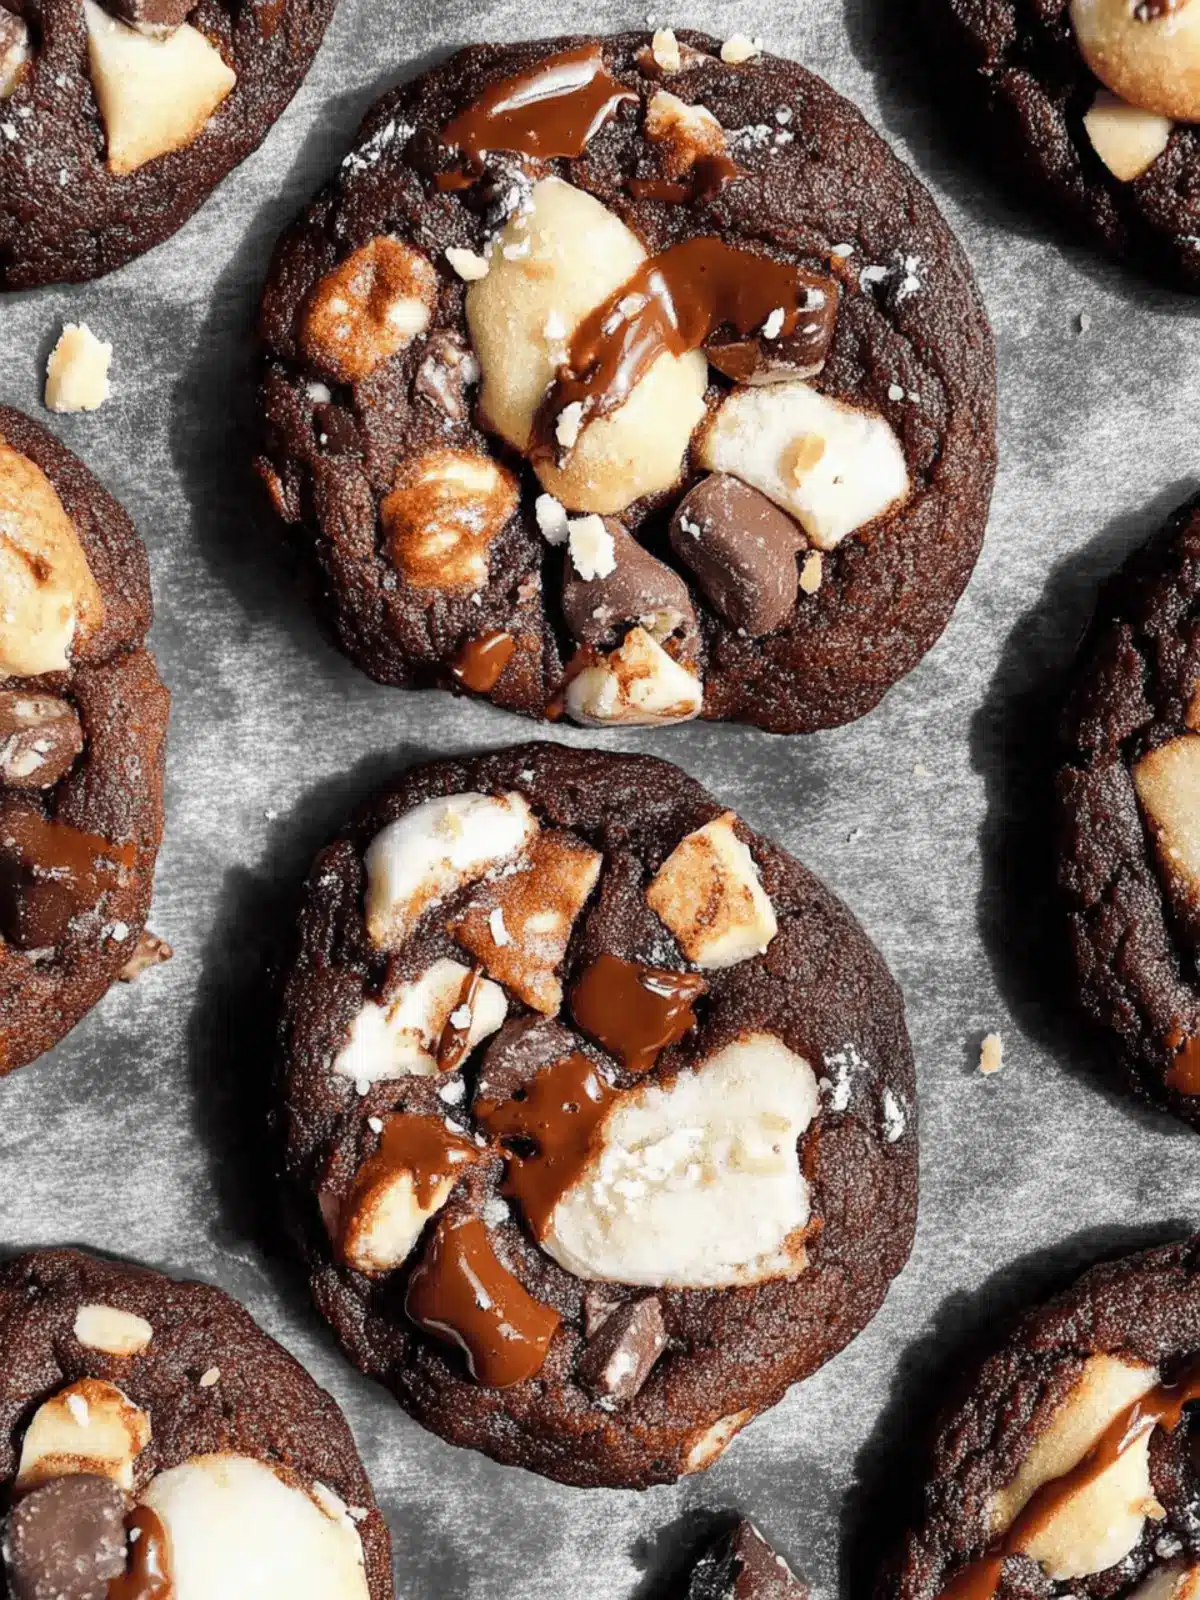
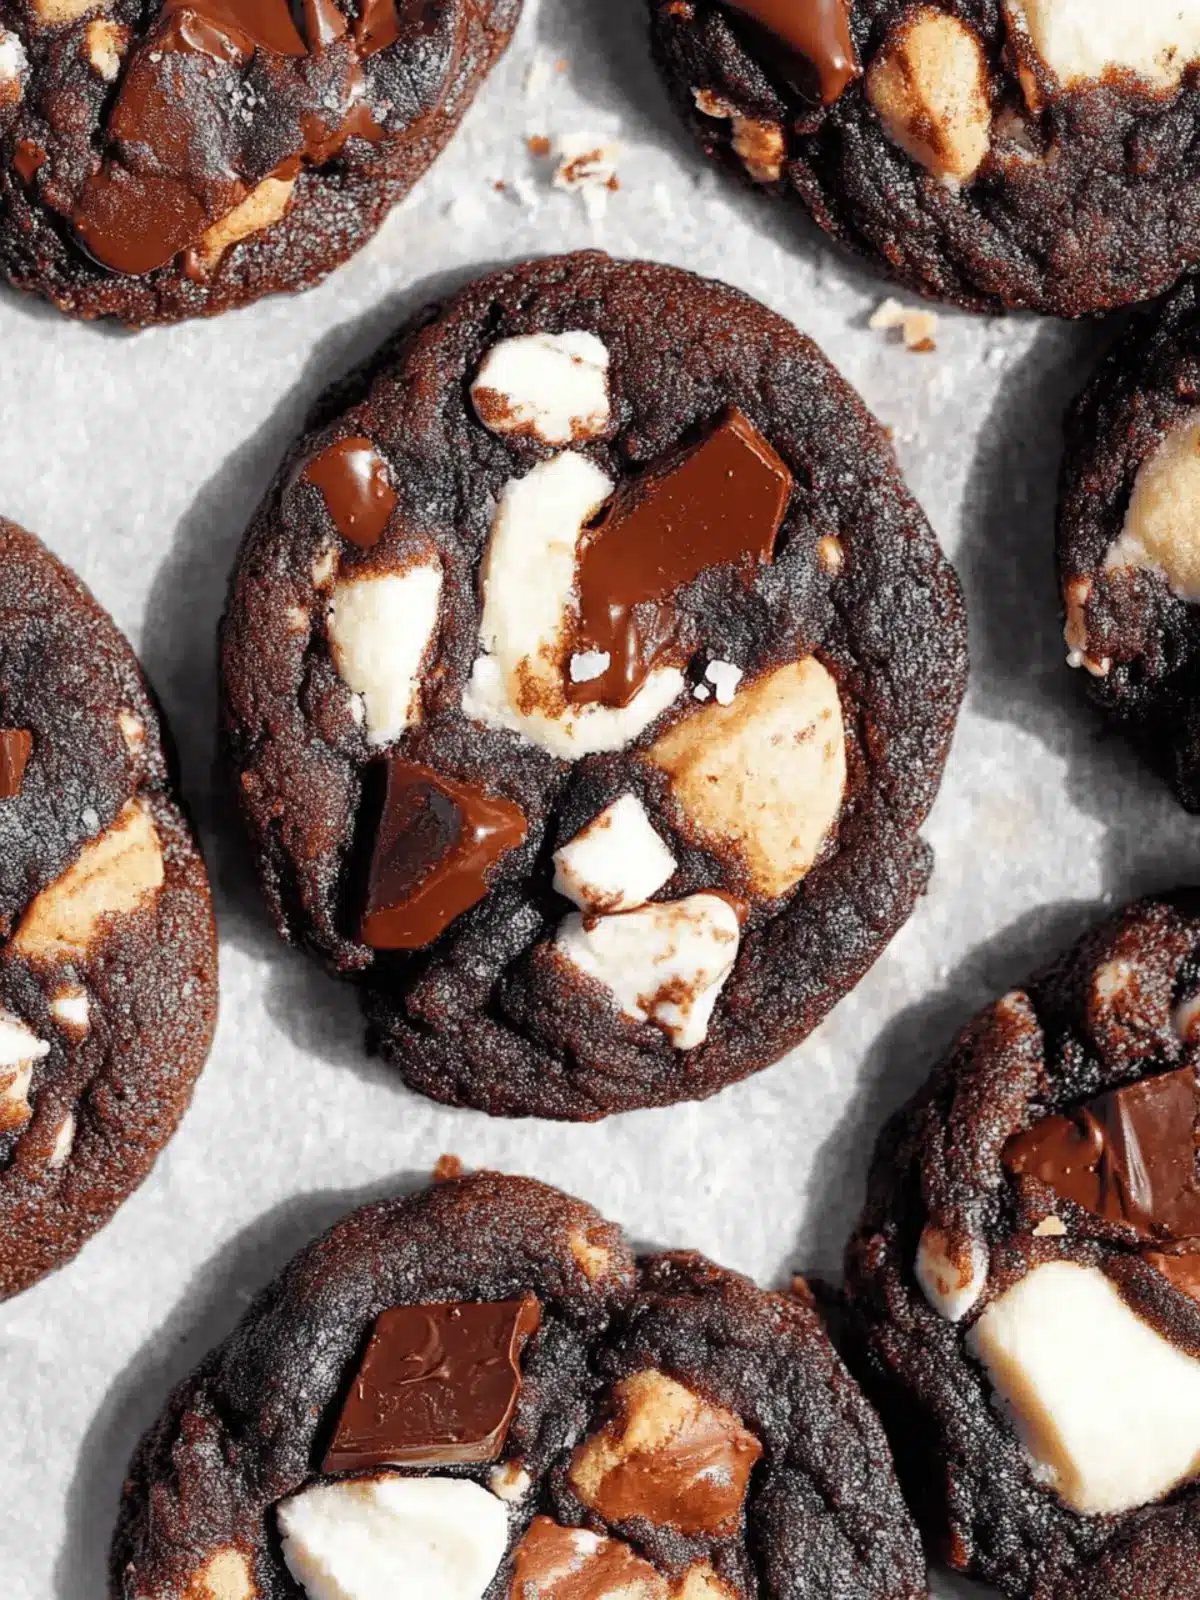
There’s a certain joy in the kitchen when the smell of freshly baked cookies wafts through the air, signaling that a sweet treat is just around the corner. I first encountered the irresistible combination of chocolate, nuts, and gooey marshmallows in a beloved dessert: Rocky Road ice cream. Imagine capturing that indulgent flavor and transforming it into warm, chewy Rocky Road Cookies, perfect for sharing—or simply indulging in yourself after a long day.
These cookies boast a rich chocolate base, offering a delightful contrast between the slightly crisp edges and the fudgy, soft centers that stay moist for days. Whether you’re a dedicated home chef or simply craving a homemade treat that outshines fast food desserts, these Rocky Road Cookies are sure to satisfy. With just a handful of simple ingredients and a few easy steps, you’ll unlock a world of flavor that’s as nostalgic as it is delicious. So, let’s dive into this sweet adventure together!
Why Are Rocky Road Cookies So Irresistible?
Deliciously Indulgent: These Rocky Road Cookies capture the same irresistible flavors as the classic ice cream—rich chocolate, crunchy nuts, and gooey marshmallows all in one bite.
Chewy Texture: With a slightly crisp edge and fudgy center, these cookies offer a delightful chew that stays fresh for days.
Quick and Easy: Ideal for busy bakers, this recipe requires minimal effort while delivering maximum flavor.
Perfect for Sharing: Whether it’s at a family gathering or a casual get-together, these cookies are sure to impress and please everyone!
Customizable Fun: Feel free to swap nuts or throw in mini chocolate chips; the possibilities are endless and delicious!
Rocky Road Cookies Ingredients
For the Cookie Base
• All-Purpose Flour – Provides structure and stability to your cookies; measure accurately to avoid spreading.
• Cocoa Powder – Adds rich chocolate flavor; opting for Dutch-process is recommended for extra depth.
• Baking Soda – Acts as a leavening agent to ensure a tender texture.
• Salt – Enhances the sweetness and balances the overall flavor.
• Salted Butter – Ensures rich flavor; remember to soften it for easy creaming.
• Light Brown Sugar – Contributes moisture and a beautiful hint of caramel flavor.
• Granulated Sugar – Adds sweetness while helping the cookies maintain their structure.
• Large Egg – Provides moisture and acts as a binding agent; use it at room temperature for best results.
• Pure Vanilla Extract – Enhances the overall flavor profile of the cookies.
• Milk – Adds a touch of moisture to the dough; measure accurately to prevent spreading.
For the Mix-Ins
• Dark Chocolate Chunks – The primary flavor element; chopping a bar enhances melt and spread compared to chips.
• Mixed Chopped Nuts (Walnuts and Almonds) – Offers a crunchy texture; feel free to adjust based on your personal preference.
• Mini Marshmallows – Introduces a delightful gooey element; you can sprinkle extra on top before baking if desired.
Enjoy this delicious journey with these Rocky Road Cookies and experience the joy of homemade treats!
How to Make Rocky Road Cookies
-
Prep Dry Ingredients: In a mixing bowl, whisk together the all-purpose flour, cocoa powder, baking soda, and salt until evenly combined. This step ensures the dry ingredients are well-blended for uniform flavor.
-
Cream Butter and Sugars: In another large bowl, combine the softened salted butter, light brown sugar, granulated sugar, and pure vanilla extract. Beat with a mixer until the mixture is smooth and fluffy, about 2-3 minutes.
-
Incorporate Egg: Add in the large egg and mix until it’s fully incorporated into the batter, creating a rich and creamy texture.
-
Combine Mixtures: Gradually add the dry mixture to the wet mixture, mixing gently until nearly combined. Then, pour in the milk and continue mixing just until blended—don’t overdo it!
-
Fold in Mix-ins: Gently fold in the dark chocolate chunks, chopped nuts, and mini marshmallows until they’re evenly distributed throughout the dough. This will make every bite a delightful adventure!
-
Chill Dough: Cover the bowl with plastic wrap and refrigerate the dough for 1-2 hours. If you’re short on time, you can also freeze it for 30 minutes—this helps prevent spreading during baking.
-
Preheat Oven: Preheat your oven to 350°F (175°C) while your dough chills. Prepare your cookie sheets by lining them with parchment paper for easy cleanup.
-
Scoop Dough: Using a cookie scoop, portion out mounds of dough onto the prepared cookie sheets, leaving about 2 inches between each mound. If you’d like, give the dough an extra 20 minutes in the fridge at this stage for thicker cookies!
-
Bake: Bake the cookies for 9-11 minutes, or until they’re puffed and cracked on top, but still soft in the centers. Allow cooling on the trays for a few minutes before transferring to a wire rack.
Optional: Sprinkle a few extra mini marshmallows on top right before baking for an adorable and gooey finish!
Exact quantities are listed in the recipe card below.
What to Serve with Rocky Road Cookies?
Enjoying these delightful cookies is just the beginning—let’s turn your cookie treat into a memorable meal experience!
-
Cold Milk: The classic pairing with cookies; the creamy texture and chilled sweetness perfectly complement the rich chocolate and chewy marshmallows.
-
Vanilla Ice Cream: For a truly indulgent dessert, serve a scoop of velvety vanilla ice cream alongside your cookies; the flavors meld beautifully.
-
Fresh Berries: Juicy strawberries or raspberries add a fresh, tart contrast to the sweetness of the cookies, elevating the dessert experience.
-
Coffee or Espresso: A warm cup of coffee or espresso enhances the chocolate flavor, creating a cozy atmosphere perfect for relaxing with friends or family.
-
Chocolate Fondue: For a fun twist, dip pieces of the cookies into warm chocolate fondue, adding an extra layer of indulgence!
-
Nutty Chocolate Milkshake: Blend chocolate ice cream with milk and a handful of nuts for a thick, creamy shake that echoes the flavors of your cookies.
Add these pairings to your meal, and you’ll have a delightful feast that will surely impress your loved ones!
How to Store and Freeze Rocky Road Cookies
Room Temperature: Store these Rocky Road Cookies in an airtight container for up to 5 days; they’ll stay chewy and delicious.
Fridge: If you need extra freshness, these cookies can also be refrigerated for up to a week, though they may lose some of their chewiness.
Freezer: For long-term storage, freeze the cookies in a resealable bag for up to 3 months. Just be sure to place parchment paper between layers to prevent sticking.
Reheating: To enjoy a fresh-baked taste, reheat frozen cookies in a 350°F (175°C) oven for 5-7 minutes, or until warmed through.
Expert Tips for Rocky Road Cookies
-
Chill Dough Long: Extend chilling time for thicker cookies. It prevents excessive spreading and ensures a fudgier texture.
-
Measure Flour Properly: Avoid guessing—use a kitchen scale or spoon flour into the measuring cup and level it off to prevent dry cookies.
-
Be Gentle When Mixing: Over-mixing can lead to tough cookies. Mix just until ingredients are combined, especially when folding in chocolate chunks and marshmallows.
-
Watch Baking Time: Every oven is different. Check your cookies at the lower end of the baking time to keep that ideal soft center in your Rocky Road Cookies.
-
Use Quality Chocolate: Investing in good chocolate enhances flavor significantly. Choose a dark chocolate that you love for the best results!
Rocky Road Cookies Variations
Feel free to get creative and tailor these delicious cookies to suit your taste buds.
-
Nut-Free: Substitute nuts entirely or use seeds like sunflower or pumpkin for that crunch without the allergens.
-
Chocolate Lovers: Add a swirl of peanut butter or Nutella into the dough for a delightful twist on flavor.
-
Gluten-Free: Replace the all-purpose flour with a gluten-free blend to accommodate dietary needs while still enjoying that indulgent chocolate flavor.
-
Minty Delight: Toss in a few drops of mint extract or crushed peppermint candies for a refreshing holiday twist.
-
Spicy Kick: Add a pinch of cayenne pepper or cinnamon for a surprising heat that contrasts beautifully with the sweetness.
-
Dairy-Free: Swap out the butter for coconut oil and use almond milk instead for a dairy-free version that doesn’t skimp on flavor.
-
Caramel Surprise: Sneak in some caramel pieces along with the chocolate chunks for an extra layer of decadence in every bite.
-
Chunky Style: Increase the amount of chocolate chunks and marshmallows for a more gooey, chunkier texture that delivers on the rich Rocky Road experience.
Make Ahead Options
These Rocky Road Cookies are perfect for busy home cooks looking to streamline their meal prep! You can prepare the cookie dough up to 24 hours in advance by chilling it in the refrigerator. Simply cover the bowl with plastic wrap after combining all ingredients and refrigerate. If you need more time, you can freeze the dough for up to 3 months—just be sure to portion it into mounds before freezing for easy baking later. When you’re ready to bake, you can go straight from the fridge or freezer to the oven; just add an extra minute or two to the baking time for frozen dough. This way, you can enjoy freshly baked cookies with minimal effort, and they’ll taste just as delicious!
Rocky Road Cookies Recipe FAQs
How do I know if my ingredients are ripe or fresh for this recipe?
Absolutely! For the best Rocky Road Cookies, be sure your nuts are fresh; look for any off odors or dark spots. The mini marshmallows should be soft and squishy—not hard or stale. For the chocolate, choose high-quality dark chocolate with a smooth sheen, as it dramatically improves the flavor of the cookies.
What is the best way to store Rocky Road Cookies?
To keep your cookies fresh, store the Rocky Road Cookies in an airtight container at room temperature for up to 5 days. If you’d like them to last longer, they can be refrigerated for up to a week in a sealed container, although they may lose some of their delightful chewiness.
Can I freeze Rocky Road Cookies, and if so, how?
Yes, freezing is a great option! To freeze, first place the cookies in a single layer on a baking sheet, then freeze for about 1-2 hours until solid. After they’re frozen, transfer them to a resealable freezer bag, making sure to layer parchment paper between the cookies to prevent sticking. They can be stored for up to 3 months. When ready to enjoy, pop them back in a 350°F (175°C) oven for 5-7 minutes to warm them up.
What should I do if my cookies spread too much while baking?
If your Rocky Road Cookies spread too much, it might be due to the butter being too soft or too much milk added to the dough. To prevent this, chill your dough longer next time—up to 2 hours is ideal. Additionally, make sure to accurately measure your flour by spooning it into the measuring cup and leveling it off to avoid using too little, which can affect texture.
Are there any dietary considerations I should keep in mind?
When making these cookies, be aware of common allergens present, such as nuts and gluten. For a nut-free version, simply omit the nuts or substitute with seeds like sunflower or pumpkin seeds. If you have a gluten sensitivity, you can replace the all-purpose flour with a gluten-free blend which is designed for baking.

Decadent Rocky Road Cookies: Chewy, Nutty, Chocolate Bliss
Ingredients
Equipment
Method
- In a mixing bowl, whisk together the all-purpose flour, cocoa powder, baking soda, and salt until evenly combined.
- In another large bowl, combine the softened salted butter, light brown sugar, granulated sugar, and pure vanilla extract. Beat with a mixer until smooth and fluffy, about 2-3 minutes.
- Add in the large egg and mix until fully incorporated into the batter.
- Gradually add the dry mixture to the wet mixture, mixing gently until nearly combined. Then, pour in the milk and continue mixing just until blended.
- Gently fold in the dark chocolate chunks, chopped nuts, and mini marshmallows until evenly distributed.
- Cover the bowl with plastic wrap and refrigerate the dough for 1-2 hours.
- Preheat your oven to 350°F (175°C) while your dough chills. Line your cookie sheets with parchment paper.
- Using a cookie scoop, portion out mounds of dough onto the prepared cookie sheets, leaving about 2 inches between each mound.
- Bake the cookies for 9-11 minutes, or until puffed and cracked on top.


