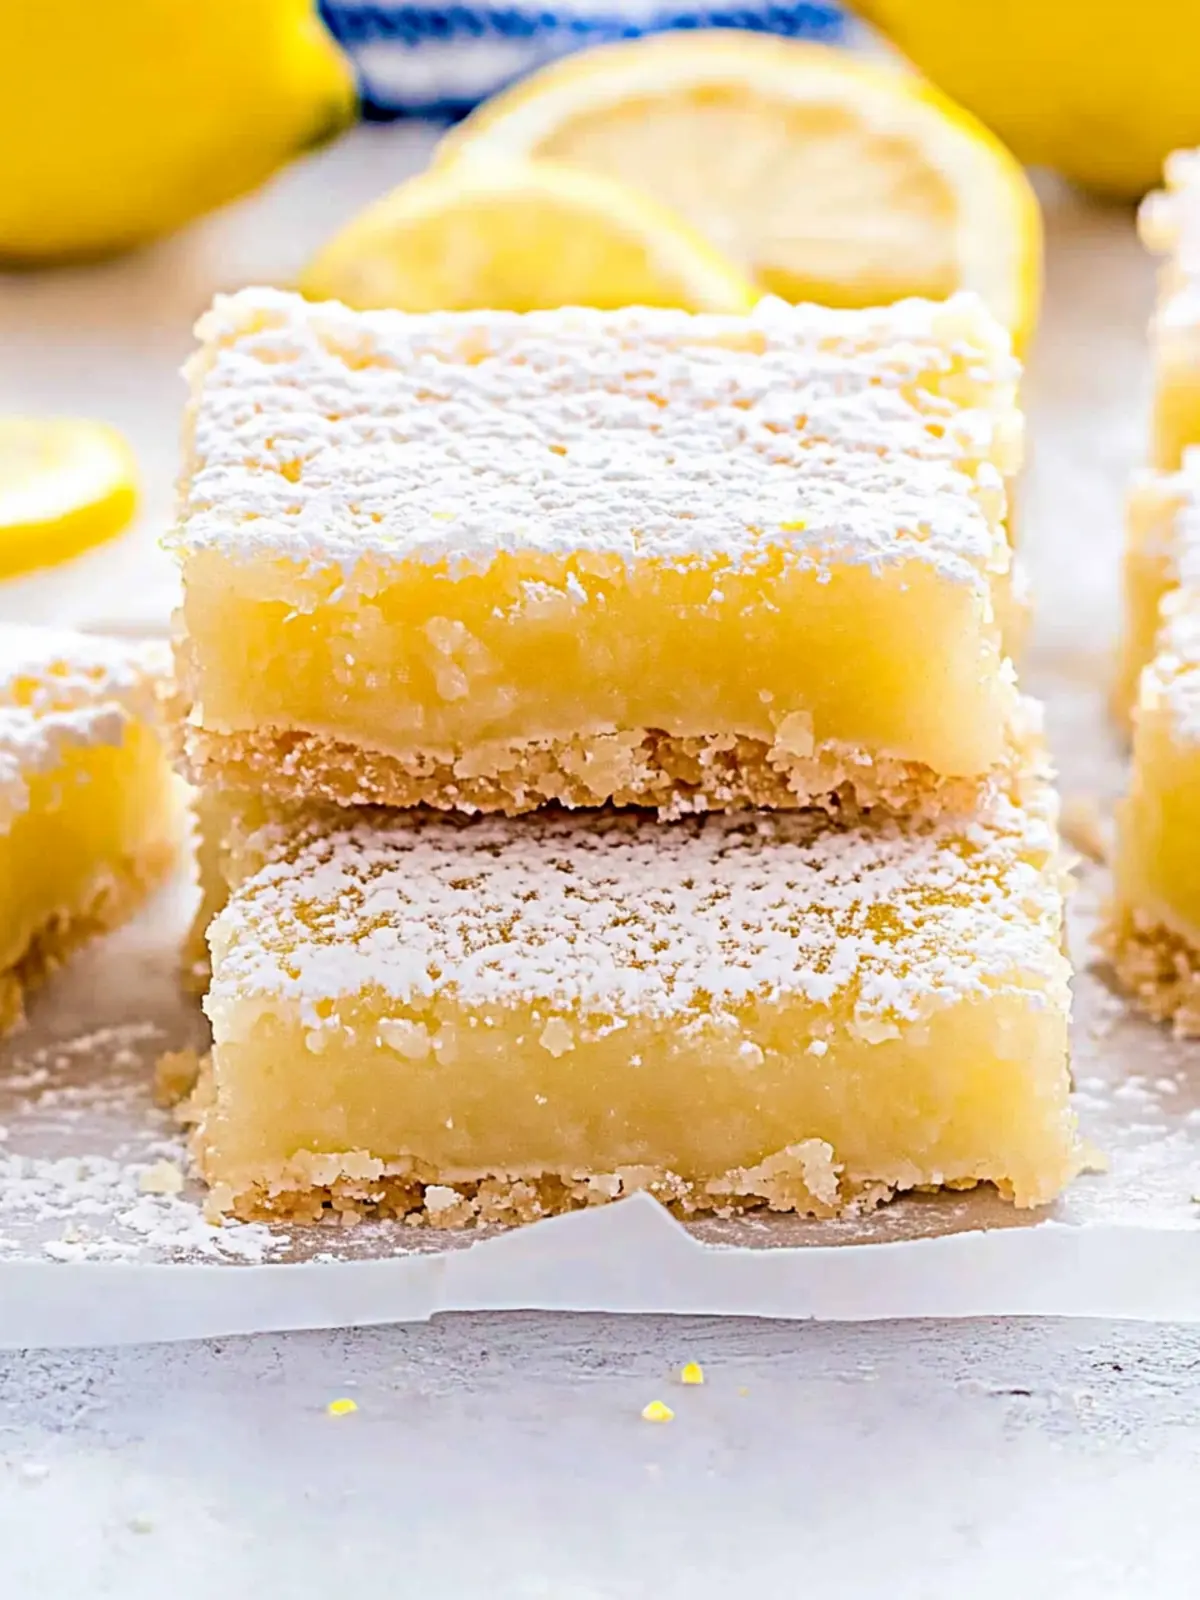
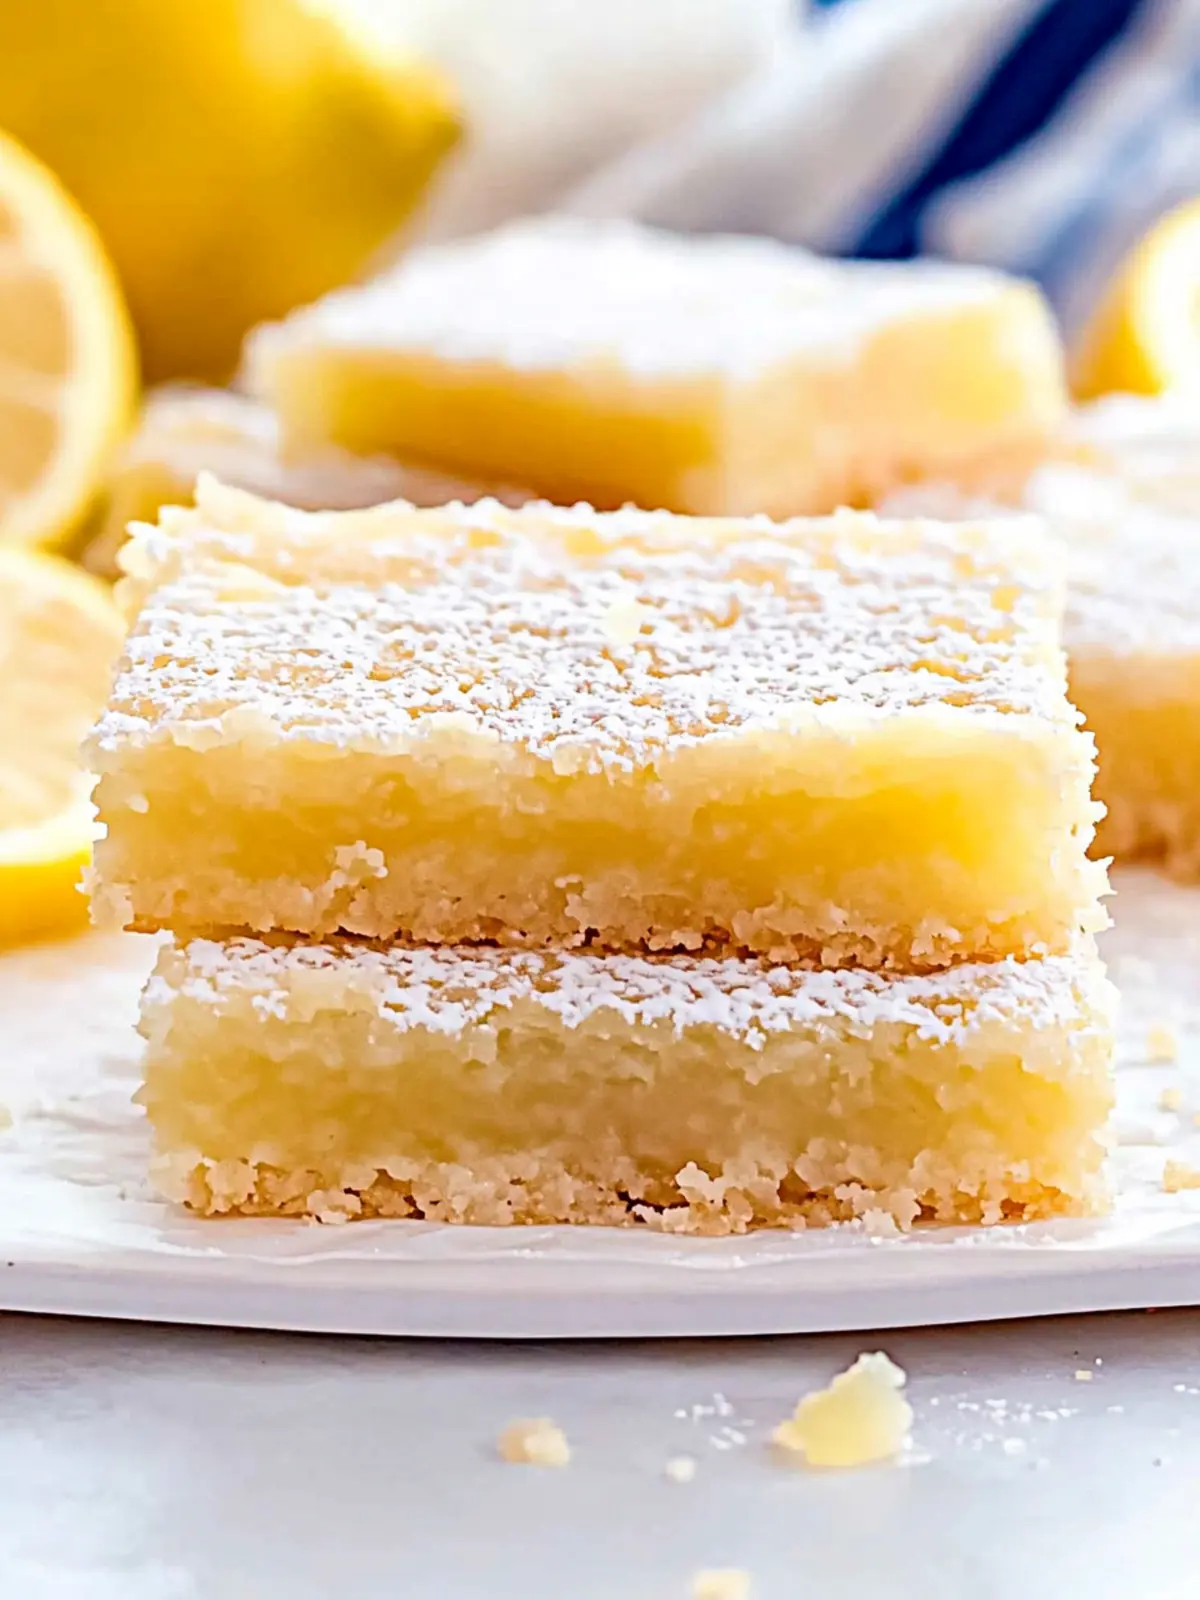
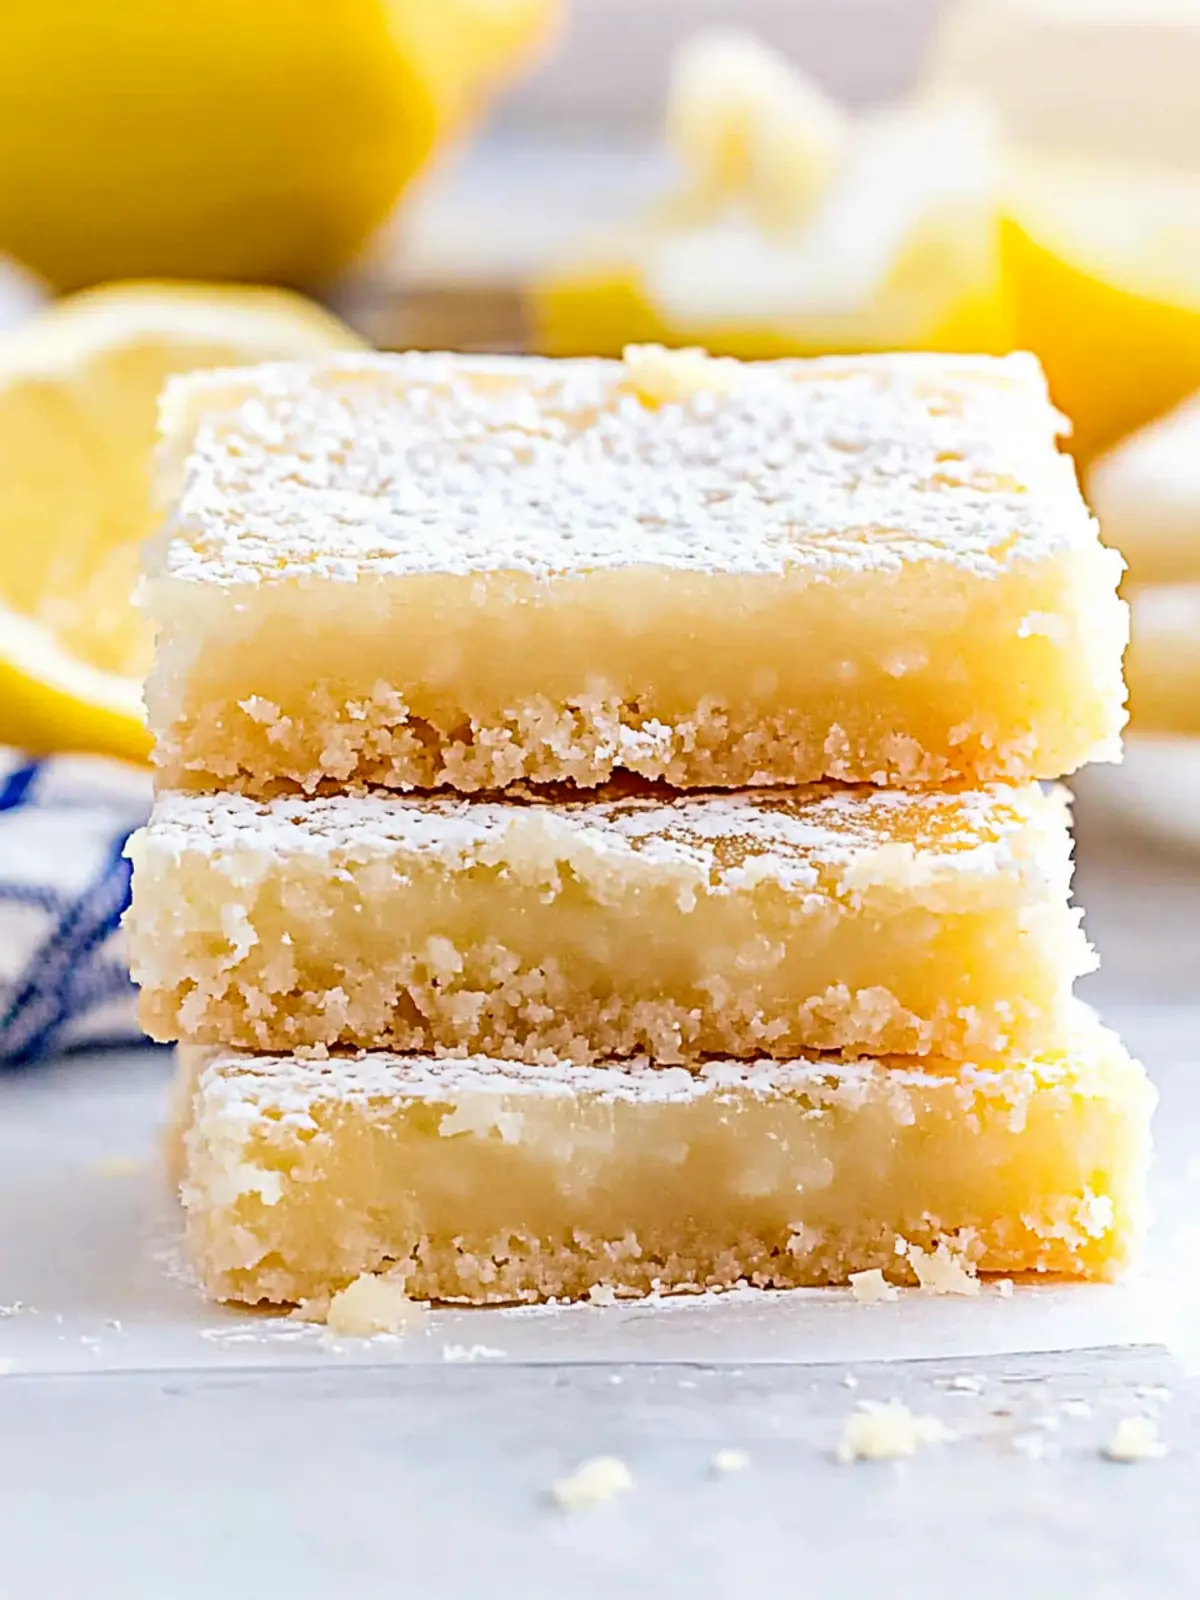
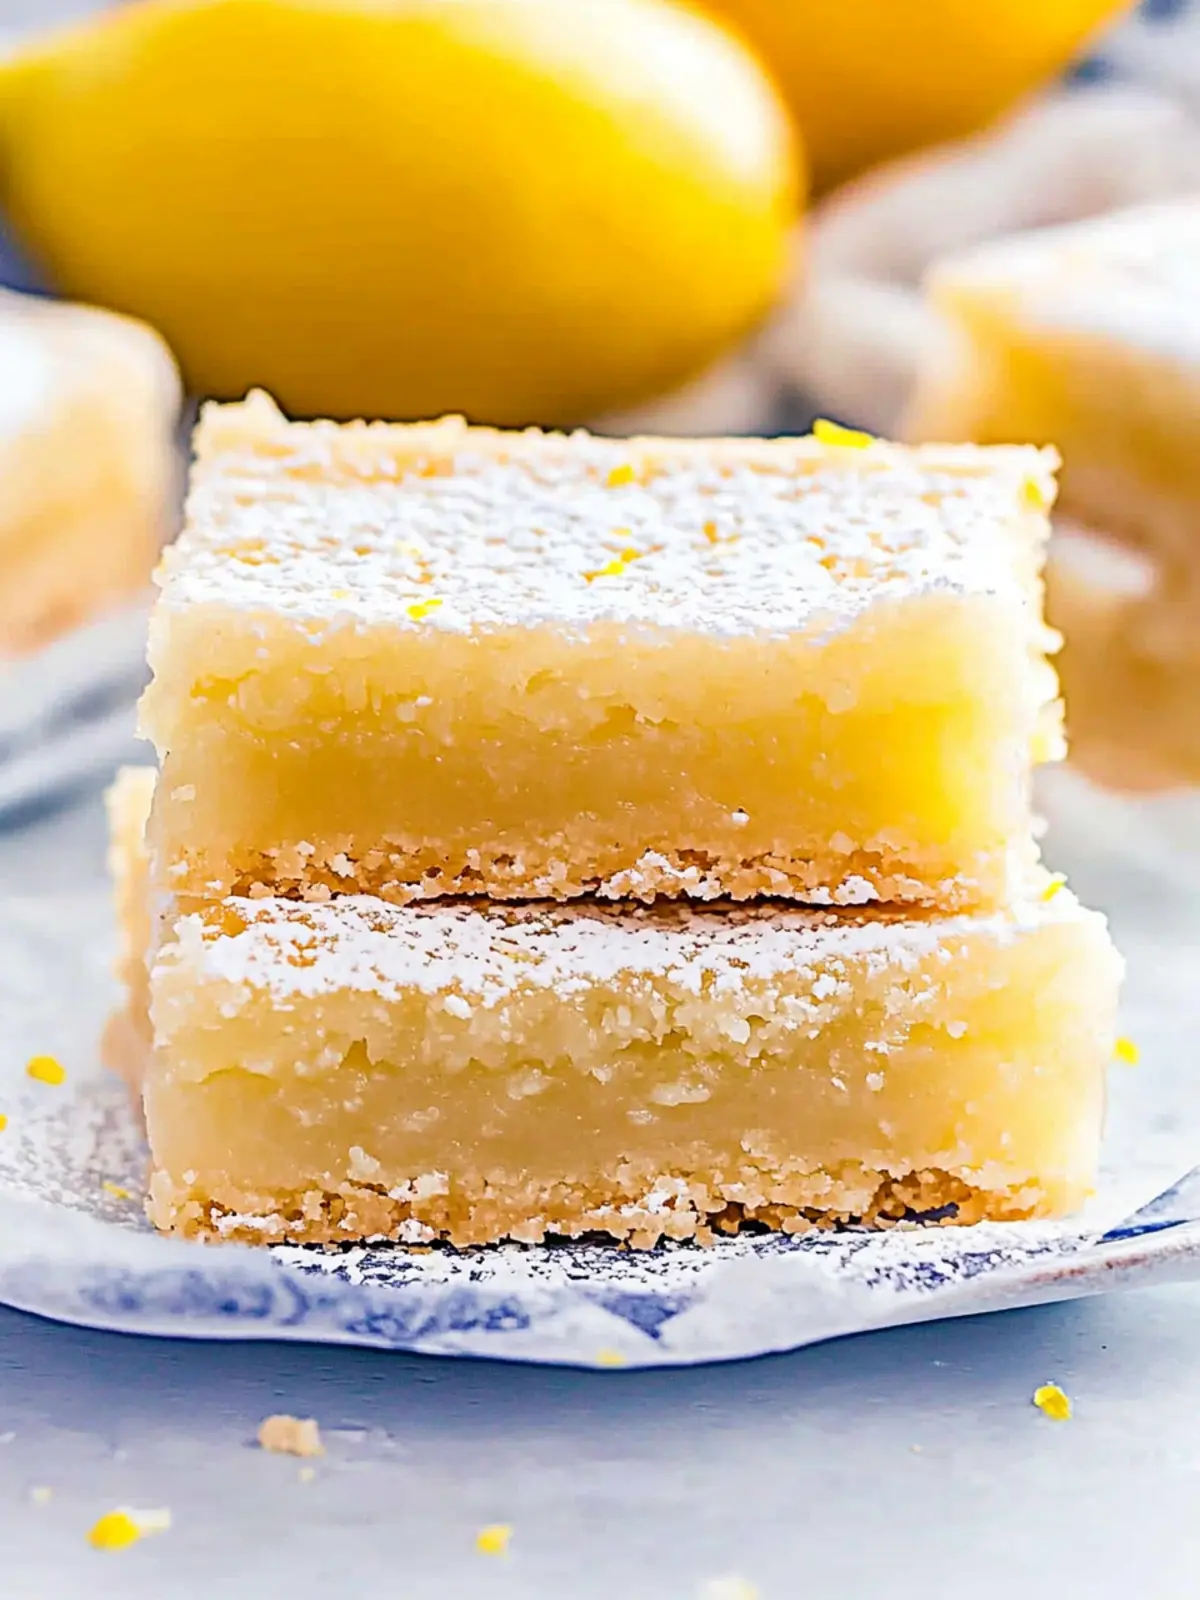
On a sun-soaked afternoon, the kitchen transforms into my sanctuary, where the vibrant scent of fresh lemons fills the air like a warm embrace. I’ve always been a fan of desserts that balance sweetness with a refreshing zing, and that’s where this delightful Lemon Bar recipe comes in. It’s one of those magical offerings that manages to brighten even the gloomiest of days.
Just imagine sinking your teeth into a luscious lemon square, the buttery crust crumbling beneath your fork, followed by a zesty explosion that dances on your taste buds. This recipe is not only simple to whip up but also a crowd-pleaser that adds a touch of elegance to any gathering. Whether you’re looking to impress at a potluck or simply want to indulge your sweet tooth without the fuss of complicated techniques, these lemon bars are your answer. So, let’s embark on this delicious journey and create something that’s sure to become a cherished tradition in your home!
Why is this Lemon Bar Recipe a Must-Try?
Bright, Vibrant Flavors: The refreshing zing of lemon juice and zest perfectly balances the sweetness, making each bite a sunlit escape.
Effortless Baking: With just a few easy steps, you can create these delightful treats without the stress of complicated techniques.
Perfect for Sharing: These bars are ideal for potlucks, parties, or simply sharing with friends and family, instantly enhancing any gathering.
Versatile Delight: Whether served chilled or at room temperature, they make a fantastic dessert for any occasion, from casual get-togethers to elegant dinner parties.
Addictive Texture: The buttery crust combined with the silky lemon filling creates a mouthwatering combination that will have everyone returning for seconds!
Lemon Bar Recipe Ingredients
For the Crust
- ½ cup unsalted butter, cold – This cold butter creates a flaky crust that melts in your mouth!
- 1 cup all-purpose flour – Essential for structure; ensure it’s leveled for the right texture.
- ¼ cup powdered sugar – Adds a touch of sweetness and a delicate, melt-in-your-mouth quality.
For the Filling
- 1 cup granulated sugar – Balances the tartness of the lemons, making it irresistibly sweet!
- 2 Tablespoons all-purpose flour – Helps provide stability to your lemon filling.
- ½ teaspoon baking powder – Gives a light lift to the filling, enhancing texture.
- 2 large eggs – The key to a rich, custardy consistency in your lemon filling.
- 2 Tablespoons lemon juice – Freshly squeezed is best for that vibrant lemon flavor!
- 1 teaspoon lemon zest – Brightens the filling with fragrant citrus notes, intensifying the overall taste.
For the Glaze
- ¾ cup powdered sugar – Sweetens the glaze and gives it a beautiful sheen.
- 1 Tablespoon lemon juice – Keeps it tangy and complements the lemon bar recipe perfectly!
Feel free to gather these ingredients and let’s get baking! You’re just a few simple steps away from enjoying these delightful lemon bars that will surely elevate your dessert game.
How to Make Lemon Bars
-
Prepare the Pan: Line an 8 x 8 inch (or 9″ square pan) with foil or parchment paper. This makes it easy to lift the bars out later and helps prevent sticking.
-
Preheat the Oven: Set your oven to 350 degrees F. This ensures that your crust bakes evenly and achieves that perfect golden color.
-
Mix the Crust: In a large mixing bowl, cut together the cold butter, 1 cup all-purpose flour, and ¼ cup powdered sugar. The mixture should be crumbly and clump together slightly. Press this evenly into the bottom of your prepared baking dish.
-
Bake the Crust: Place the crust in the oven and bake for about 15 minutes, or until just set. It should be lightly golden, but remember—this part is just the base!
-
Whisk the Filling: While your crust is baking, combine 1 cup granulated sugar, 2 tablespoons flour, ½ teaspoon baking powder, 2 large eggs, 2 tablespoons lemon juice, and 1 teaspoon lemon zest in a bowl. This mixture should be smooth and well-combined.
-
Add the Filling: Remove the baked crust from the oven and immediately pour the lemon filling mixture over it. Return the pan to the oven for an additional 20 minutes, until the edges are golden brown and the center is slightly set.
-
Make the Glaze: Once baked, whisk together ¾ cup powdered sugar and 1 tablespoon lemon juice for the glaze. Drizzle this over the warm lemon bars, allowing it to soak in a bit for that delicious finish.
-
Cool and Slice: Allow the bars to cool completely, then refrigerate for about 2 hours. Once chilled, lift them out of the pan using the foil or parchment paper and cut into squares. Sprinkle with additional powdered sugar before serving.
Optional: Serve with whipped cream or fresh berries for an extra special touch!
Exact quantities are listed in the recipe card below.
Lemon Bar Recipe Variations & Substitutions
Feel free to make these lemon bars your own with these delightful twists that will surely elevate your dessert experience!
-
Gluten-Free: Substitute all-purpose flour with a 1:1 gluten-free flour blend for a deliciously inclusive treat.
-
Sweetener Swap: Use coconut sugar or honey in place of granulated sugar for a more natural sweetness.
-
Citrus Burst: Experiment with lime or orange juice and zest to add a unique twist to your lemon bars. The vibrant flavors will surprise your palate!
-
Berry Infusion: Fold in fresh raspberries or blueberries into the filling for a fruity flair and beautiful color.
-
Creamy Addition: Add a dollop of cream cheese to the filling mixture for a richer, velvety texture that pairs beautifully with the citrus.
-
Nutty Crunch: Incorporate crushed almonds or walnuts into the crust for an extra layer of texture and flavor.
-
Chili Zing: For a surprising kick, mix in a pinch of cayenne pepper or red pepper flakes into the filling—perfect for adventurous taste buds!
-
Herbaceous Notes: Fresh basil or mint can brighten the flavor profile significantly; finely chop and incorporate into the filling for an unexpected refreshment.
Feel encouraged to try out these variations and make this lemon bar recipe uniquely yours!
What to Serve with Lemon Bars?
Imagine delighting in these sweet, zesty treats that invite memories of sunny days, and now envision the perfect pairings to elevate your dessert experience.
-
Fresh Berries: The natural sweetness and acidity of strawberries or raspberries perfectly complement the lemony tartness, creating a vibrant contrast on your plate.
-
Whipped Cream: A dollop of freshly whipped cream adds a rich, creamy texture that balances the zing of the lemon, making every bite sensational.
-
Iced Tea: A refreshing glass of iced tea, be it sweetened or herbal, adds a cooling element that harmonizes beautifully with the bright flavors of the lemon bars.
-
Lemon Sorbet: For a double dose of lemony goodness, serve alongside a scoop of lemon sorbet to enhance the citrus experience while providing a refreshing palate cleanser.
-
Almond Biscotti: The nutty crunch of almond biscotti offers a delightful textural contrast, making each bite of the lemon bar even more enjoyable.
-
Mint Infused Water: Refreshing mint-infused water brings a spa-like quality to your dessert table, enhancing the aromatic experience as you enjoy these indulgent bars.
-
Coconut Macaroons: The sweet, chewy texture of coconut macaroons harmonizes with the zesty lemon flavor, adding a tropical twist to your dessert ensemble.
-
Vanilla Ice Cream: Creamy vanilla ice cream melts into the warm bars, creating a delightful interplay of flavors and temperatures that can’t be missed.
Each of these pairings encourages a symphony of flavors and textures, turning your lemon bar experience into something truly memorable!
Make-Ahead Tips for Lemon Bars
These Lemon Bars are perfect for busy home cooks looking to save time without sacrificing flavor! You can make the crust and the filling up to 24 hours in advance. Simply prepare the crust and bake it, then allow it to cool completely before adding the filling; cover it tightly and refrigerate. When you’re ready to serve, simply whisk together the glaze and drizzle it over the chilled bars, then slice them into squares. To maintain that delightful texture and stunning flavor, be sure to store the bars in an airtight container. You’ll have a refreshing treat ready to impress anytime with minimal effort!
Helpful Tricks for Lemon Bars
-
Chill the Ingredients: Properly chilled butter and eggs will help achieve that flaky crust and creamy filling in your lemon bar recipe.
-
Don’t Overmix: When mixing the crust, combine just until crumbly. Overmixing can lead to a tough crust instead of a light, buttery one.
-
Use Fresh Lemons: Freshly squeezed lemon juice and zest offer the brightest, most vibrant flavor. Bottled lemon juice can taste flat in comparison.
-
Cool Completely: Allow the bars to cool before refrigeration. This helps set the filling properly, ensuring a cleaner slice when serving.
-
Dust with Powdered Sugar: For a sweet finish and beautiful presentation, sprinkle a bit of powdered sugar on top just before serving.
How to Store and Freeze Lemon Bars
Room Temperature: Keep lemon bars in an airtight container for up to 3 days. Make sure to place parchment paper between layers to prevent sticking.
Fridge: Store the lemon bars in the refrigerator for up to 1 week. The cool environment enhances their flavor and texture, keeping the lemon filling creamy.
Freezer: For longer storage, freeze the bars wrapped tightly in plastic wrap and aluminum foil for up to 3 months. Thaw in the fridge overnight before serving.
Reheating: For a warm treat, reheat chilled lemon bars in a 350°F oven for about 10 minutes. Add a fresh sprinkle of powdered sugar to revive their charm!
Lemon Bar Recipe Recipe FAQs
How do I choose ripe lemons for my Lemon Bar Recipe?
Absolutely! Look for lemons that are vibrant yellow and feel heavy for their size; this indicates juiciness. Avoid any with dark spots or soft patches, as these can be overripe or past their prime.
What’s the best way to store leftover lemon bars?
You can store lemon bars in the fridge for up to 1 week in an airtight container. For best results, line the container with parchment paper to prevent sticking and keep them nice and fresh!
Can I freeze lemon bars for later?
Yes, you can freeze lemon bars! Wrap them tightly in plastic wrap, and then in aluminum foil, for up to 3 months. To thaw, simply place them in the fridge overnight. This way, they retain their delightful texture and flavor!
Why did my lemon filling not set properly?
Very often, this happens if the mixture is undercooked or if the eggs weren’t fully incorporated. Make sure to bake until the edges are golden brown and the center is slightly firm but still a little jiggly. If it’s too loose, bake for an additional 5-10 minutes and keep an eye on it!
Are lemon bars safe for pets?
It’s best to avoid giving lemon bars to pets. The high sugar content and citrus can upset their stomachs. Stick to their favorite pet treats to keep them happy!
Can I substitute a different citrus for this Lemon Bar Recipe?
Yes, absolutely! You can use limes or oranges for a unique twist. Just keep the same amounts for juice and zest, but the flavor profile will change, creating a delightful variation of your lemon bars!

Zesty Lemon Bar Recipe That Will Brighten Your Day
Ingredients
Equipment
Method
- Prepare the Pan: Line an 8 x 8 inch (or 9″ square pan) with foil or parchment paper.
- Preheat the Oven: Set your oven to 350 degrees F.
- Mix the Crust: In a large mixing bowl, cut together the cold butter, 1 cup all-purpose flour, and ¼ cup powdered sugar.
- Bake the Crust: Place the crust in the oven and bake for about 15 minutes.
- Whisk the Filling: Combine the filling ingredients in a bowl.
- Add the Filling: Pour the lemon filling mixture over the baked crust and return to the oven for an additional 20 minutes.
- Make the Glaze: Whisk together ¾ cup powdered sugar and 1 tablespoon lemon juice for the glaze.
- Cool and Slice: Allow the bars to cool completely, then refrigerate for about 2 hours.


