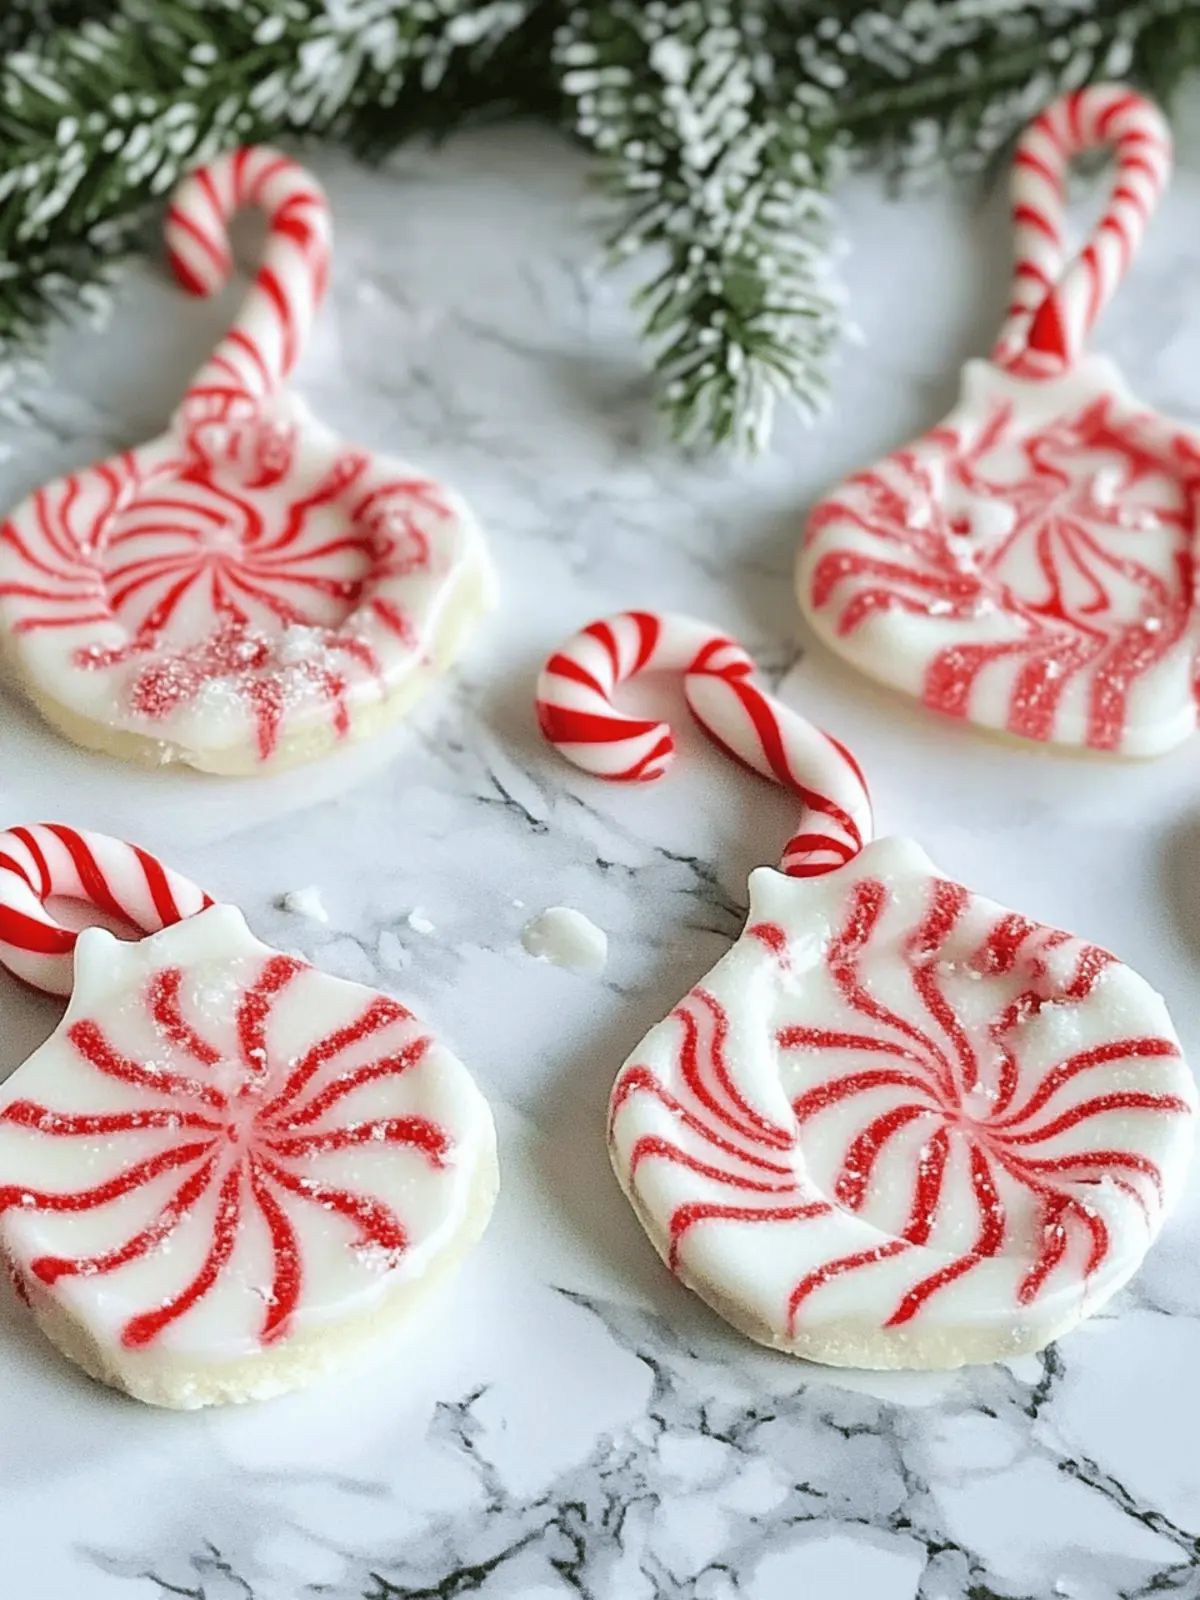
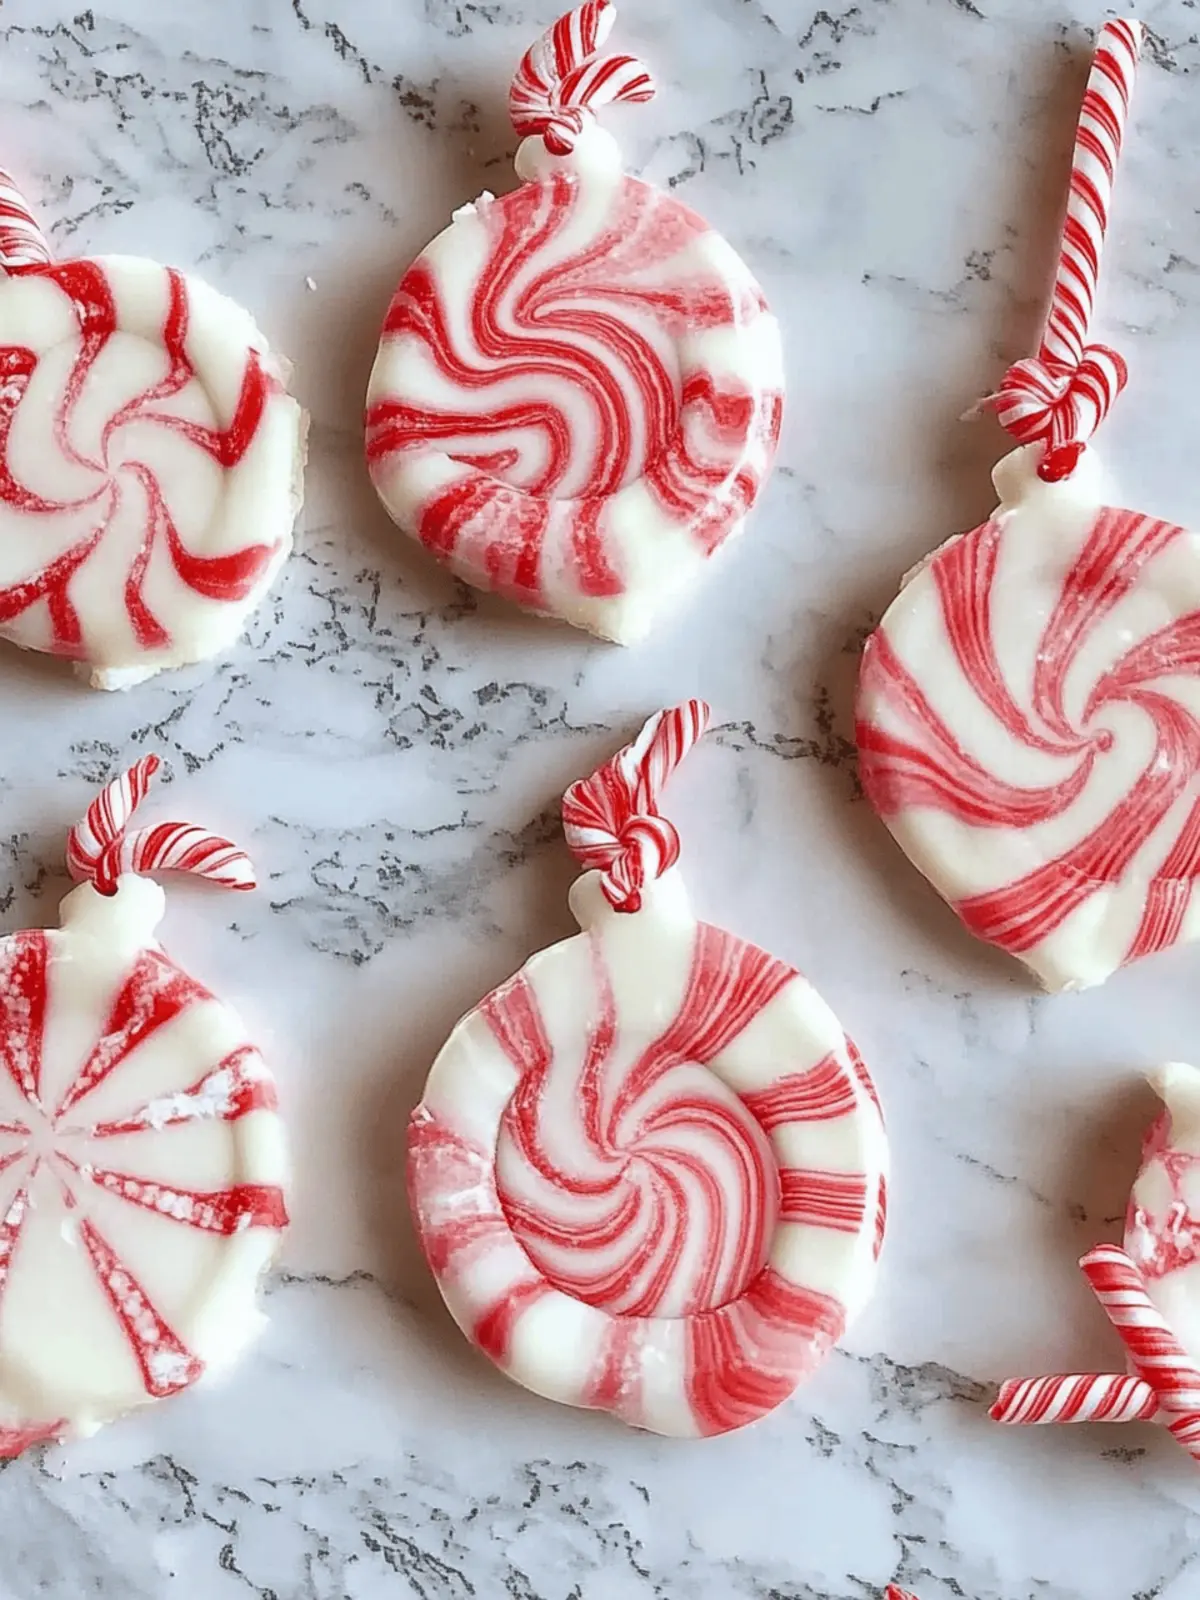
As the holiday season approaches, there’s a certain magic in the air a sweetness that fills our homes and hearts. I found myself reminiscing about the joyful chaos of crafting with my kids, delighting in the colorful mess of sprinkles and candies. That’s when I stumbled upon the perfect festive project: melted peppermint candy ornaments! These whimsical creations are not just ornaments; they’re a sensory delight that fills your kitchen with the warm, inviting scent of peppermint, instantly elevating the spirit of the season.
Crafting these ornaments is a fantastic way to spend quality time with loved ones while giving your holiday decor a personal touch. They’re easy to make and customizable; whether you choose classic red and white or mix it up with bright greens and blues, every ornament can tell a story. Imagine hanging these glossy, candy-coated treasures on your tree or gifting them as charming little surprises to friends and family. Let’s gather the ingredients and dive into this delightful DIY project that promises to bring smiles all around!
Why are Melted Peppermint Candy Ornaments so special?
Joyful Experience: Making these ornaments is an enchanting activity that brings families together, creating lasting memories.
Customizable Designs: Choose vibrant colors and festive shapes to make each ornament uniquely yours.
Sensory Delight: The delightful scent of melting peppermint fills your home, adding to the holiday spirit.
Quick and Simple: This easy craft needs minimal preparation and can be completed in no time, perfect for busy families.
Perfect Gifts: These charming creations double as thoughtful presents for teachers, neighbors, and friends during the festive season.
Melted Peppermint Candy Ornaments Ingredients
For the Ornaments
- Peppermint Candies – Use red or traditional peppermint colors for the best flavors and festive appeal.
- Cookie Cutters – Select holiday shapes like Christmas trees or stars to create delightful designs.
- Parchment Paper – Line your baking sheet to prevent sticking and to make cleanup easy.
For Hanging
- Ribbon – Choose a color that complements your candy design for a beautifully finished look.
These Melted Peppermint Candy Ornaments bring a touch of sweetness to your holiday decor, making them a charming addition to your festive celebrations!
How to Make Melted Peppermint Candy Ornaments
- Prepare Baking Sheet: Start by lining your baking sheet with parchment paper or a silicone baking mat. This will ensure easy removal of your ornaments once they’ve cooled!
- Arrange Candies: Place peppermint candies inside your chosen cookie cutters, arranging them in a single layer. Don’t hesitate to break pieces if needed so they fit snugly.
- Bake: Preheat your oven to 350°F. Bake the candies for 5-10 minutes, keeping a close watch for melting—look for a smooth surface without bubbling. A sweet spot is around 6-7 minutes.
- Create Hole: Once you take them out, let the ornaments cool for about 2 minutes. Then, use a toothpick or skewer dipped in oil to gently poke a hole at the top of each ornament.
- Remove from Cutters: Allow the ornaments to cool for about 5 minutes. Carefully wiggle and remove each one from the cookie cutter. They should come out easily if the candies melted well!
- Finish: Lastly, thread a ribbon through the hole you created, readying your ornament for hanging. Add your personal touch as you choose the ribbon color!
Optional: Add glitter to the ornament for an extra sparkle!
Exact quantities are listed in the recipe card below.
Expert Tips for Melted Peppermint Candy Ornaments
- Even Layering: Ensure the candies are arranged in a flat, even layer within the cookie cutters to prevent uneven melting and bubbling.
- Monitor Closely: Keep an eye on your ornaments while they bake; remove them as soon as they start to melt for a smooth finish.
- Use Non-Stick: Opt for silicone or non-stick cookie cutters to make removing the ornaments easier, avoiding any breaking or sticking issues.
- Mix Colors Creatively: Don’t be afraid to experiment with different colored candies to create unique, mixed-color ornaments that will pop on your tree.
- Cooling Time: Allow the ornaments to cool completely before moving them to avoid any mishaps, as they can be delicate when warm.
Storage Tips for Melted Peppermint Candy Ornaments
Cool Place: Allow your melted peppermint candy ornaments to cool completely before storing them in a cool, dry place, which helps maintain their shape and shine.
Avoid Stacking: Store the ornaments in a single layer to prevent them from sticking together or getting damaged. Use separate containers if needed.
Shelf Life: These ornaments can last for up to 3 weeks if kept in a cool, dry environment, ensuring their delightful peppermint aroma remains intact.
Display & Rehanging: When ready to use, simply hang your ornaments on the tree or around the house no additional prep needed after careful storage!
Melted Peppermint Candy Ornaments Variations
Get ready to personalize your melted peppermint candy ornaments and make them your own!
- Flavor Fun: Substitute peppermint candies with cinnamon or butterscotch candies for a flavor twist that’ll surprise your taste buds.
- Colorful Creativity: Combine red and green candies or choose pastel shades for a whimsical, holiday look that appeals to every child’s imagination.
- Theme Twist: Use holiday cookie cutters in fun shapes like gingerbread men or snowflakes to add a unique touch to your ornaments. Themed collections can tell a story of their own!
- Sprinkle Sparkle: After arranging the candies, sprinkle some edible glitter on top before baking for an extra festive shimmer that catches the light beautifully.
- Mini Ornaments: Try using smaller cookie cutters to create mini ornaments perfect for adorning gift packages or decorating festive tables.
- Herbal Infusion: Consider adding a hint of dried herbs in the mix like crushed rosemary for an aromatic experience that elevates the traditional peppermint scent.
- Textured Finish: Mix in a crushed layer of nuts or coconut flakes with the candies for a crunch that contrasts with the glossy, smooth surface of the ornaments.
- Heat It Up: For those who enjoy a bit of heat, consider adding spicy cinnamon candies for a warm kick to your festive decorations. These ornaments will not only look good but also set your home aglow with intriguing fragrances!
What to Serve with Melted Peppermint Candy Ornaments?
Creating a festive atmosphere goes beyond just crafting ornaments; it’s about setting the stage for a delightful holiday experience.
- Hot Chocolate Bar: Warm cups of rich, creamy hot chocolate topped with fluffy marshmallows are the perfect complement to your candy-making festivities. Kids and adults alike will relish this cozy treat.
- Gingerbread Cookies: The spiced aroma of freshly baked gingerbread cookies harmonizes beautifully with the minty sweetness of your ornaments. These classic delights can be decorated and enjoyed while you craft.
- Fruit and Nut Platter: A colorful arrangement of seasonal fruits and mixed nuts adds a refreshing crunch and a touch of nutrition to balance the sweetness. This is great for snacking while decorating!
- Christmas Music Playlist: Set the mood! Playing cheerful holiday tunes will uplift the atmosphere and keep everyone engaged. Singing along is half the fun while crafting together.
- Pine-Scented Candles: Complementing your home with the warm, inviting scent of pine candles brings an enchanting aroma that enhances the overall festive spirit while you craft.
- Festive Drinks: Consider serving spiced cider or peppermint-infused iced tea. These refreshing beverages can capture the essence of the season and keep spirits high during crafty moments.
- Sugar Cookies: These simple yet delicious cookies can be shaped and decorated with icing, creating a perfect festive pair with your peppermint ornaments. Share them as sweet rewards for your hard work!
- Cupcake Decorating Station: Set up a station for decorating festive cupcakes. Everyone can unleash their creativity, mirroring the customizability of the ornaments with deliciousness that everyone can enjoy.
Make Ahead Options
These Melted Peppermint Candy Ornaments are a wonderful craft to prep in advance, saving you time during the busy holiday season! You can arrange the peppermint candies in the cookie cutters and refrigerate them for up to 24 hours before baking. Once prepped, the candy decorations will stay fresh, but be sure to cover them with plastic wrap to prevent moisture absorption. When you’re ready to bake, simply pull them out, preheat the oven, and follow the baking instructions as usual. This makes it easy to have a fun holiday activity at your fingertips, ensuring you can craft these delightful ornaments with minimal stress on busy days!
Melted Peppermint Candy Ornaments Recipe FAQs
What kind of peppermint candies should I use for the ornaments?
Absolutely! Using traditional red-and-white peppermint candies or similar hard candies is ideal for making your melted peppermint candy ornaments. They melt beautifully, creating a glossy finish. Avoid candies with chocolate coating or fillings, as they won’t melt properly.
How should I store my melted peppermint candy ornaments?
After your ornaments have cooled completely, store them in a cool, dry place to maintain their shine and shape. It’s best to keep them in a container lined with parchment paper to avoid stacking. Doing this will help prevent them from sticking together or getting damaged. If stored correctly, they can last for up to 3 weeks!
Can I freeze my melted peppermint candy ornaments?
While I wouldn’t recommend freezing these ornaments, they don’t generally do well in cold temperatures. Freezing can cause them to become sticky or lose their shape. Instead, simply keep them in a cool room until you’re ready to display them. If you want to preserve their freshness longer, just follow the proper storage tips mentioned above!
What if my ornaments start to bubble while baking?
If your ornaments bubble while baking, that means they may have been in the oven too long or were not arranged evenly. It’s important to closely monitor them during the baking process removing them at the first sign of melting creates a smoother finish. If you notice bubbling, you can try to flatten the ornaments back down with a spatula as they cool to regain a more polished appearance.
Are there any dietary considerations I should keep in mind?
While these melted peppermint candy ornaments are delightful, they contain sugar and might not be suitable for pets, particularly dogs due to the potential for digestive distress. Additionally, since they are made with hard candy, they may pose a choking hazard for young children, so supervision is essential while crafting.
Can I use different colors of candies for a unique look?
Very! Mixing different colored candies like green, blue, or even seasonal shapes can result in unique and vibrant ornaments. You can create a multicolored swirl effect by intermingling different candies in the same cookie cutter. Get creative and have fun customizing each ornament to match your holiday decor!
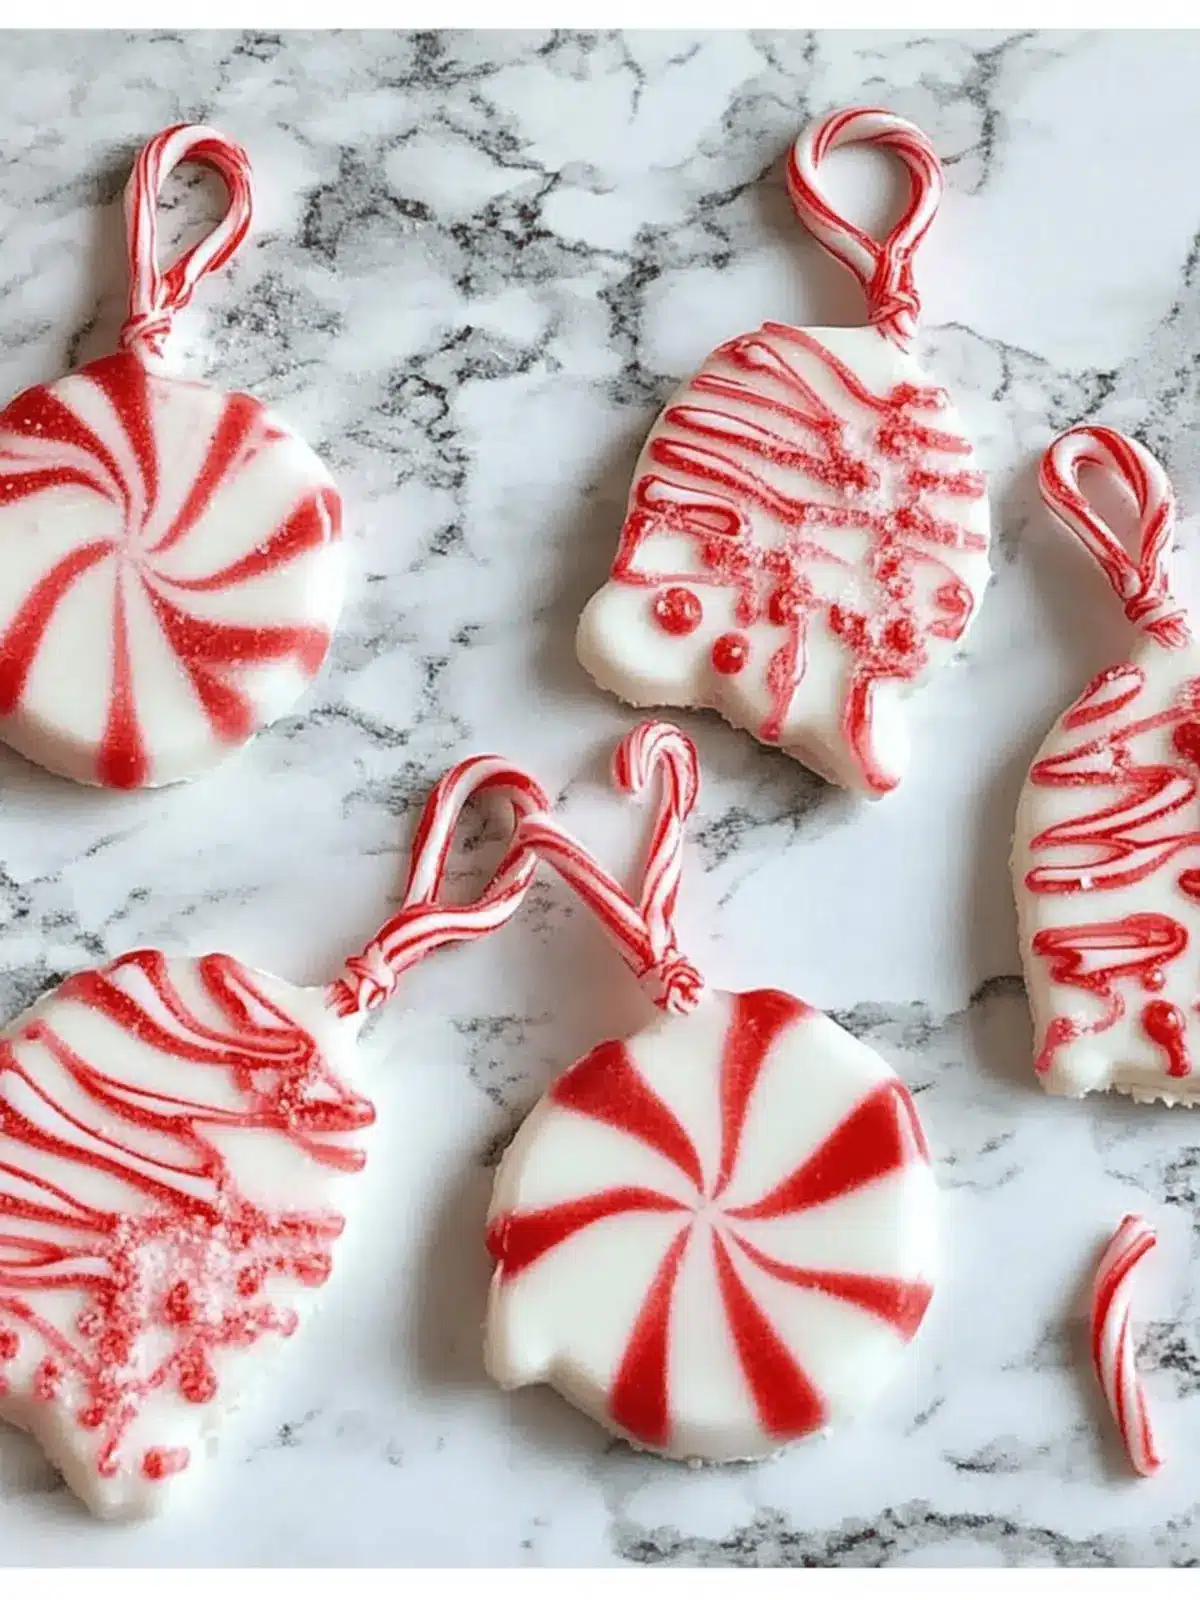
Melted Peppermint Candy Ornaments: Fun Holiday Craft for Kids
Ingredients
Equipment
Method
- Prepare Baking Sheet: Start by lining your baking sheet with parchment paper or a silicone baking mat.
- Arrange Candies: Place peppermint candies inside your chosen cookie cutters, arranging them in a single layer.
- Bake: Preheat your oven to 350°F. Bake the candies for 5-10 minutes, watching closely.
- Create Hole: Let the ornaments cool for 2 minutes, then poke a hole at the top with a toothpick.
- Remove from Cutters: Cool for about 5 minutes, then carefully remove each ornament from the cutter.
- Finish: Thread a ribbon through the hole to prepare for hanging.

