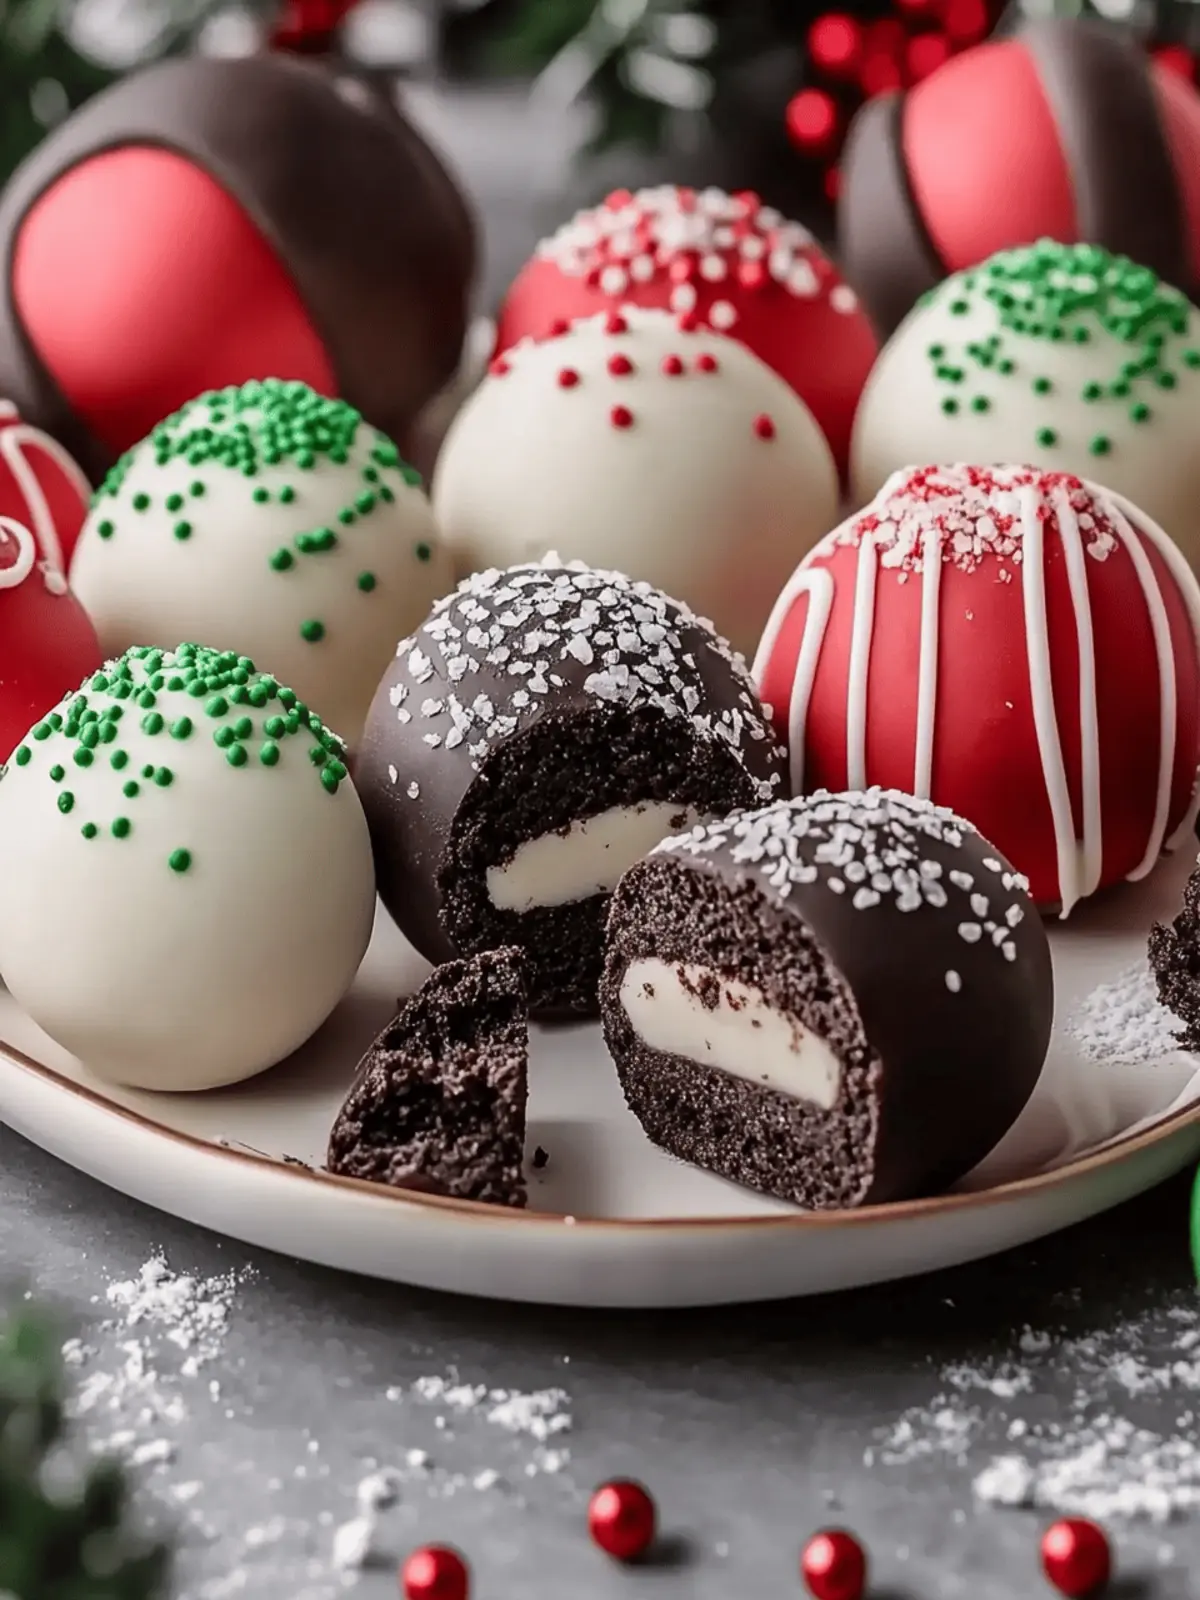
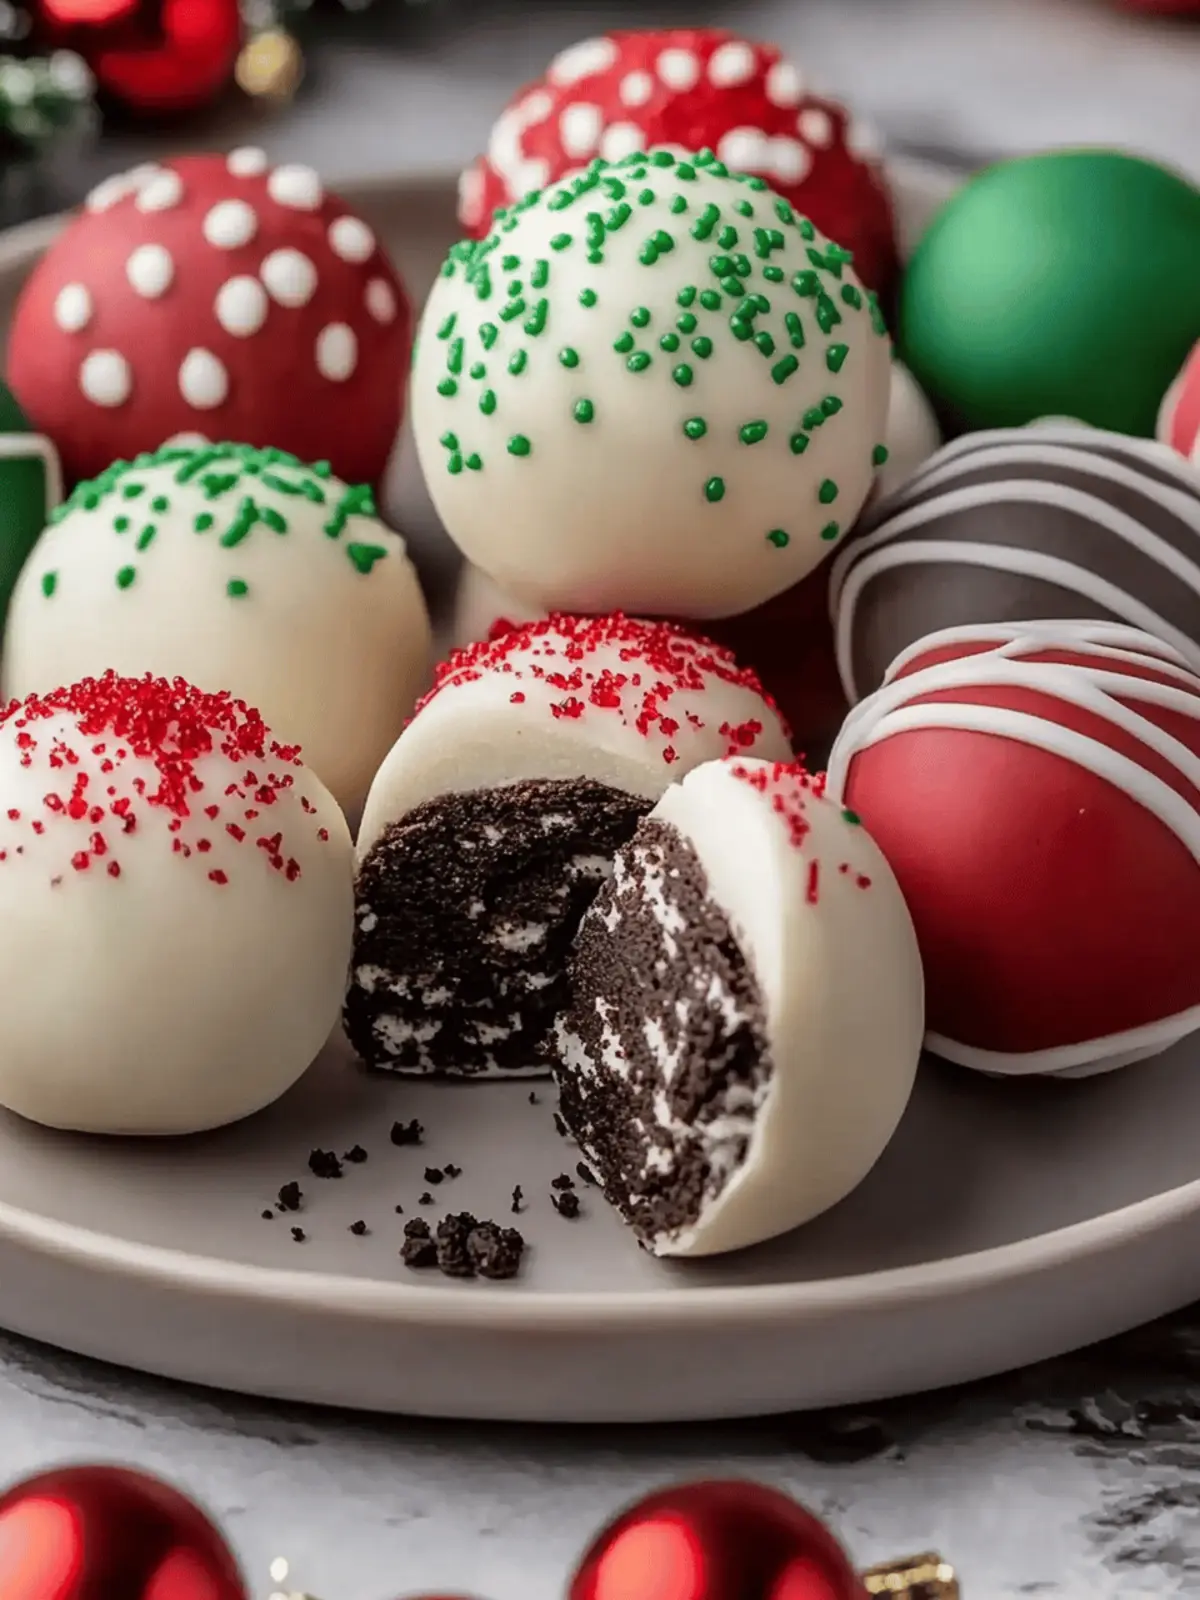
As the holiday season sweeps in, I’m constantly on the lookout for joyful ways to share sweetness with friends and family. That’s when I stumbled upon the delightful idea of making Christmas Oreo Balls no-bake treats that are as pleasing to the eye as they are to the palate. Picture this: a creamy blend of regular and red velvet Oreos wrapped in a colorful candy coating, ready to make any gathering feel festive.
These little gems not only burst with flavor but also save time, turning a hectic holiday schedule into a cheerful baking affair. Whether you’re trying to impress guests or simply indulging in a sweet treat, these Oreo Balls are versatile enough to suit all preferences. And the best part? They’re incredibly easy to whip up, especially when the oven is off-limits! So, roll up your sleeves, grab your favorite cookie varieties, and let’s make some merry memories in the kitchen!
Why are Christmas Oreo Balls a must-try?
Irresistible Flavor: The combination of regular and red velvet Oreos creates a delightful taste sensation that’s perfect for the holidays.
No-Bake Convenience: Spend less time in the kitchen and more time with loved ones while whipping up these simple treats.
Visual Appeal: With colorful candy coatings and festive sprinkles, they look as good as they taste, making them a hit at every gathering.
Crowd-Pleasing: Suitable for both kids and adults alike, these treats will be the star of your holiday dessert table.
Quick to Make: From prep to chill time, these lovely goodies can be ready in no time!
Christmas Oreo Balls Ingredients
• Dive into the holiday spirit with these deliciously easy ingredients!
For the Oreo Mixture
- Oreos (Regular and Red Velvet) – These iconic cookies provide a rich, creamy flavor and form the base of your Christmas Oreo Balls; try swapping them with other cookies for variety!
- Cream Cheese – This creamy dream binds the mixture together while adding a lovely texture; for a dairy-free twist, opt for plant-based cream cheese.
For the Coating
- Candy Melts – These colorful melts form a sweet and festive outer layer; choose different colors to match your holiday theme, like red or green.
- Sprinkles/Sanding Sugar – Sprinkle on top for an extra festive flair! While optional, they make your Christmas Oreo Balls even more eye-catching.
Get ready to create delightful moments with these easy-to-find ingredients because you’re just moments away from a no-bake holiday treat that everyone will enjoy!
How to Make Christmas Oreo Balls
- Prepare Baking Sheet: Line a cookie sheet with parchment paper to prevent sticking. This step is vital for easy cleanup and ensures your treats come off smoothly!
- Crumble Oreos: Place both Oreo varieties in a food processor and pulse until finely ground. Alternatively, crush them in a ziplock bag using a rolling pin until you have a crumbly mixture.
- Mix Ingredients: In separate bowls, blend half of the cream cheese with the regular Oreo crumbs. Repeat the process with the red velvet Oreos. These mixtures should be creamy and combined well.
- Shape Balls: Use a 1.5-inch cookie scoop to form balls from the mixtures, placing them on the prepared baking sheet. Aim for uniform sizes for a polished look!
- Chill: Refrigerate the balls for about 2 hours to firm up. This helps them hold their shape during the candy coating process.
- Melt Candy Coating: Microwave candy melts in 30-second intervals, stirring in between to avoid scorching. The melts should be smooth and easy to dip.
- Dip Balls: Dip each chilled ball into the melted candy, allowing the excess to drip off. If you prefer a thicker coating, feel free to double dip for extra sweetness.
- Decorate: While the coating is still soft, sprinkle with sanding sugar or drizzle additional candy on top for a delightful finishing touch.
- Chill Again: Return the decorated Oreo balls to the fridge for 30 minutes to set the coating firmly. This ensures they’re ready for gifting or enjoying!
Optional: Add a touch of festive flair with colorful drizzles on top!
Exact quantities are listed in the recipe card below.
Storage Tips for Christmas Oreo Balls
- Fridge: Store your Christmas Oreo Balls in an airtight container in the refrigerator for up to 1 week, preserving their delicious creaminess and festive flavor.
- Freezer: For longer storage, freeze the balls in a single layer before transferring them to a freezer-safe container. They can last for up to 1 month without losing their delicious taste.
- Reheating: There’s no need to reheat these no-bake treats, but if you prefer them slightly softened, let them sit at room temperature for about 10 minutes before serving.
- Airtight: Be sure to use airtight containers for both fridge and freezer storage to maintain freshness and prevent any unwanted moisture or odors from affecting your Christmas Oreo Balls.
Christmas Oreo Balls Variations
Feel free to sprinkle some creativity into these delightful treats and make them truly your own!
- Gluten-Free: Swap Oreos with gluten-free chocolate cookies for a tasty alternative that everyone can enjoy. It’s just as delicious!
- Nutty Delight: Add crushed nuts like hazelnuts or almonds to the mixture for an extra crunch. This adds a delightful texture and earthy flavor.
- Minty Fresh: Use Mint Oreos in place of regular ones for a refreshing twist that’s perfect for holiday gatherings. The minty aroma will spark some festive cheer!
- Chocolate-Dipped: Instead of candy melts, dip the Oreo balls in melted chocolate for a rich, decadent coating. It brings a classic vibe to these treats!
- Spicy Kick: Mix in a dash of cinnamon or cayenne powder to the cream cheese filling for a surprising and delightful heat. It’ll warm up those chilly winter nights!
- Fruit-Filled: Incorporate dried cranberries or cherries into the mixture for a fruity twist that gives a pop of tartness with every bite. It’s festive and flavorful!
- Coconut Bliss: Roll the chilled balls in shredded coconut after dipping them in candy. This adds a tropical flair that contrasts beautifully with the creamy base.
- Colorful Layers: Alternate layers of regular and red velvet Oreo mixtures in the scoops for a visually-stunning effect that will wow your guests! It’s like a party for your taste buds!
Helpful Tricks for Christmas Oreo Balls
- Chill Before Dipping: Ensure that the Oreo balls are fully chilled before dipping. This helps the candy coating adhere better and keeps your treats looking perfect.
- Pulse, Don’t Crush: Instead of crushing the Oreos by hand, use a food processor to achieve a fine, consistent crumb. This enhances the texture of your Christmas Oreo Balls!
- Colorful Coatings: Use various colors of candy melts to match your holiday theme. This not only makes the treats festive but also adds visual interest to your dessert table.
- Dip Technique: After dipping the balls in candy melts, gently tap them against the edge of the bowl to remove excess coating. This prevents clumping and ensures a smooth finish.
- Experiment with Flavors: Don’t be afraid to mix it up! Try using different Oreo flavors or infused cream cheese to personalize your Christmas Oreo Balls for every palate.
Make Ahead Options
These Christmas Oreo Balls are perfect for meal prep enthusiasts looking to save time during the busy holiday season! You can prepare and chill the truffles up to 3 days in advance, allowing the flavors to meld beautifully. Simply follow the recipe until you’ve formed the balls and then refrigerate them in an airtight container. This keeps them fresh and ensures they maintain their delicious texture. When you’re ready to serve, just dip them in the melted candy coating, decorate, and chill again for about 30 minutes to set. With this make-ahead method, you’ll be ready to impress guests with minimal last-minute effort, enjoying even more time with your loved ones!
What to Serve with Christmas Oreo Balls?
As you prepare these delightful no-bake treats, consider some scrumptious pairings that will elevate your holiday spread.
- Hot Cocoa Bar: Create a cozy drink station where guests can personalize their mugs with marshmallows and whipped cream, making the perfect complement to the rich flavors of the Oreo Balls.
- Fruit Platter: Fresh fruits like strawberries, oranges, and grapes add a refreshing contrast to the sweetness of the treats, providing a balance of flavors on your dessert table.
- Cheese Board: Offer a selection of cheeses paired with crackers and nuts for a savory touch. The salty flavors work beautifully with the creamy sweetness of the Christmas Oreo Balls.
- Coffee or Peppermint Coffee: Brewed coffee or a festive peppermint latte can enhance the treat’s richness while balancing the sweetness, making a delightful pairing for both coffee lovers and dessert enthusiasts.
- Mini Cupcakes: Consider serving a few festive mini cupcakes topped with cream cheese frosting. Their moist texture and sweetness will perfectly complement the cookies, creating an indulgent dessert duo.
- Holiday Punch: A light and fruity holiday punch can add a festive touch to your gathering, refreshing palates between bites of sweet Oreo Balls.
- Chocolate-Dipped Pretzels: These crunchy snacks bring a salty and sweet flair that pairs excellently with the cookies, adding another layer of texture to your dessert spread.
- Candy Cane Brownies: Rich, fudgy brownies topped with crushed candy canes echo the minty flavors of the season, enhancing the holiday spirit alongside your Christmas Oreo Balls.
Christmas Oreo Balls Recipe FAQs
What type of Oreos should I use for Christmas Oreo Balls?
You can use regular and red velvet Oreos for a delightful flavor combination. If you’re feeling adventurous, feel free to substitute them with other cookie flavors like Mint or Peanut Butter to create your own signature twist!
How should I store Christmas Oreo Balls?
Store your Christmas Oreo Balls in an airtight container in the refrigerator for up to 1 week. This keeps them fresh and maintains their delicious, creamy texture. For longer storage, they can be frozen for up to 1 month—just make sure to layer them with parchment paper to avoid sticking!
Can I freeze Christmas Oreo Balls?
Absolutely! To freeze them, place the shaped but uncoated Oreo Balls on a baking sheet in a single layer and freeze for about 1 hour. Once frozen, transfer them to a freezer-safe container or ziplock bag, separating layers with parchment paper. This way, they maintain their delightful flavor, perfect for a quick treat later on!
What should I do if the candy coating doesn’t stick?
If you find that the candy coating isn’t sticking well, ensure the Oreo Balls are fully chilled before dipping. Additionally, melt the candy melts at a slightly lower temperature and stir constantly to keep them smooth. You can also try double dipping for a thicker, more secure coating.
Are Christmas Oreo Balls suitable for dietary restrictions?
Yes! These treats are inherently vegetarian-friendly. For a dairy-free option, you can substitute the cream cheese with plant-based cream cheese, making them accessible for those with dairy allergies. Just make sure to check the labels on your Oreo cookies and candy melts for any potential allergens.
How long does it take to make Christmas Oreo Balls?
From start to finish, including chilling time, you’re looking at about 3 to 4 hours. The actual preparation takes about 30 minutes, and the rest is just chilling time to ensure they firm up perfectly before serving.
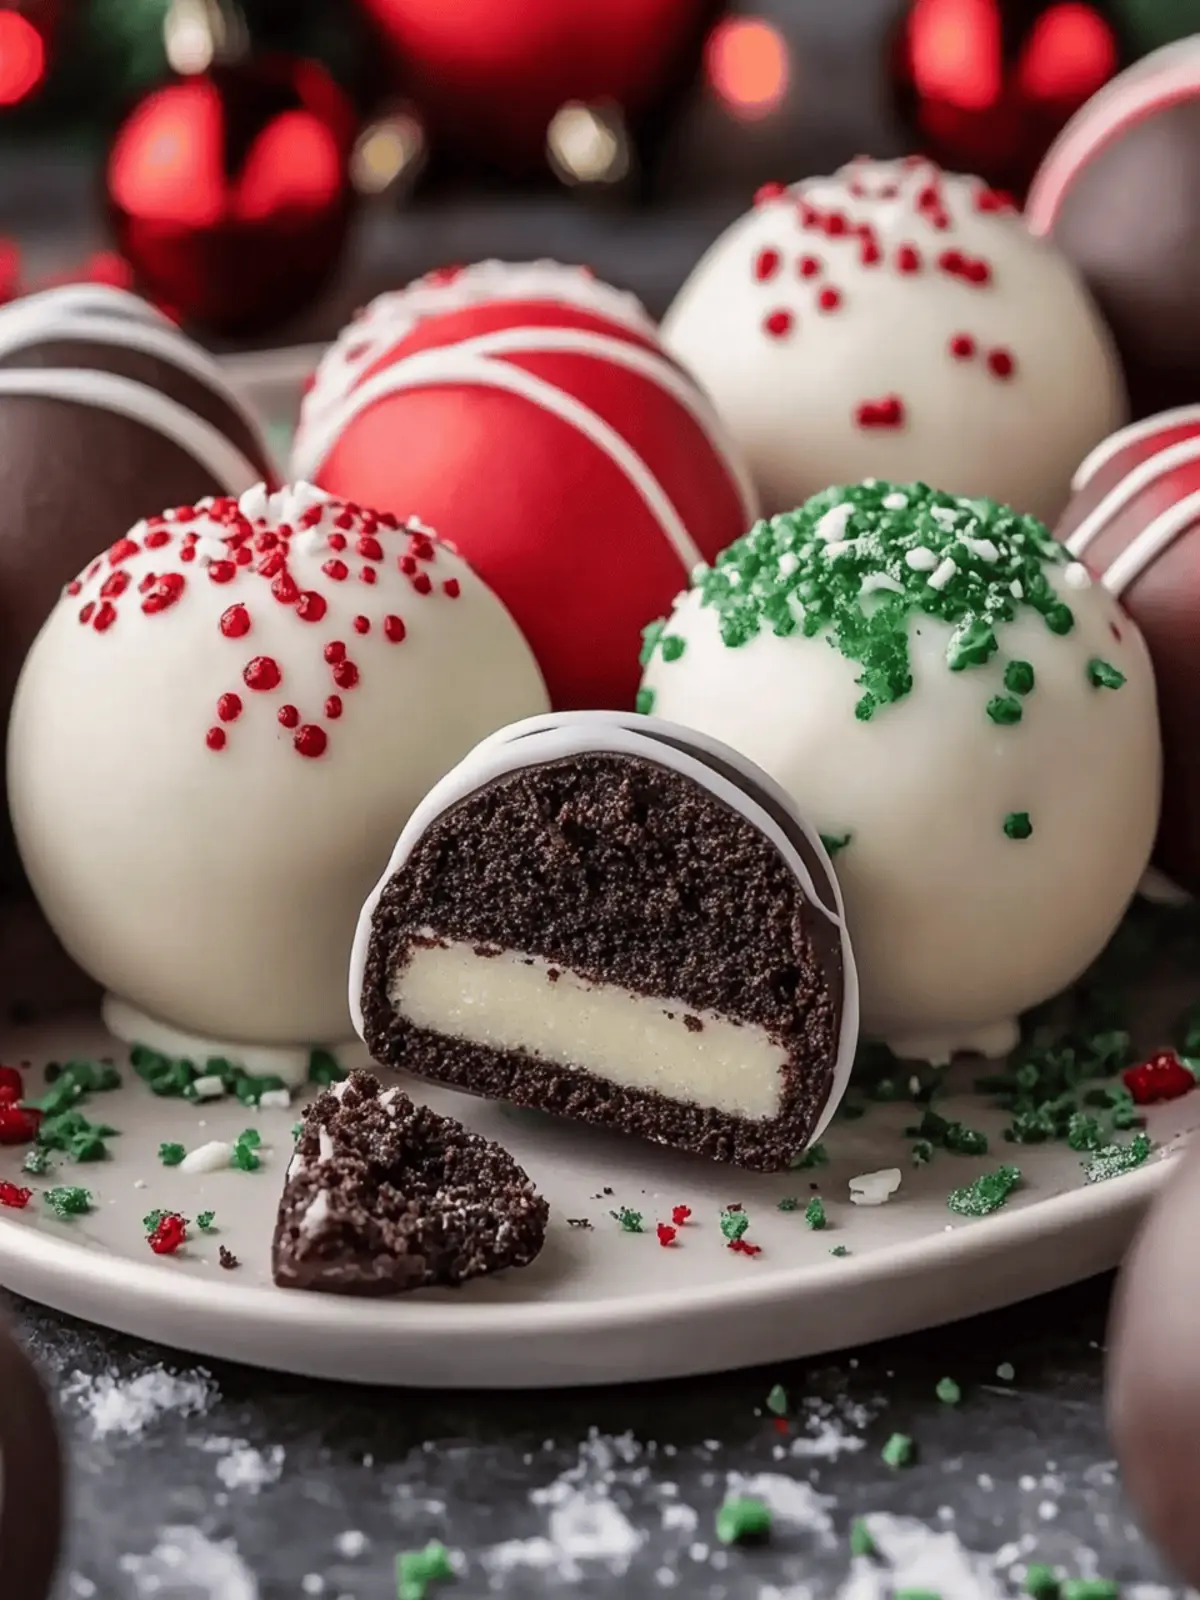
Christmas Oreo Balls: Indulge in Festive No-Bake Bliss
Ingredients
Equipment
Method
- Prepare Baking Sheet: Line a cookie sheet with parchment paper to prevent sticking.
- Crumble Oreos: Place both Oreo varieties in a food processor and pulse until finely ground.
- Mix Ingredients: In separate bowls, blend half of the cream cheese with the regular Oreo crumbs and the rest with the red velvet Oreos.
- Shape Balls: Use a 1.5-inch cookie scoop to form balls and place them on the prepared baking sheet.
- Chill: Refrigerate the balls for about 2 hours to firm up.
- Melt Candy Coating: Microwave candy melts in 30-second intervals, stirring in between to avoid scorching.
- Dip Balls: Dip each chilled ball into the melted candy, allowing the excess to drip off.
- Decorate: While the coating is still soft, sprinkle with sanding sugar or drizzle additional candy on top.
- Chill Again: Return the decorated Oreo balls to the fridge for 30 minutes to set the coating.

