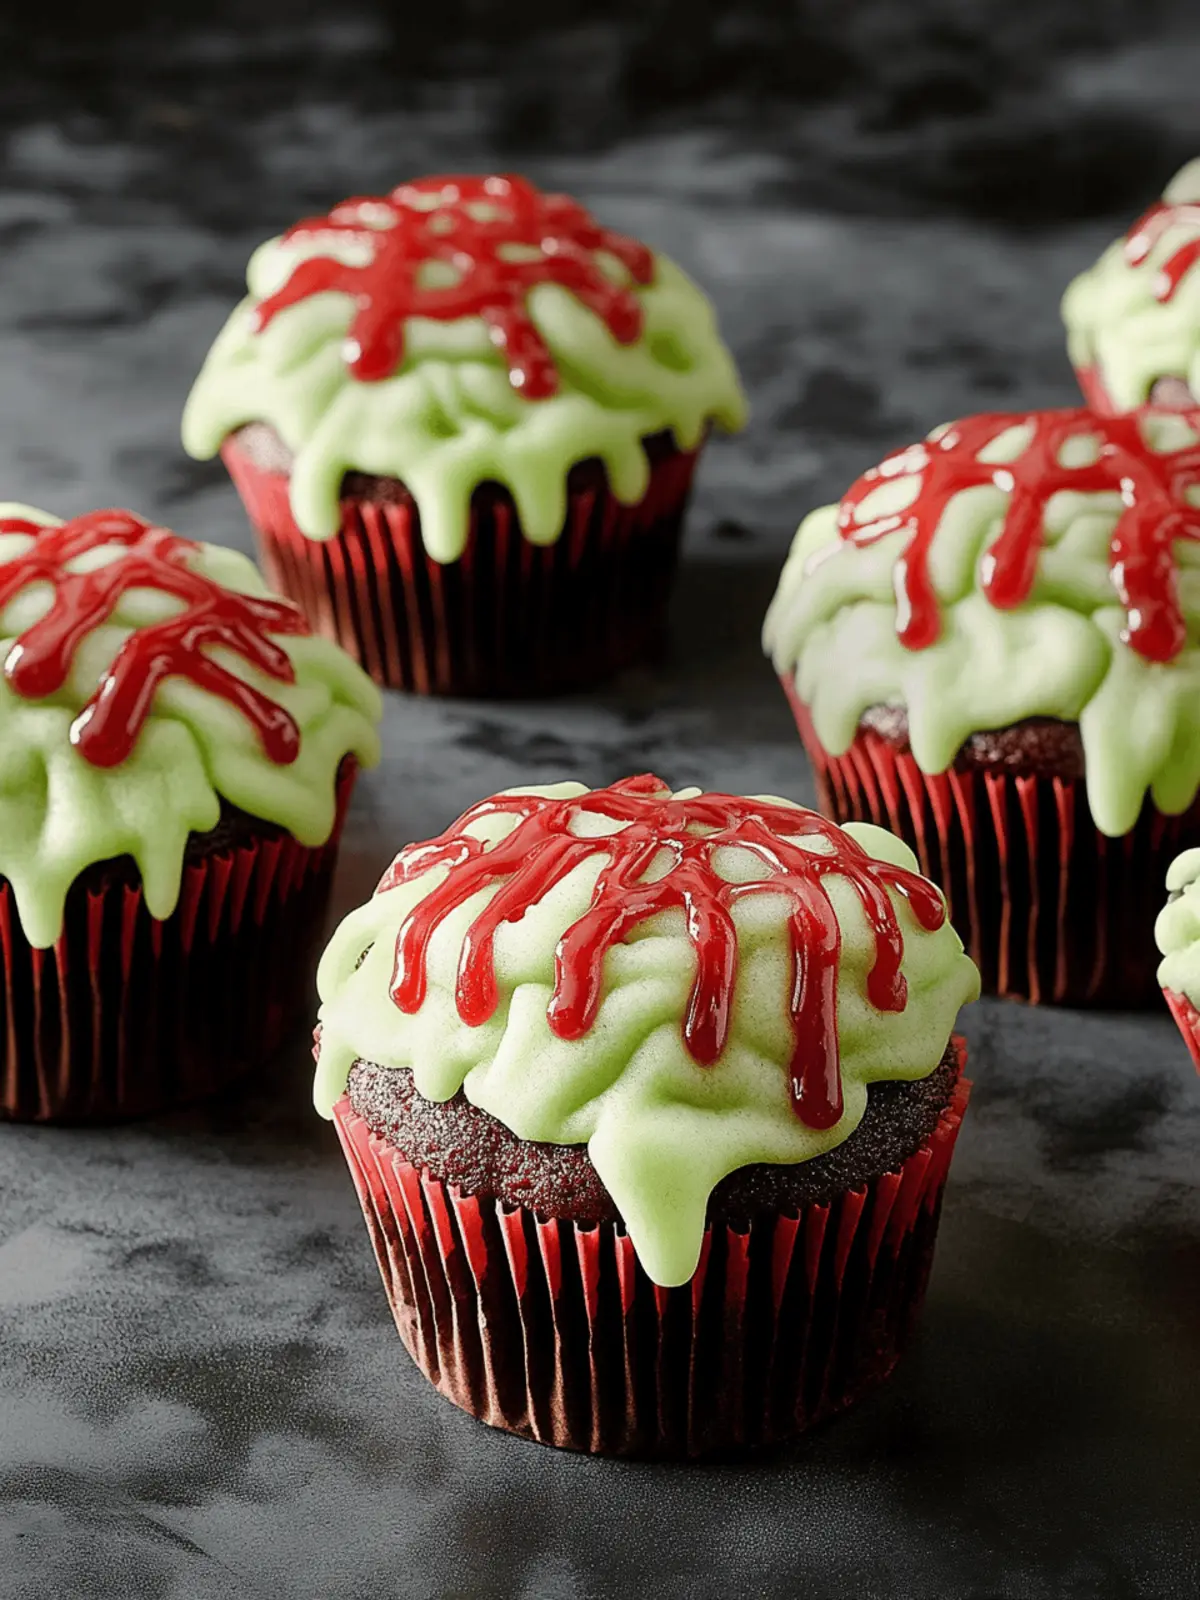
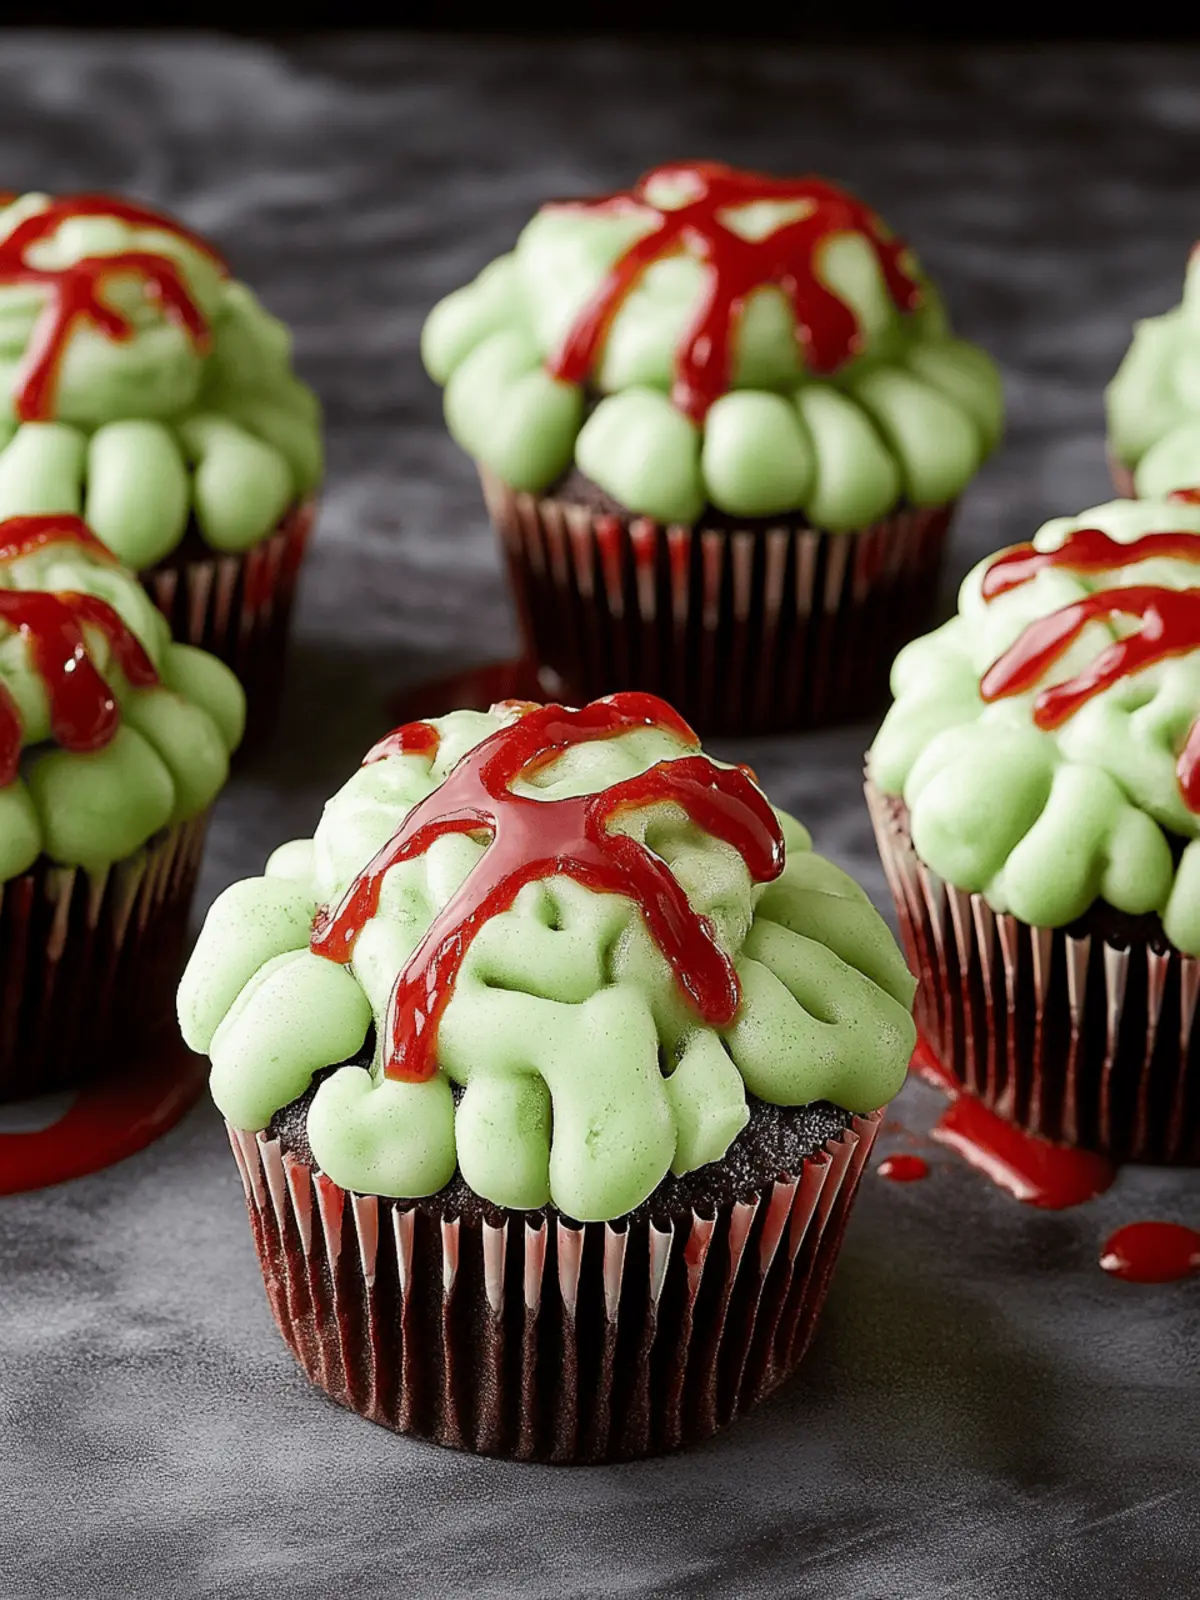
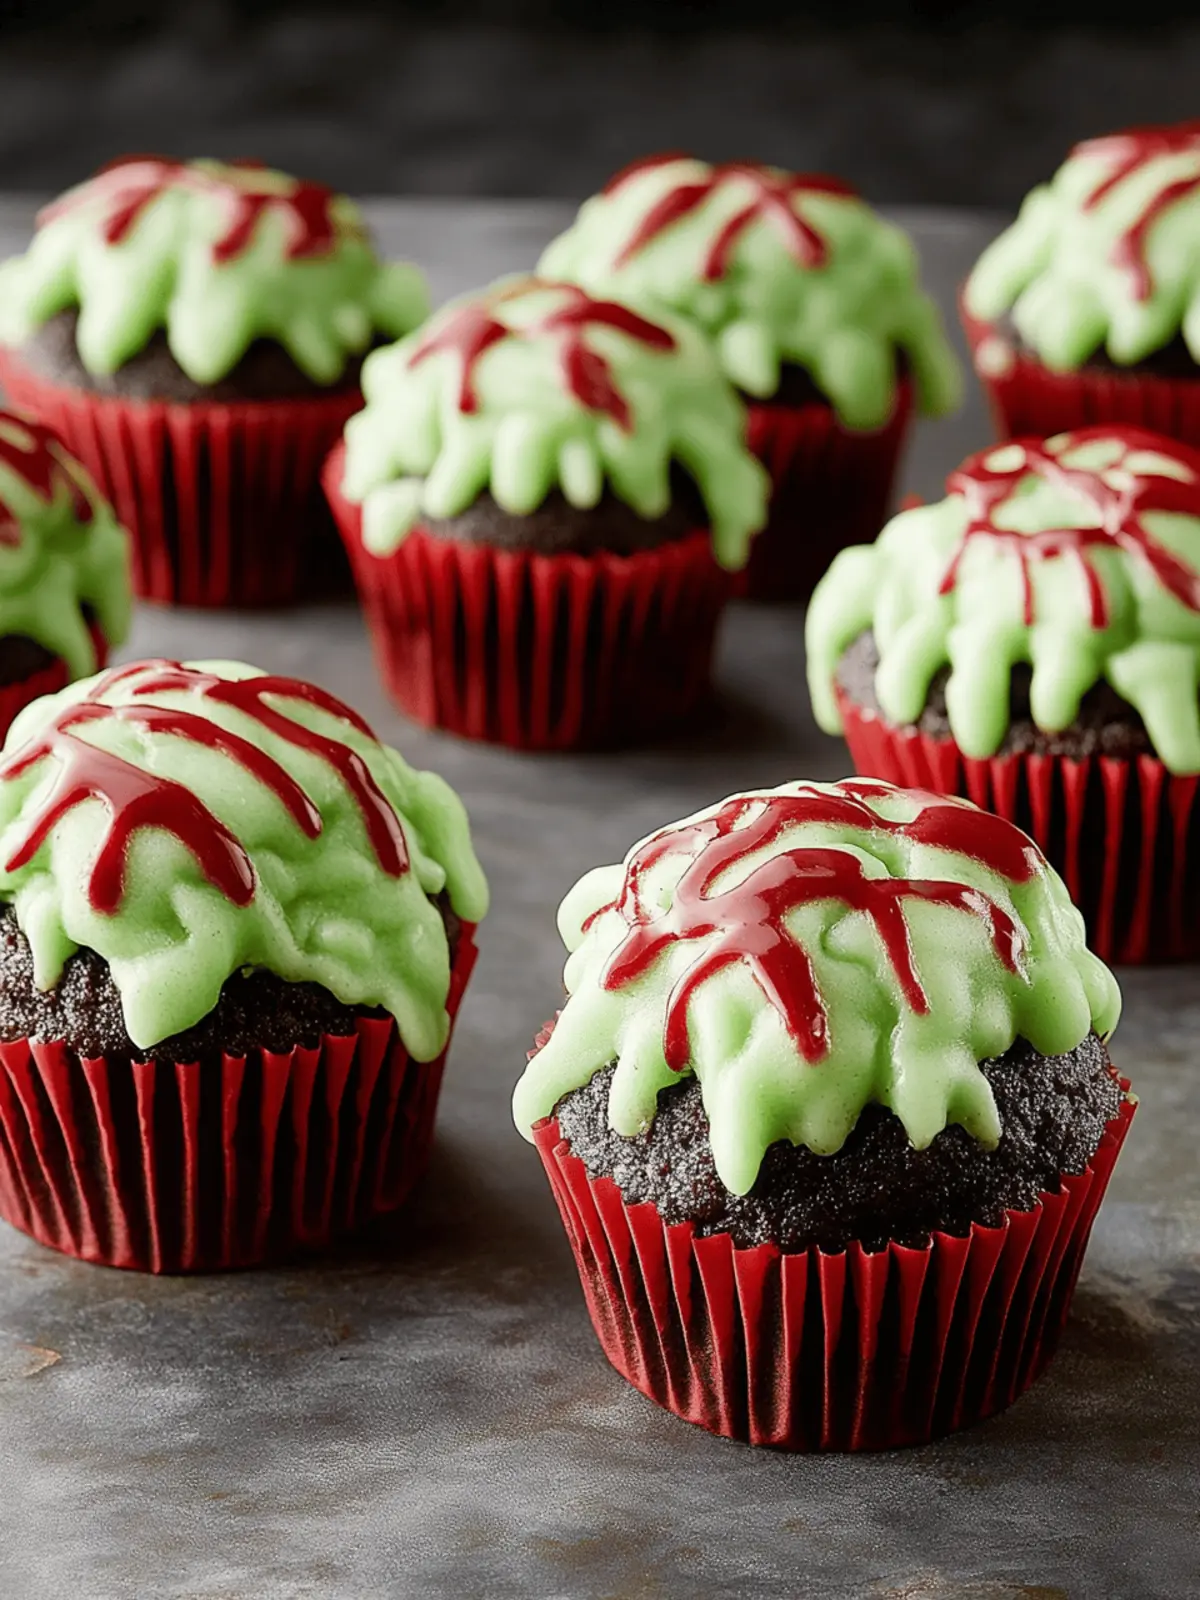
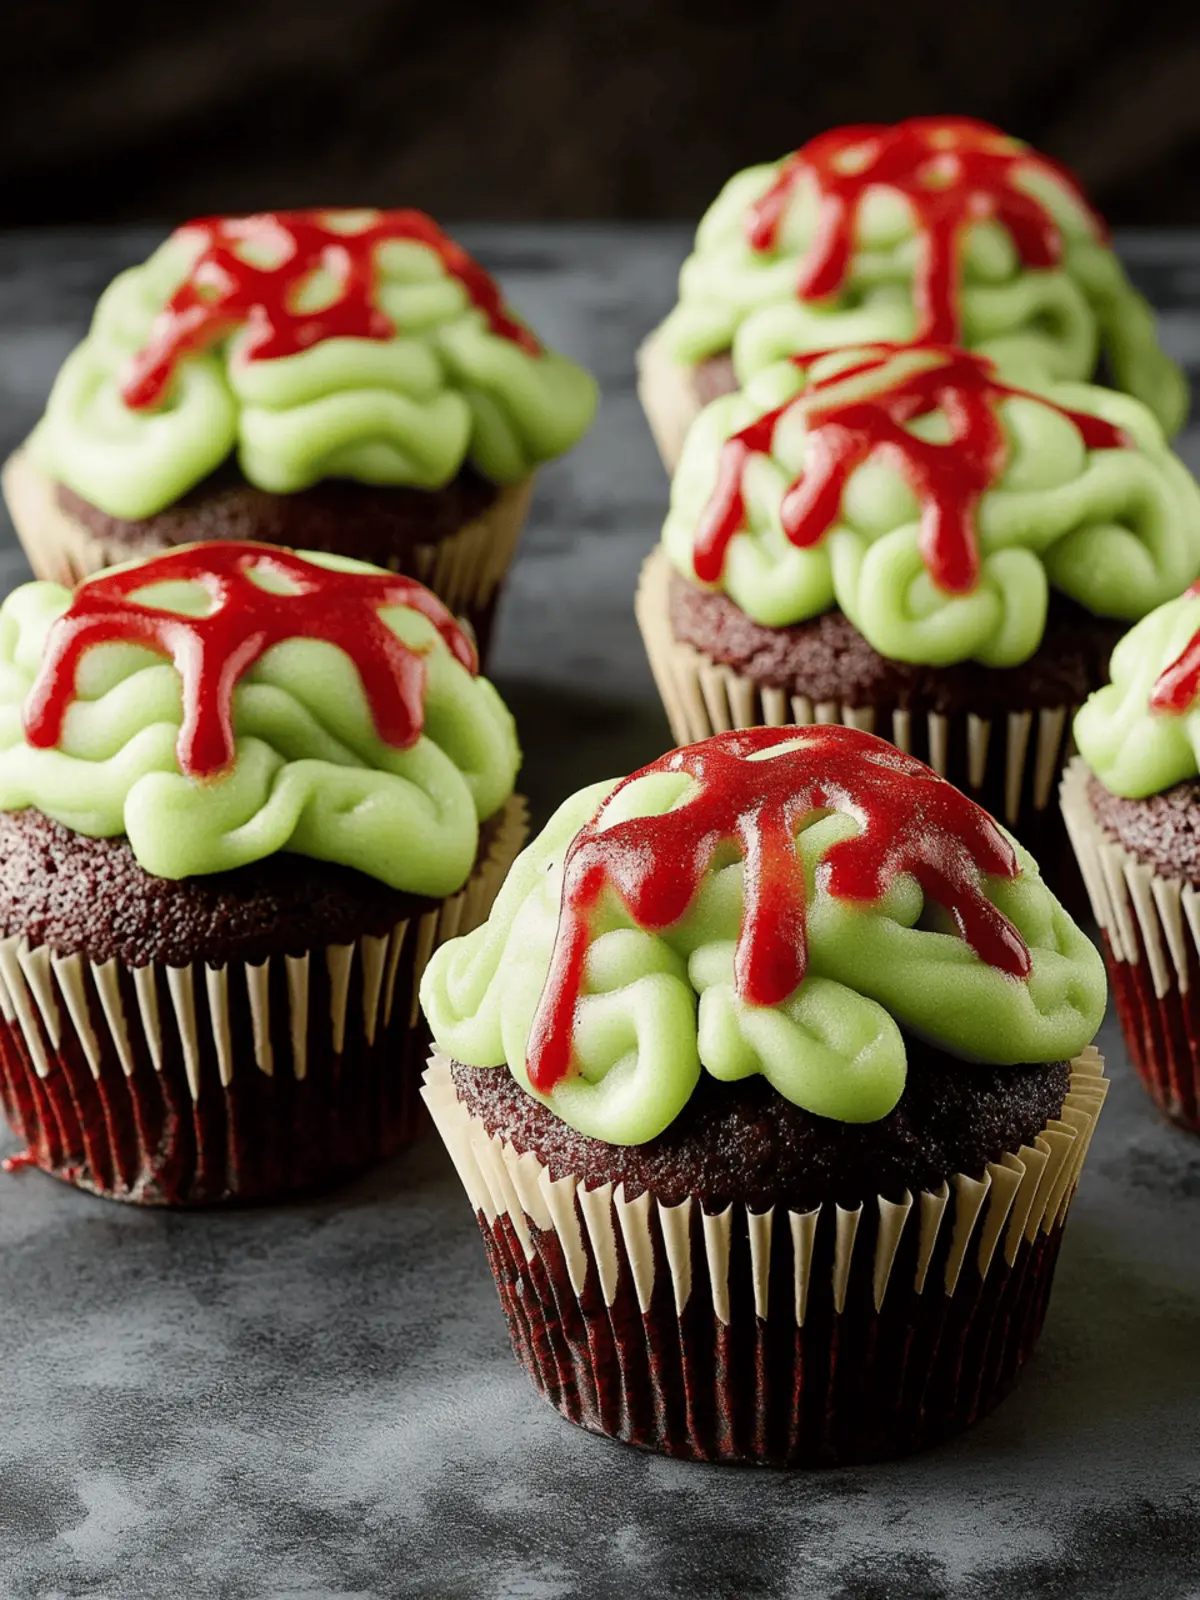
When the Halloween season creeps in with its chill and the leaves turn crisp, it’s time to bring the fun to your dessert table! I stumbled upon this ghoulish delight while brainstorming spooky treats for our neighborhood Halloween party. Picture this: moist, decadent chocolate cupcakes transformed into eerily adorable zombie brains topped with vibrant green frosting and spooky drizzles of red gel.
These Zombie Brain Cupcakes are not only a visual feast but also a delicious way to engage guests of all ages. With simple ingredients and easy steps, you can create a dessert that becomes the talk of the haunt! So grab your mixing bowls and let’s conjure up some frightfully delightful cupcakes that are sure to impress and satisfy taste buds alike!
Why are Zombie Brain Cupcakes a must-try?
Fun and Festive: These cupcakes bring a playful twist to your Halloween celebrations, enticing both kids and adults alike.
Easy to Make: With straightforward steps, you don’t need to be a master baker to whip up these spooky treats.
Customizable Decorations: Change up the colors or toppings for endless creative options to match your Halloween theme.
Deliciously Moist: Sink your teeth into a rich chocolate cake that perfectly complements the sweet vanilla frosting.
Crowd-Pleasing Appeal: Watch guests’ faces light up as they dig into these eerie delights—perfect for parties!
Perfect for Sharing: These eye-catching cupcakes encourage everyone to gather around and enjoy a uniquely themed dessert.
Zombie Brain Cupcake Ingredients
For the Cupcake Batter
• All-Purpose Flour – Provides structure; use cake flour for a lighter texture.
• Granulated Sugar – Adds sweetness; substitute with coconut sugar for a richer flavor.
• Unsweetened Cocoa Powder – Essential for chocolate flavor; ensure it’s unsweetened for proper taste balance.
• Baking Powder – Acts as a leavening agent; make sure it’s fresh for optimal rising.
• Baking Soda – Works alongside baking powder; crucial for achieving a perfect texture.
• Kosher Salt – Enhances the overall flavor; sea salt can work as an excellent substitute.
• Buttermilk or Whole Milk – Adds moisture and richness; switch to non-dairy milk for a vegan option.
• Neutral Oil – Provides moisture and a tender texture; consider using coconut oil for a hint of flavor.
• Large Egg – Essential for binding; for a vegan version, use a flax egg (1 tbsp flaxseed meal + 2.5 tbsp water).
• Pure Vanilla Extract – Contributes lovely flavor; high-quality extract or vanilla bean paste intensifies the taste.
• Boiling Water – Activates cocoa for deeper flavor; ensure it’s freshly boiled for best results.
For the Frosting
• Powdered Sugar – Provides sweetness and stability; ensure it’s sifted for a smooth frosting.
• Unsalted Butter – Adds creaminess; vegan butter is a great substitute for a dairy-free version.
• Neon Green Liquid Food Coloring – Perfect for decoration; opt for gel-based for vibrant results.
For the Decoration
• Red Decorating Gel – Creates the spooky ‘blood’ effect; look for vibrant red to enhance the visual appeal.
These Zombie Brain Cupcakes are a delightfully spooky addition to your Halloween festivities, sure to impress your guests!
How to Make Zombie Brain Cupcakes
- Preheat the Oven: Begin by preheating your oven to 350°F (175°C). This step is crucial for ensuring that your cupcakes bake evenly and rise beautifully.
- Combine Dry Ingredients: In a mixing bowl, whisk together the flour, granulated sugar, unsweetened cocoa powder, baking powder, baking soda, and kosher salt until well combined. The mixture should look fluffy and light.
- Mix Wet Ingredients: In a separate bowl, blend the buttermilk, neutral oil, beaten egg, and pure vanilla extract. Stir until everything is smoothly incorporated.
- Combine Ingredients: Gradually pour the wet mixture into the dry ingredients, mixing gently. Then, add boiling water little by little, stirring until the batter is smooth and well combined. It may look slightly runny, but that’s perfect!
- Fill Liners: Line your cupcake tin with liners and fill each one about 2/3 full with the batter, giving them room to rise.
- Bake the Cupcakes: Place the tin in the oven and bake for 20-25 minutes. They are done when a toothpick inserted into the center comes out clean. Let them cool completely on a wire rack.
- Prepare the Frosting: In a mixing bowl, beat the softened unsalted butter until creamy. Gradually add the sifted powdered sugar, followed by vanilla extract and a pinch of salt. Mix until it’s smooth and fluffy.
- Color the Frosting: Add the neon green food coloring to the frosting and mix until you reach your desired spooky shade of green. Go easy—add a bit at a time for a vibrant effect!
- Frost the Cupcakes: Generously spread the green frosting over the cooled cupcakes using a spatula or piping bag, creating a brain-like texture.
- Decorate with Gel: Finally, drizzle red decorating gel on top of the frosted cupcakes to mimic the frightening ‘blood’ effect, enhancing the spooky allure of your treats.
Optional: Add gummy worms or chocolate spiders as fun garnishes for an extra festive touch!
Exact quantities are listed in the recipe card below.
What to Serve with Zombie Brain Cupcakes?
These whimsically spooky cupcakes deserve a fitting array of accompaniments for an unforgettable Halloween feast.
- Spooky Punch: A fruity, fizzy drink with floating gummy eyeballs will delight kids and adults alike, enhancing the festive atmosphere. Pairing it with our cupcakes invites playful sips and sweet bites.
- Wormy Jell-O Cups: Bright green or red Jell-O cups filled with gummy worms are a fun treat that adds a creepy touch, perfect for balancing the sweetness of the cupcakes.
- Candy Corn Mix: A bowl of candy corn mixed with nuts adds a crunchy contrast that breaks through the softness of the cupcakes while celebrating Halloween classics.
- Chocolate Dipped Pretzels: The salty crunch of chocolate-covered pretzels creates an exciting textural addition, balancing the sweetness of the dessert with a delightful twist.
- Ghostly Meringues: Light and airy meringue ghosts provide a whimsical touch that pairs perfectly with the rich chocolate flavor of the cupcakes, completing your spooky dessert table.
- Creepy Cheese Platter: Don’t forget savory! Include a platter of creamy cheeses with a side of crackers shaped like bats or pumpkins to balance out the sweetness of the cupcakes.
- Apple Cider: Warm spiced apple cider not only complements the fall flavors but also warms the heart and soul, making it an ideal drink alongside these delicious treats.
- Ghastly Fruit Skewers: Thread dark grapes, pineapple, and strawberries onto skewers, with eyes made of mini marshmallows for a colorful and healthy treat that appeals to both kids and the health-conscious.
With these spooky accompaniments, you’ll create an enchanting and festive atmosphere that your guests will remember long after the last bite!
Storage Tips for Zombie Brain Cupcakes
Room Temperature: Store uneaten cupcakes in an airtight container at room temperature for up to 4 days to maintain their moist texture.
Fridge: If you need to keep them longer, refrigerate them for up to a week. Just be sure to let them come to room temperature before serving for the best flavor.
Freezer: For longer storage, freeze the cupcakes without frosting in a single layer for up to 3 months. Thaw them in the fridge before frosting and decorating.
Reheating: If you prefer warm cupcakes, pop them in the microwave for about 10-15 seconds. This works great for bringing back their freshly baked taste!
Expert Tips for Zombie Brain Cupcakes
- Avoid Overmixing: Mixing too much can result in dense cupcakes. Mix until ingredients are just combined for the best texture.
- Cool Completely: Make sure your cupcakes are completely cool before frosting. This prevents the frosting from melting and losing its shape.
- Use Quality Ingredients: High-quality cocoa powder and vanilla extract make a big difference in flavor. Always opt for the best you can find for these Zombie Brain Cupcakes.
- Color Gradually: When adding food coloring, start with a small amount and mix, adding more until you reach the spooky shade you desire. This prevents over-saturation.
- Airflow for Baking: Space out the cupcake liners in the tin to allow better airflow, ensuring even baking and preventing soggy bottoms.
- Store Properly: Keep leftovers in an airtight container at room temperature to maintain freshness, or refrigerate if you’re expecting to keep them longer.
Make Ahead Options
These Zombie Brain Cupcakes are perfect for meal prep enthusiasts, making your Halloween celebrations much easier! You can bake the cupcakes up to 3 days in advance; simply let them cool completely and store them in an airtight container at room temperature. The frosting can also be made ahead and kept in the refrigerator for up to 5 days—just remember to re-whip it before frosting for that creamy texture. When it’s time to serve, frost the cupcakes and drizzle with red decorating gel to achieve that spooky ‘bloody’ effect. This way, you’ll save time, allowing you to enjoy the festivities while impressing your guests!
Zombie Brain Cupcake Variations
Let your creativity run wild with these fun twists on the classic Zombie Brain Cupcakes!
- Colorful Brains: Use pink or purple food coloring instead of green to create alternate brain colors that intrigue and amuse. This small change adds a whimsical touch to your Halloween display.
- Flavor Twists: Swap vanilla extract with almond extract for a nutty flavor that enhances the frosting’s sweetness. The addition of almond adds a unique twist that your guests will love.
- Crunchy Add-In: Fold in crushed Oreo cookies into the cupcake batter for a delightful crunch that pairs well with chocolate flavors. This variation adds an enjoyable texture that surprises every bite.
- Spooky Sprinkles: Top the frosting with Halloween-themed sprinkles for added flair. Edible glitter or candy eyeballs can further amplify the festive vibe and make them even more eye-catching!
- Vegan-Friendly: Substitute eggs with aquafaba (the liquid from canned chickpeas) and use coconut milk in place of buttermilk for a delicious vegan variant. These changes ensure everyone can enjoy the treat without sacrificing flavor.
- Nutty Delight: Incorporate chopped walnuts or pecans into the batter for enhancing nuttiness and a delightful texture. This added dimension complements the moist cupcake perfectly!
- Chocolate Frosting: Instead of vanilla frosting, whip up a chocolate version using cocoa powder for an intense chocolate experience. Rich chocolate frosting makes these cupcakes irresistibly decadent.
- Fiery Kick: Add a pinch of cayenne pepper to the batter for a surprising spicy kick that pairs wonderfully with chocolate. This bold flavor can leave your guests intrigued by the unexpected twist!
Zombie Brain Cupcakes Recipe FAQs
How do I choose ripe ingredients for my Zombie Brain Cupcakes?
Absolutely! For the best flavor, ensure your cocoa powder is fresh and unsweetened. Check your eggs; they should be large and fresh. If you’re using buttermilk, opt for one that is not close to its expiration date for optimal creaminess.
What’s the best way to store Zombie Brain Cupcakes?
To keep these spooky treats moist, store your cupcakes in an airtight container at room temperature for up to 4 days. If you’re planning to keep them longer, refrigerate them for up to a week. Remember, heartfelt treats are best enjoyed at room temperature, so let them sit out before serving!
Can I freeze Zombie Brain Cupcakes?
You sure can! To freeze them, place the un-frosted cupcakes in a single layer on a baking sheet until they’re fully frozen. Then, transfer them to an airtight container or freezer bag for up to 3 months. When you’re ready to frost, let them thaw in the fridge overnight and then use your delicious frosting!
What should I do if my cupcakes don’t rise properly?
Very good question! If your cupcakes don’t rise as expected, it could be due to expired baking powder or baking soda. Always check the expiration dates before use! Additionally, ensure you’re combining the ingredients properly without over-mixing, as this can affect the texture and height of your cupcakes too.
Are there any dietary considerations when making these cupcakes?
Absolutely! If anyone has egg allergies or follows a vegan diet, you can easily make a flax egg using 1 tablespoon of flaxseed meal mixed with 2.5 tablespoons of water—let it sit for about 5 minutes until it thickens. For dairy-free options, swap out buttermilk and butter for non-dairy alternatives like almond milk and vegan butter, ensuring everyone can enjoy the fun!
Can I modify the decorations for different occasions?
Yes, indeed! Feel free to switch out the neon green food coloring for pink for a festive twist or use chocolate frosting for a darker and richer appearance. Adding sprinkles that suit the theme is also a great way to customize these Zombie Brain Cupcakes for other occasions!
Zombie Brain Cupcakes: Spook Your Friends with Fun Treats
Ingredients
Equipment
Method
- Preheat your oven to 350°F (175°C).
- In a mixing bowl, whisk together the flour, granulated sugar, unsweetened cocoa powder, baking powder, baking soda, and kosher salt until well combined.
- In a separate bowl, blend the buttermilk, neutral oil, beaten egg, and pure vanilla extract until smoothly incorporated.
- Gradually pour the wet mixture into the dry ingredients, mixing gently. Then, add boiling water little by little, stirring until the batter is smooth and well combined.
- Line your cupcake tin with liners and fill each one about 2/3 full with the batter.
- Place the tin in the oven and bake for 20-25 minutes. Let them cool completely on a wire rack.
- In a mixing bowl, beat the softened unsalted butter until creamy. Gradually add the sifted powdered sugar, followed by vanilla extract and a pinch of salt, mixing until smooth and fluffy.
- Add the neon green food coloring to the frosting and mix until you reach your desired spooky shade of green.
- Generously spread the green frosting over the cooled cupcakes, creating a brain-like texture.
- Drizzle red decorating gel on top of the frosted cupcakes to mimic the frightening ‘blood’ effect.

