
There’s an undeniable joy that comes with indulging in a treat that combines the rich creaminess of peanut butter with the decadence of chocolate. I found myself daydreaming about those classic peanut butter cups while rummaging through my pantry one rainy afternoon. The flavors danced in my mind, and in a flash of inspiration, I crafted these incredibly easy Peanut Butter Chocolate Bars. Perfectly sweet and utterly satisfying, they are the antidote to the fast-food frenzy many of us fall into.
What’s unique about this recipe is how quickly it comes together, making it a delightful solution for those last-minute cravings or when you want to impress guests without spending hours in the kitchen. With just a handful of ingredients, these bars deliver a rich, velvety chocolate layer atop a smooth peanut butter base, creating a deliciously indulgent contrast that’s sure to please everyone. Grab your apron, and let’s dive into making these crowd-pleasers that will have you savoring every bite!
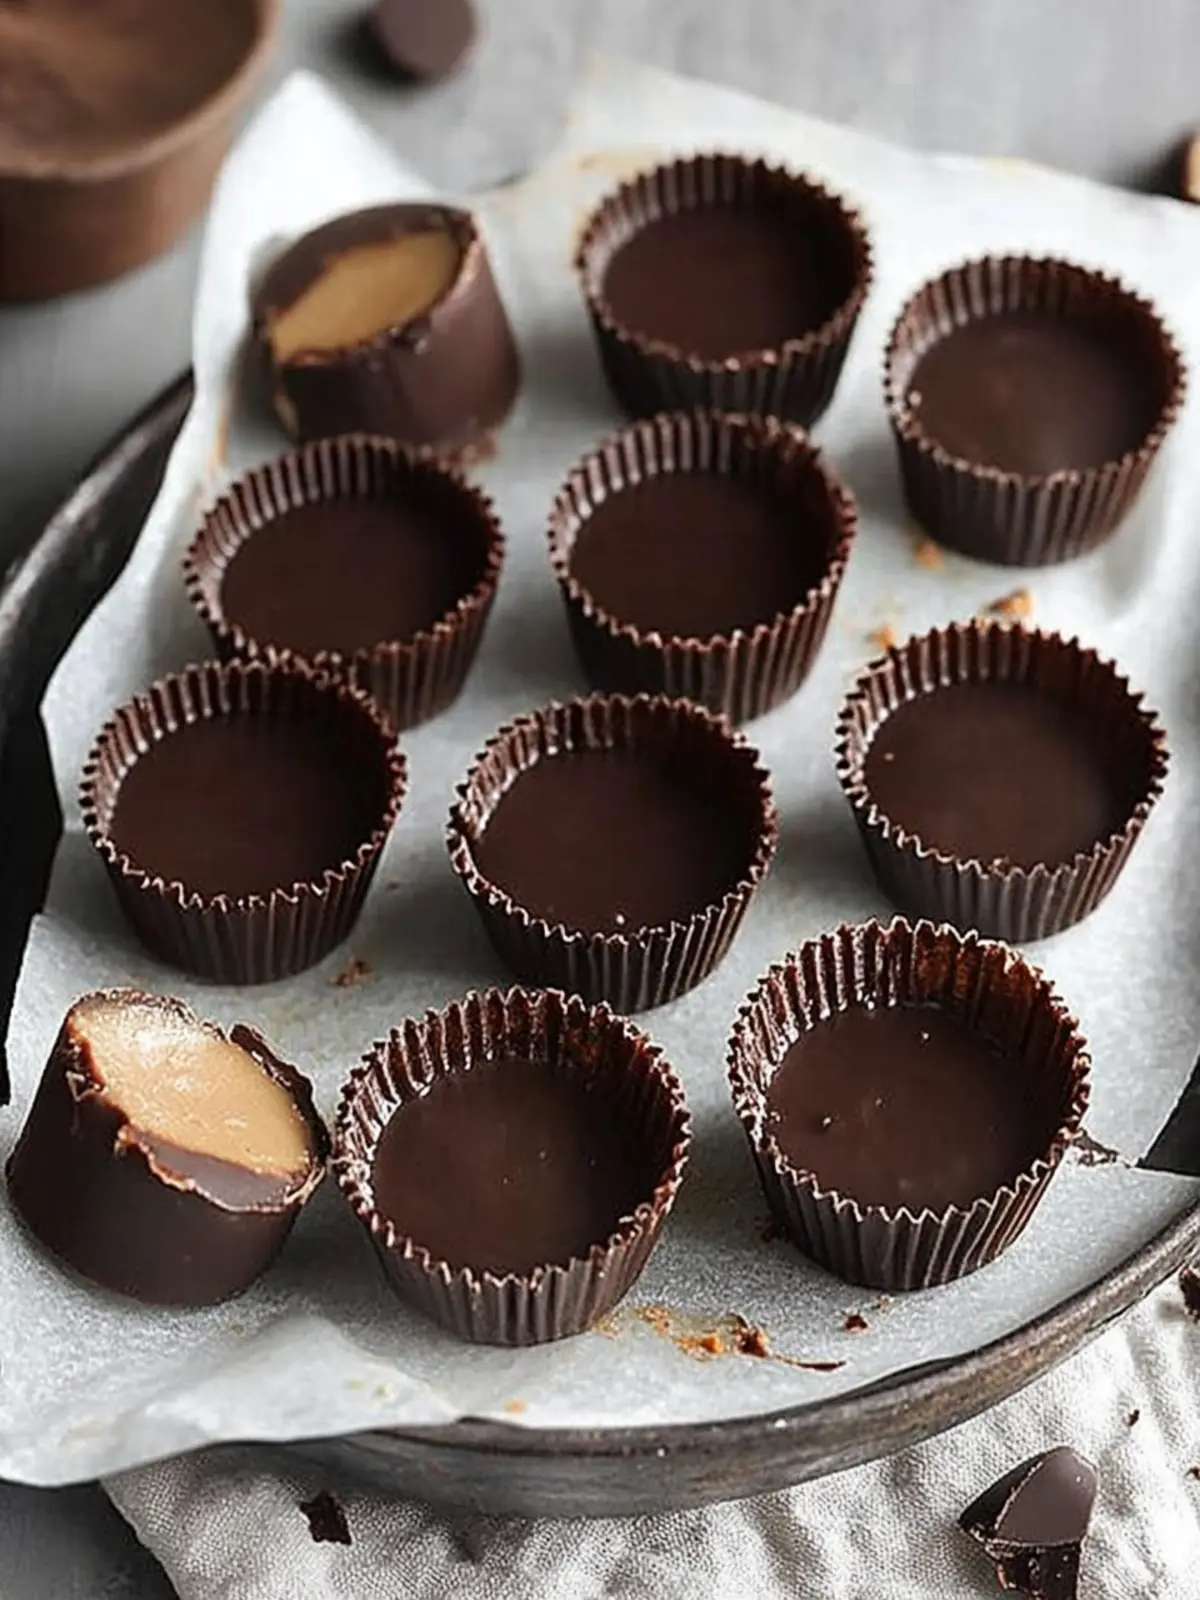
Why Peanut Butter Cups Will Delight You
Indulgent Experience: These Peanut Butter Cups bring the joy of your favorite candy into homemade form, providing a delightful treat for everyone.
Quick and Easy: With minimal prep, this recipe transforms basic ingredients into a spectacular dessert in no time—perfect for unexpected visitors!
Crowd-Pleasing Flavor: Rich chocolate and creamy peanut butter combine for an irresistible flavor explosion that will satisfy your sweet tooth.
Customize with Toppings: Add colored sprinkles for extra flair or experiment with different chocolates for a unique twist.
Great for Any Occasion: Whether it’s a cozy night in or a festive gathering, these bars are sure to impress!
Peanut Butter Cups Ingredients
For the Peanut Butter Layer
• Creamy Peanut Butter – 1 cup, divided; the star of this dessert, offering that luscious flavor we all adore.
• Confectioners’ Sugar – 1/2 cup; sweetens the mix perfectly to balance the rich chocolate.
• Butter – 4-1/2 teaspoons, softened; adds smoothness to the peanut butter layer.
• Salt – 1/2 teaspoon; a pinch enhances the sweetness and balances flavors.
For the Chocolate Layer
• Semisweet Chocolate Chips – 2 cups; melt them down to create that delightful, creamy chocolate topping.
• Milk Chocolate Candy Bars – 4 bars (1.55 ounces each), coarsely chopped; adds extra texture and a sweet chocolate crunch.
Optional Toppings
• Colored Sprinkles – for decoration; brighten up your Peanut Butter Cups and make them festive!
These ingredients come together to create the perfect Peanut Butter Cups, ensuring every bite is a little piece of heaven!
How to Make Peanut Butter Cups
-
Mix: In a bowl, combine 1/2 cup of creamy peanut butter, confectioners’ sugar, softened butter, and salt. Stir until smooth and creamy, ensuring all ingredients are well incorporated.
-
Press: Transfer the peanut butter mixture into a greased pan. Using your fingers or a spatula, evenly spread it out to form a smooth base, pressing it down firmly.
-
Melt: In a microwave-safe bowl or double boiler, melt the semisweet chocolate chips until smooth. Stir occasionally to ensure even melting, achieving a glossy texture.
-
Combine: Once melted, remove from heat and stir in the remaining 1/2 cup of creamy peanut butter. Mix until fully combined, achieving a luscious chocolate-peanut butter blend.
-
Pour: Carefully pour the chocolate mixture over the peanut butter base in the pan. Use a spatula to spread it evenly, making sure every corner is covered with the rich chocolate layer.
-
Top: Sprinkle the coarsely chopped milk chocolate candy bars over the chocolate layer. If you like, add colored sprinkles for a pop of fun and decoration.
-
Refrigerate: Place the pan in the refrigerator and let it set for about 1 to 2 hours, or until firm enough to cut into squares.
Optional: Drizzle with melted chocolate for an extra indulgent touch!
Exact quantities are listed in the recipe card below.
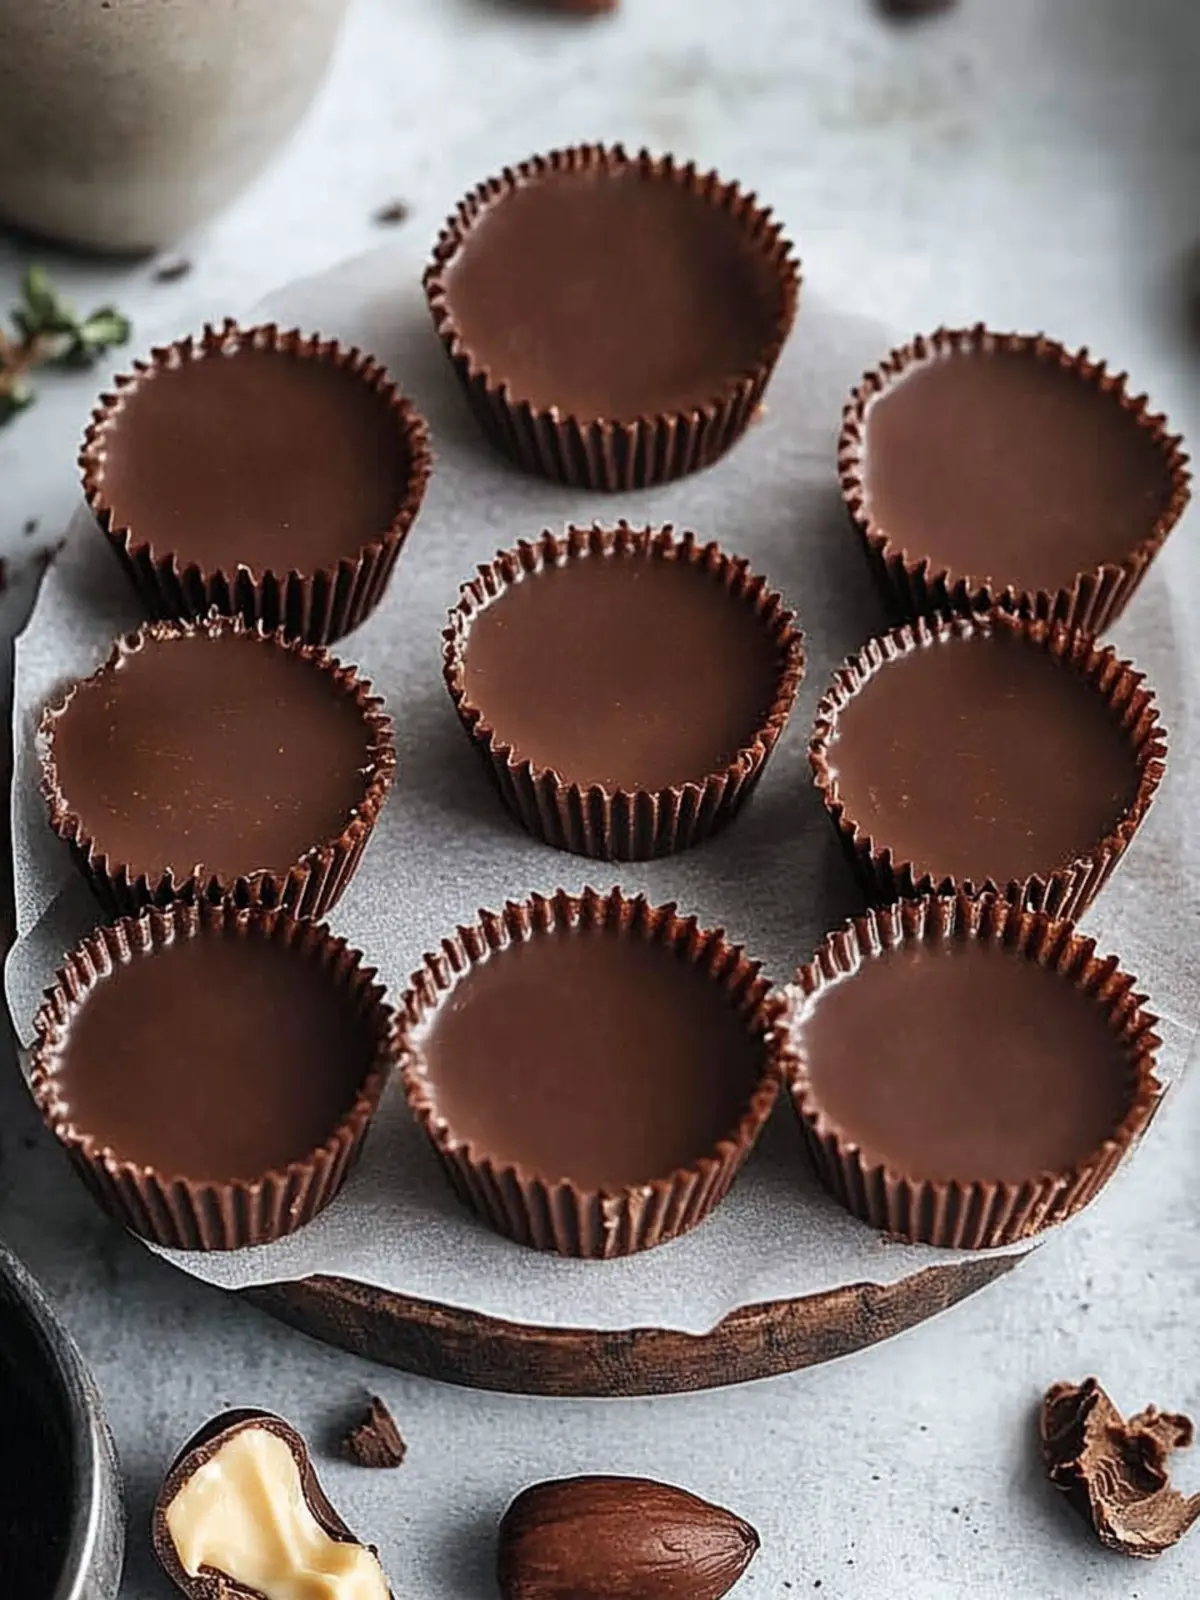
Expert Tips for Peanut Butter Cups
-
Choose Quality Chocolate: Use high-quality chocolate chips for a richer flavor; it truly elevates your Peanut Butter Cups and enhances the overall experience.
-
Proper Melting Technique: When melting chocolate, avoid overheating. Use short bursts in the microwave and stir frequently to prevent burning, ensuring a silky texture.
-
Cool Before Cutting: Allow the bars to set completely in the refrigerator before slicing; this prevents the layers from mixing and keeps the presentation sharp.
-
Customize for Fun: Don’t hesitate to get creative with toppings! Nuts, coconut, or even flaky sea salt can add delightful variety to your Peanut Butter Cups.
-
Store Right: Keep your finished Peanut Butter Cups in an airtight container in the fridge for up to a week, preserving their freshness and flavor.
What to Serve with Peanut Butter Chocolate Bars?
Imagine a delightful dessert spread that highlights the luscious flavors of rich chocolate and creamy peanut butter, inviting joy to any gathering.
-
Vanilla Ice Cream: A creamy scoop is the perfect partner, balancing the richness of the bars with its cool, smooth texture.
-
Fresh Berries: Juicy strawberries or raspberries add a burst of freshness, cutting through the sweetness and offering a delightful contrast.
-
Espresso or Coffee: The bold flavors enhance the chocolate’s richness, making every bite even more enjoyable—a comforting treat for coffee lovers.
-
Chocolate Dipped Pretzels: Crunchy and salty, these snacks pair well with your bars’ sweetness, adding fun texture and flavor that guests will love.
-
Peanut Butter Milkshake: Creamy and indulgent, the milkshake echoes the peanut butter flavor, creating a harmonious dessert experience that’s hard to resist.
-
Chocolate Sauce Drizzle: A drizzle over the bars elevates the experience, giving an extra touch of decadent chocolate that entices bites even more!
Each of these pairings creates a lovely balance, ensuring that your Peanut Butter Chocolate Bars are the star of the dessert table!
Make Ahead Options
These delightful Peanut Butter Cups are a fantastic option for meal prep! You can prepare the peanut butter layer up to 24 hours in advance by mixing together the peanut butter, confectioners’ sugar, butter, and salt, then pressing it into the pan. Just cover it tightly with plastic wrap and refrigerate to keep it fresh. The chocolate layer can also be made ahead; simply melt the chocolate and mix in the remaining peanut butter, then pour over the set base right before serving. When ready to enjoy, finish by topping with candy bars and sprinkles, and let it set for about an hour. With these make-ahead strategies, you’ll have delicious dessert bars ready with minimal last-minute effort!
How to Store and Freeze Peanut Butter Cups
Room Temperature: Store your Peanut Butter Cups in an airtight container at room temperature for up to 3 days. Enjoy them at their freshest!
Fridge: For longer-lasting treats, keep these delightful bars in the fridge for up to 1 week. Ensure they’re covered tightly to maintain that rich, creamy flavor.
Freezer: If you want to save some for later, wrap individual bars in plastic wrap and place them in an airtight container in the freezer for up to 3 months. Thaw in the fridge before enjoying.
Reheating: While these Peanut Butter Cups are best enjoyed chilled, if you prefer them a bit softer, let them sit at room temperature for 10-15 minutes before indulging.
Variations & Substitutions for Peanut Butter Cups
Feel free to explore these fun and delicious twists to make the recipe your own.
-
Nut-Free: Use sunflower seed butter in place of peanut butter for a similar texture without allergens. A nut-free solution that’s equally creamy and delicious!
-
Vegan: Swap the butter for coconut oil and use dairy-free chocolate chips. You’ll delight in a rich flavor while keeping it plant-based.
-
Crunchy Texture: Fold in crushed graham crackers or nuts into the peanut butter layer. This adds a satisfying crunch to balance the creamy textures.
-
Spicy Kick: Incorporate a pinch of cayenne or a dash of chili powder to the chocolate mixture. It lends a surprising heat, making these bars unforgettable!
-
Flavor Boost: Experiment with flavored extracts like vanilla or almond in the peanut butter layer. A little goes a long way in amplifying the overall taste profile.
-
Layers of Joy: Create additional layers by adding a caramel or butterscotch layer under or over the chocolate. This may become an instant family favorite!
-
Fruit Fusion: Top with finely chopped freeze-dried strawberries or raspberries before the chocolate sets. They’ll add a tart flavor that beautifully contrasts the richness.
-
Salted Caramel Drizzle: Drizzle homemade or store-bought salted caramel over the top before letting it set for a sweet and salty finish. Who can resist that decadence?
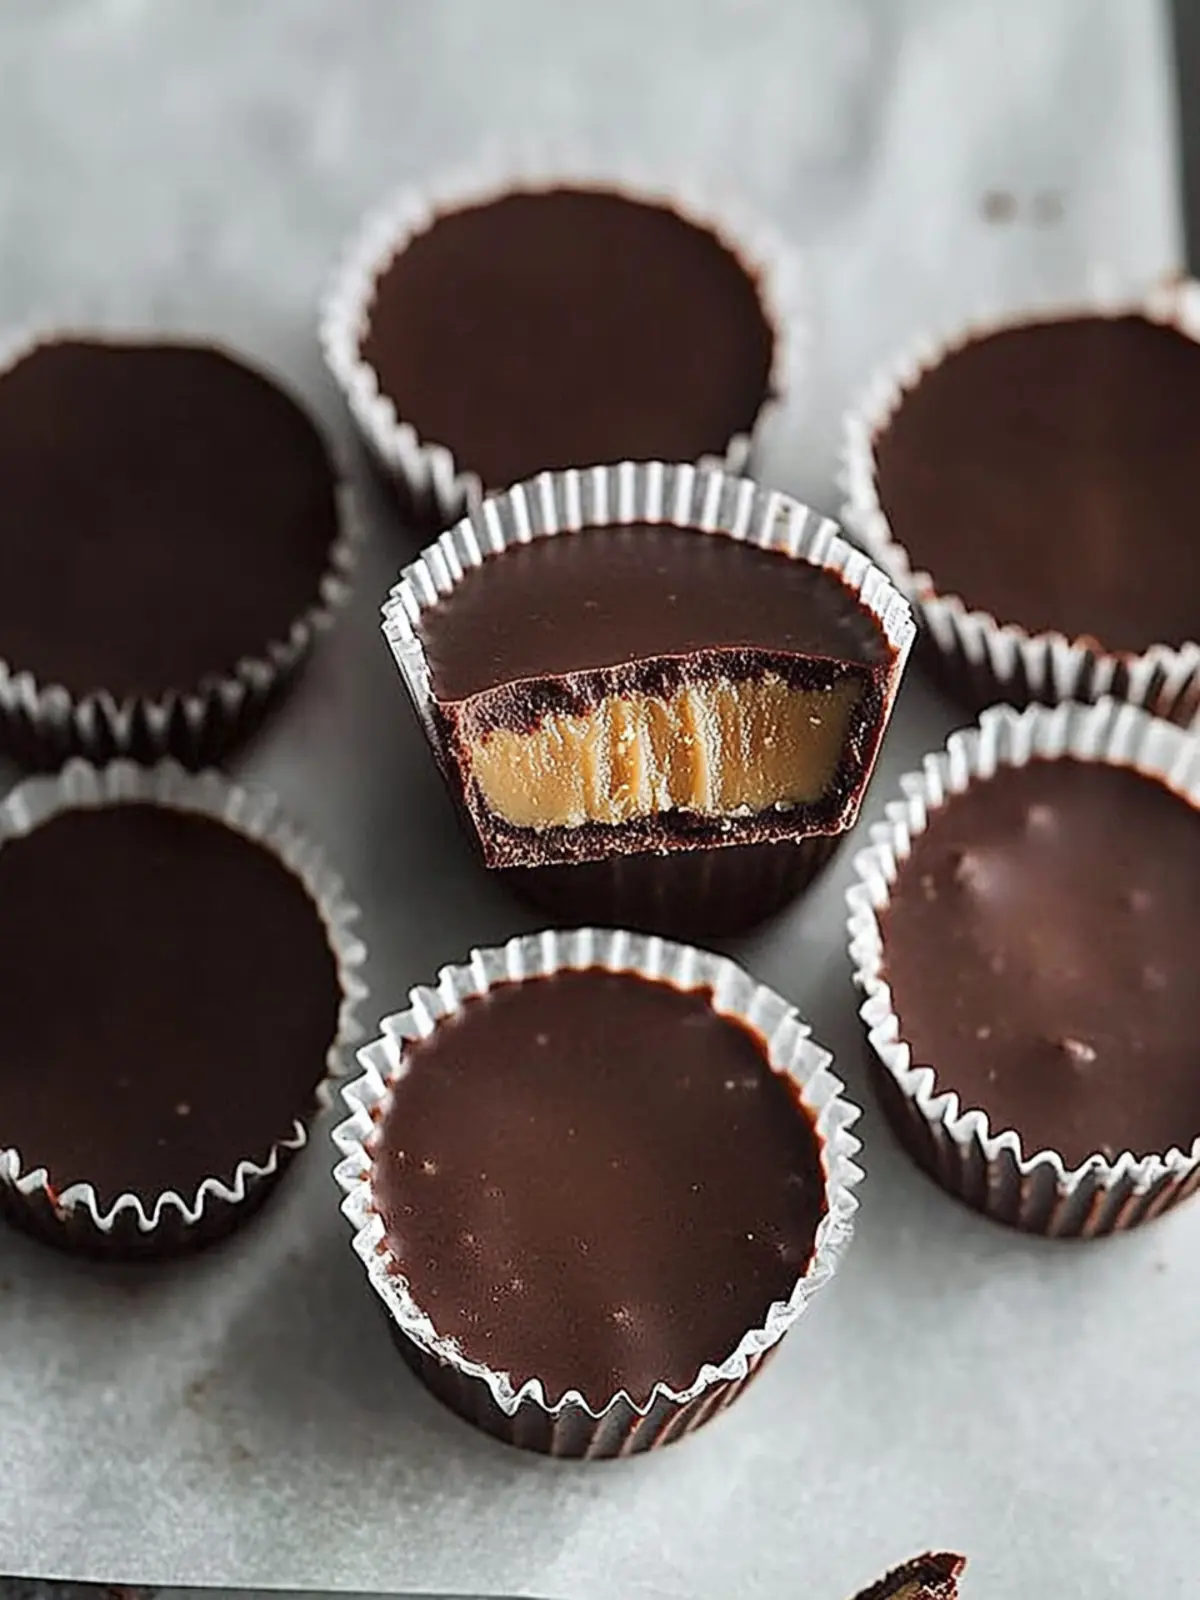
Peanut Butter Cups Recipe FAQs
How do I select the right peanut butter for this recipe?
Absolutely! I recommend using creamy peanut butter for a smooth consistency that blends well with the other ingredients. Look for a brand that has no added sugars or oils for a more natural flavor. You should avoid chunky peanut butter, as it may disrupt the texture of the bars.
What’s the best way to store leftover Peanut Butter Cups?
You can store these delectable bars in an airtight container at room temperature for up to 3 days for the best taste. If you prefer them chilled, refrigerate them for up to 1 week. Just make sure they’re covered properly to keep that creamy flavor intact!
Can I freeze Peanut Butter Cups? If so, how?
Yes, you can definitely freeze these! Wrap each bar individually in plastic wrap and then place them in an airtight container or freezer bag. They’ll keep well for up to 3 months. When you’re ready to enjoy, simply thaw them in the fridge overnight for the best texture.
What should I do if the chocolate layer looks grainy or does not set properly?
If your chocolate appears grainy, it might have gotten too hot during melting. To troubleshoot, you can add a small amount of vegetable oil or butter to the melted chocolate and stir until smooth. If the bars don’t set after refrigeration, they may need more time—give them a few extra hours in the fridge to firm up. Patience is key!
Are these Peanut Butter Cups suitable for people with allergies?
Great question! While they are delicious, these bars contain common allergens such as peanuts and dairy from the butter and chocolate. If you or someone you’re serving has nut allergies, you can try using sun butter or another nut-free spread. Just make sure to check labels for any cross-contamination with allergens.
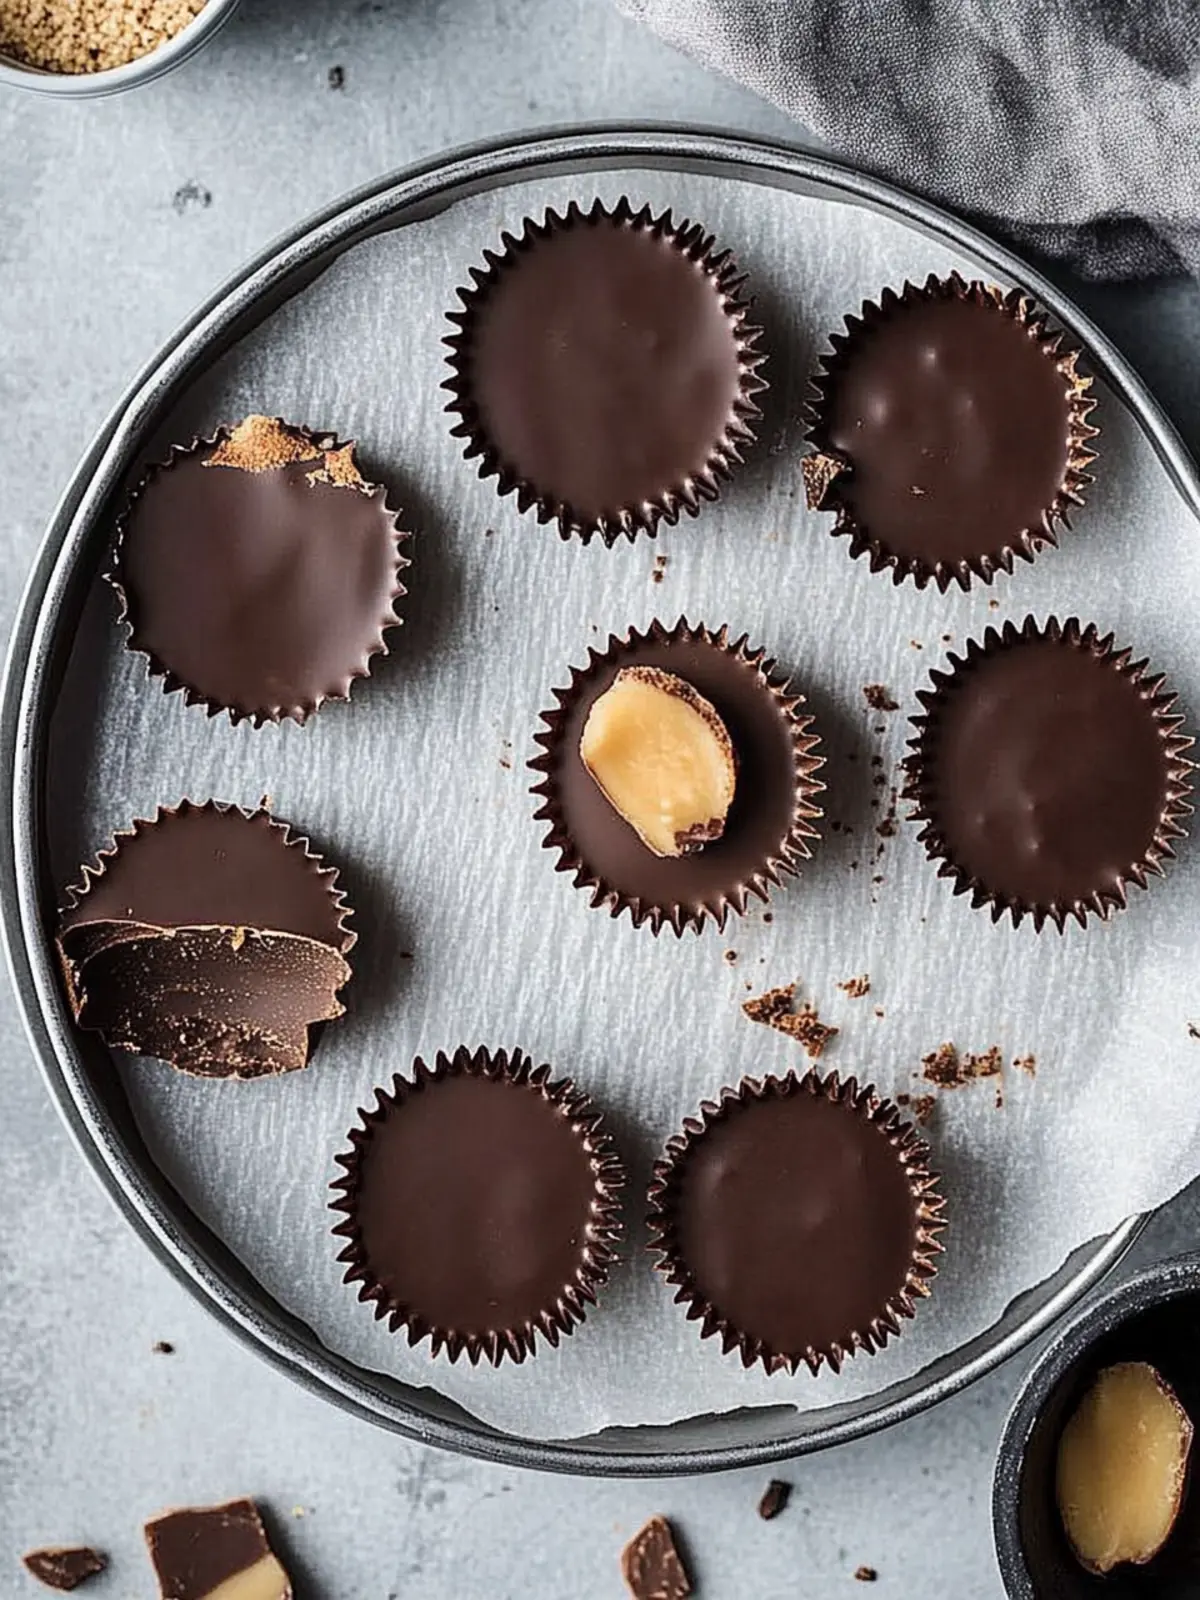
Decadent Peanut Butter Cups with a Chocolate Surprise
Ingredients
Equipment
Method
- In a bowl, combine 1/2 cup of creamy peanut butter, confectioners' sugar, softened butter, and salt. Stir until smooth and creamy.
- Transfer the peanut butter mixture into a greased pan and evenly spread it out to form a smooth base, pressing it down firmly.
- In a microwave-safe bowl or double boiler, melt the semisweet chocolate chips until smooth, stirring occasionally.
- Once melted, remove from heat and stir in the remaining 1/2 cup of creamy peanut butter until fully combined.
- Pour the chocolate mixture over the peanut butter base in the pan, spreading it evenly.
- Sprinkle the coarsely chopped milk chocolate candy bars over the chocolate layer and add colored sprinkles if desired.
- Place the pan in the refrigerator and let it set for about 1 to 2 hours, or until firm enough to cut into squares.